Summary
- Buy 3-bone slabs of beef chuck short ribs.
- Remove the fat cap and silverskin.
- Apply hot sauce, kosher salt and coarse black pepper right before cooking.
- Cook at 275-300°F for 6-8 hours until probe tender, about 200°F internal temp.
In 2013, I smoked beef plate short ribs and they were terrific. So in July 2015, when I had a special guest coming to visit that I wanted to impress with my barbecue, my mind went straight to short ribs.
I went to Restaurant Depot and saw plenty of beef plate short ribs…but I noticed one lone package labeled “Beef Chuck Short Ribs”. They cost slightly less per pound than plate short ribs and best of all came two slabs per package instead of four for the plate ribs. So I brought them home and gave them a try.
Here’s a description and photos of how I cooked these beef chuck short ribs on July 28, 2015.
Select & Prep The Meat
You’re unlikely to find beef chuck short ribs like these at the supermarket. I bought these at Restaurant Depot, a members-only wholesale restaurant supply store with locations throughout the United States. If you are a Kansas City Barbeque Society (KCBS) member, you can get a free day pass by showing your KCBS membership card and a photo ID. Alternatively, find a good butcher shop (which are few and far between these days) and ask for 3-bone slabs of beef chuck short ribs, known as IMPS #130. Chuck short ribs come from ribs 2 through 5 and are cut just above the brisket.
Barbecue joints will sell one bone as a big, hearty serving, and that’s how I serve them at home. If you’re feeding people with smaller appetites, you can cut the meat from the bone and serve two people per bone.
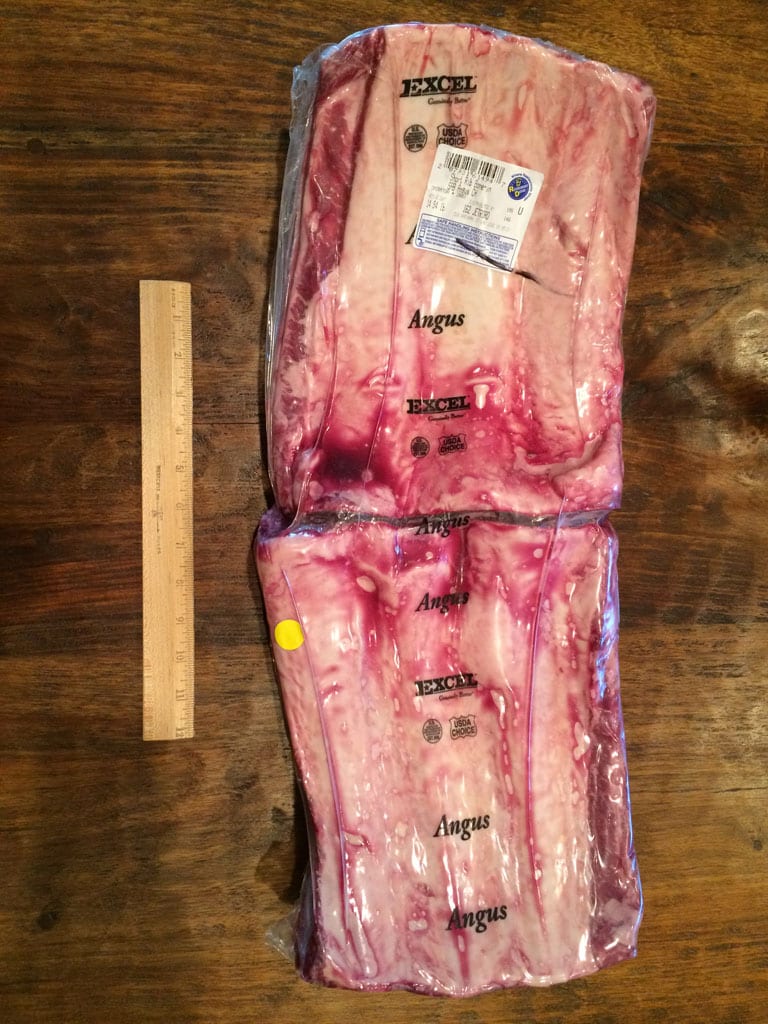
The first photo above shows a Cryovac package of two 3-bone slabs of beef chuck short ribs. The package weighed about 15 pounds and cost $68. And yes, that’s a 12″ ruler alongside the package for scale.
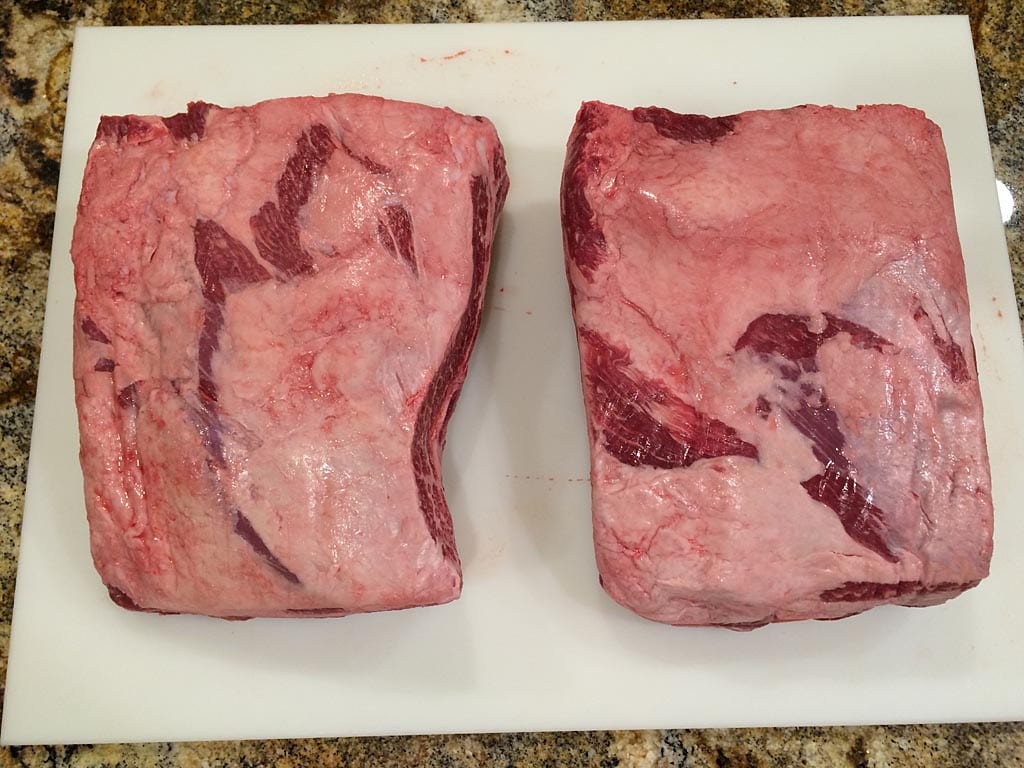
The second photo shows the fat side of the two untrimmed slabs. The fat cap on chuck short ribs does not render as nicely or as completely as it does when cooking pork. You can try leaving it on, if you like, but I prefer to remove it and the tough silverskin beneath. This allows the rub to penetrate the meat and makes for a less fatty, more enjoyable short rib to eat.
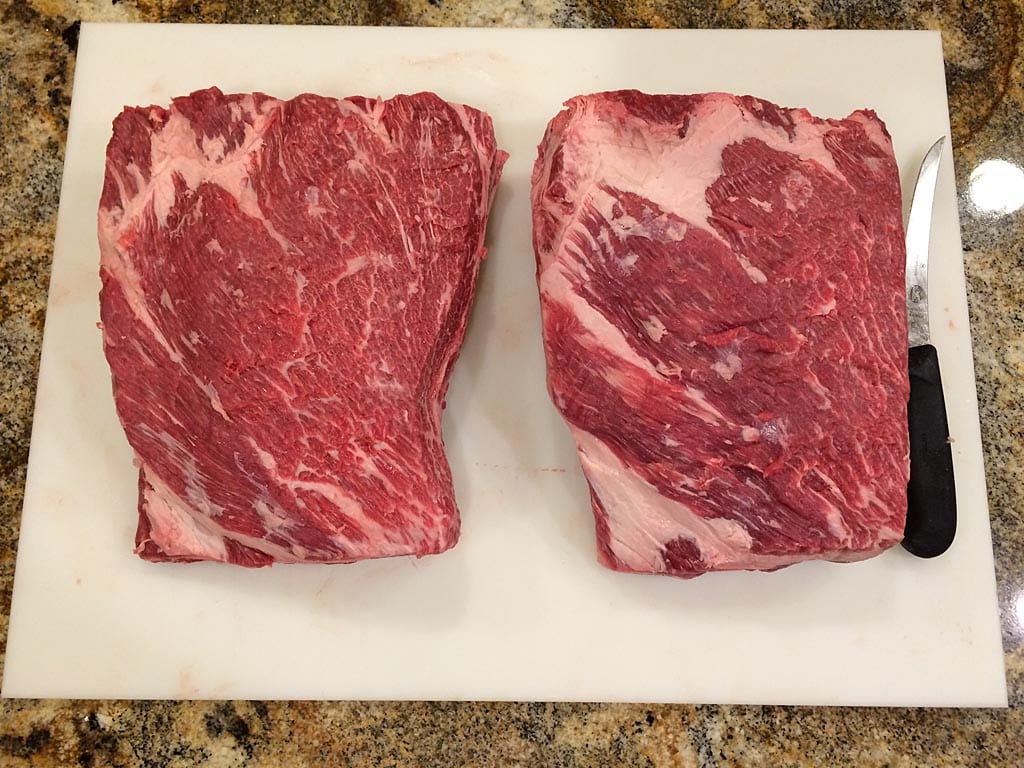
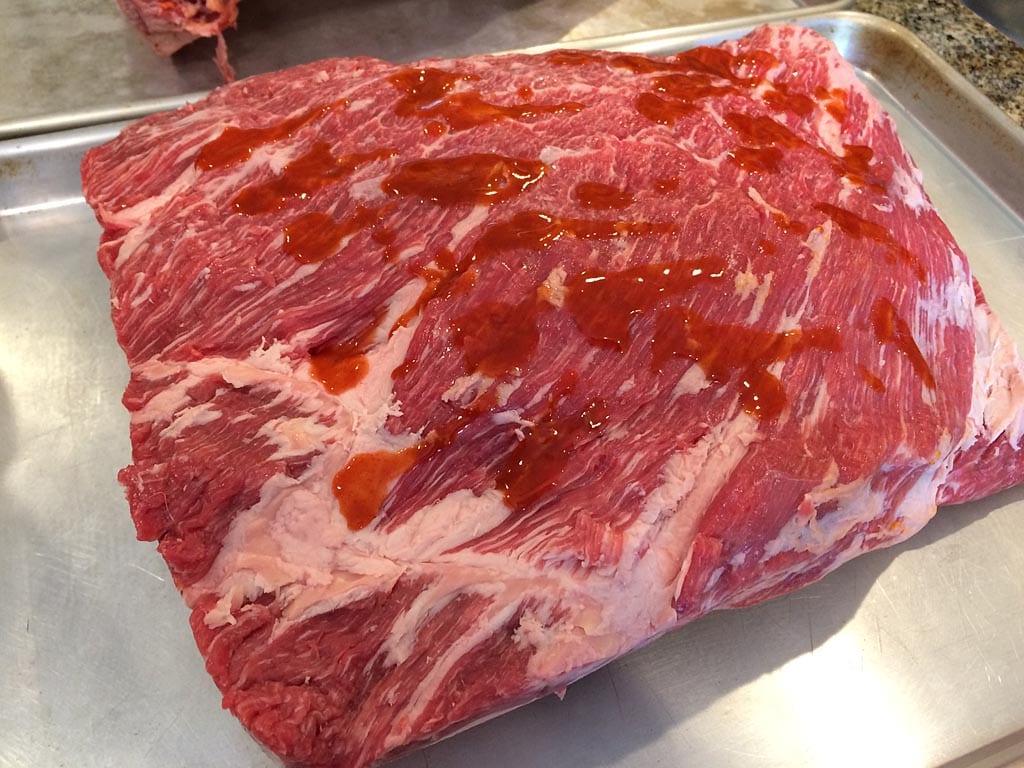
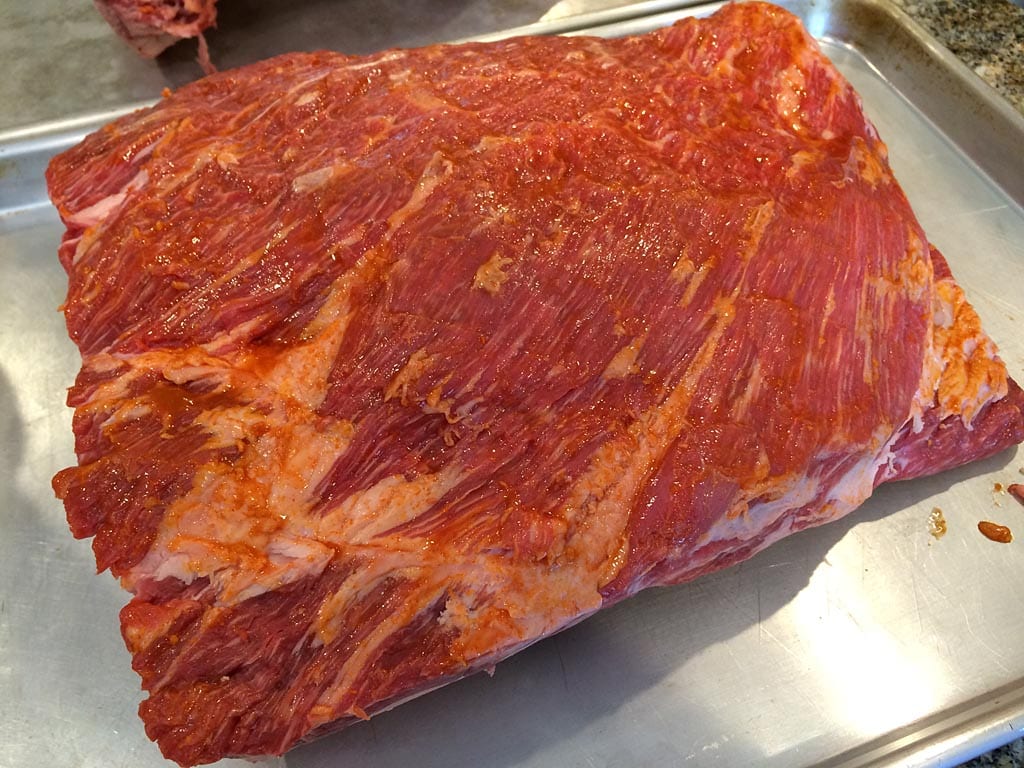
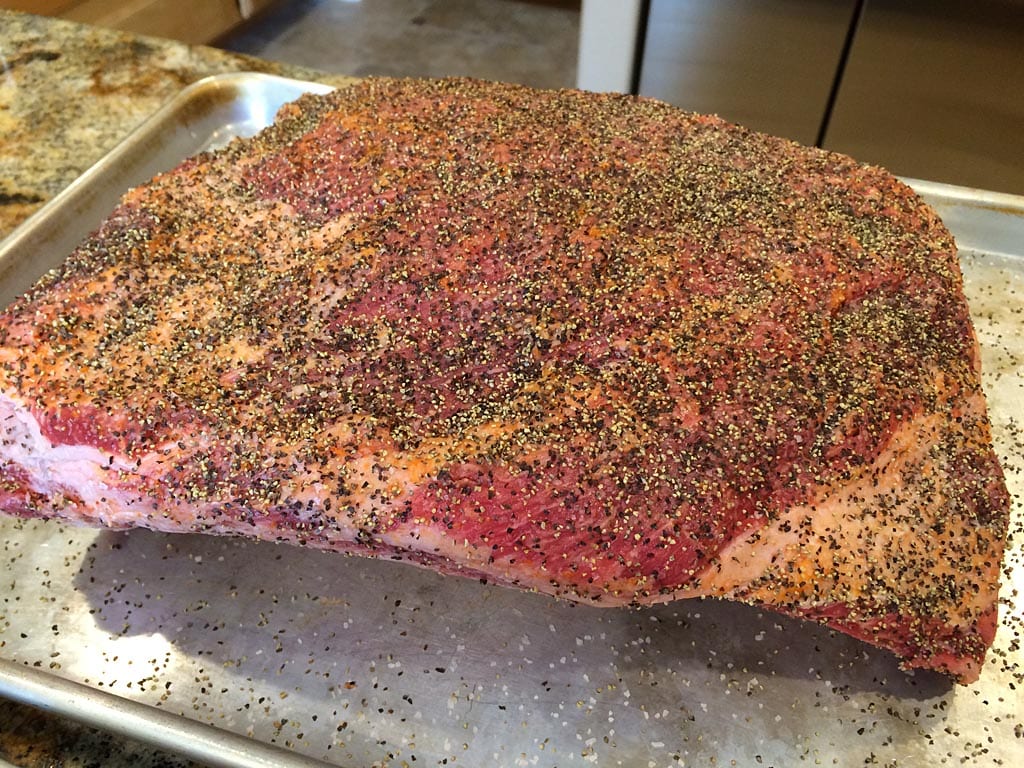
The third photo shows the short ribs after trimming away the fat cap and silverskin.
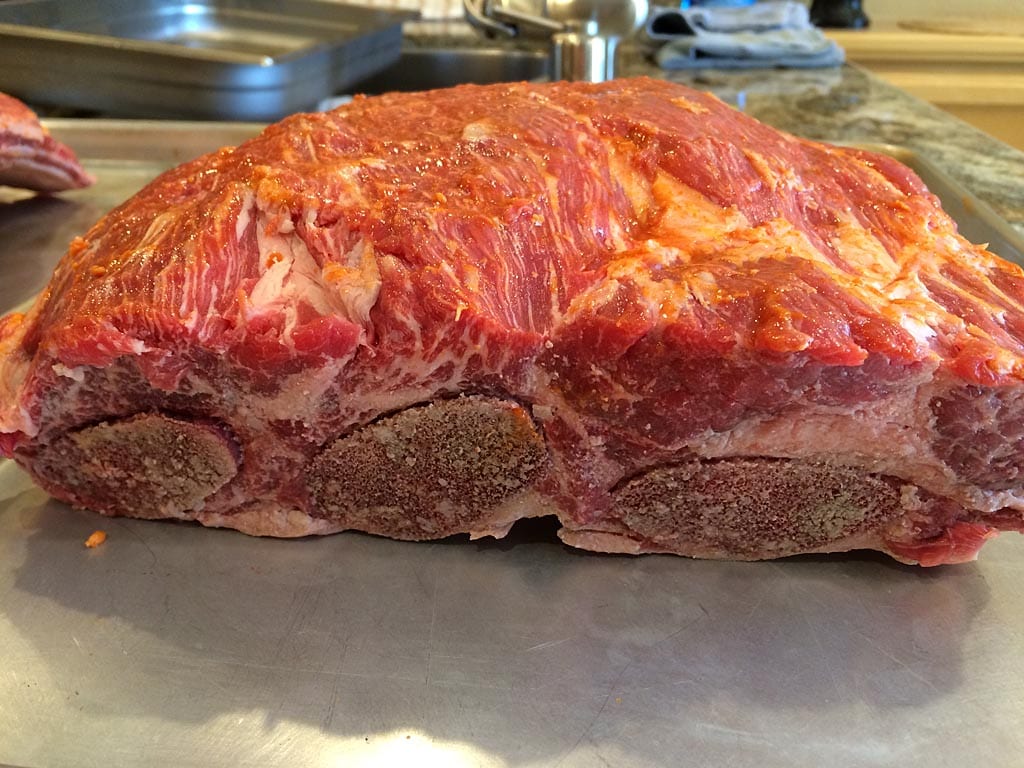
As for the tough membrane on the bone side, don’t worry about it. Some portions of it may get crispy enough during cooking that you might enjoy eating it. If not, just eat around it.
Apply The Rub
In his book Franklin Barbecue: A Meat Smoking Manifesto, pitmaster Aaron Franklin says that he seasons beef short ribs with hot sauce and a 50/50 mixture of kosher salt and coarse black pepper. It’s classic Central Texas-style barbecue seasoning, and if it’s good enough for Franklin, it’s good enough for me.
Pat the meat dry with paper towels. Sprinkle some Cajun Chef, Crystal or Red Rooster Louisiana Hot Sauce onto all sides of each slab. Rub it over the surface so there’s a thin layer on the meat. The sauce doesn’t do much in terms of flavor, but it helps the salt and pepper stick to the meat.
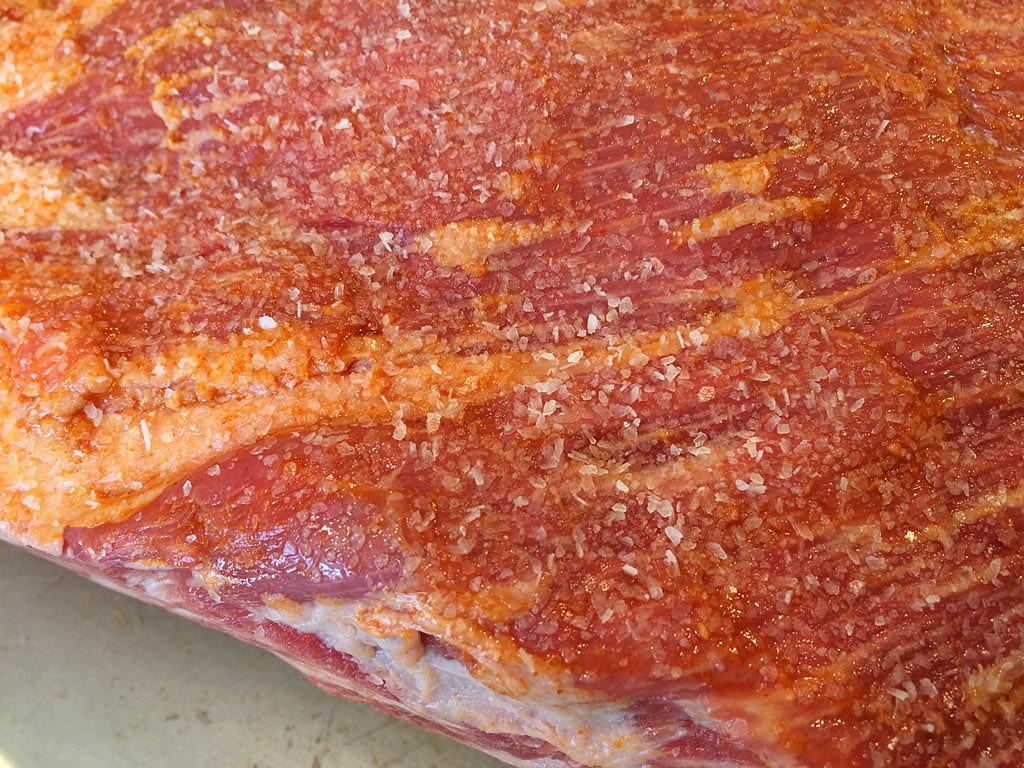
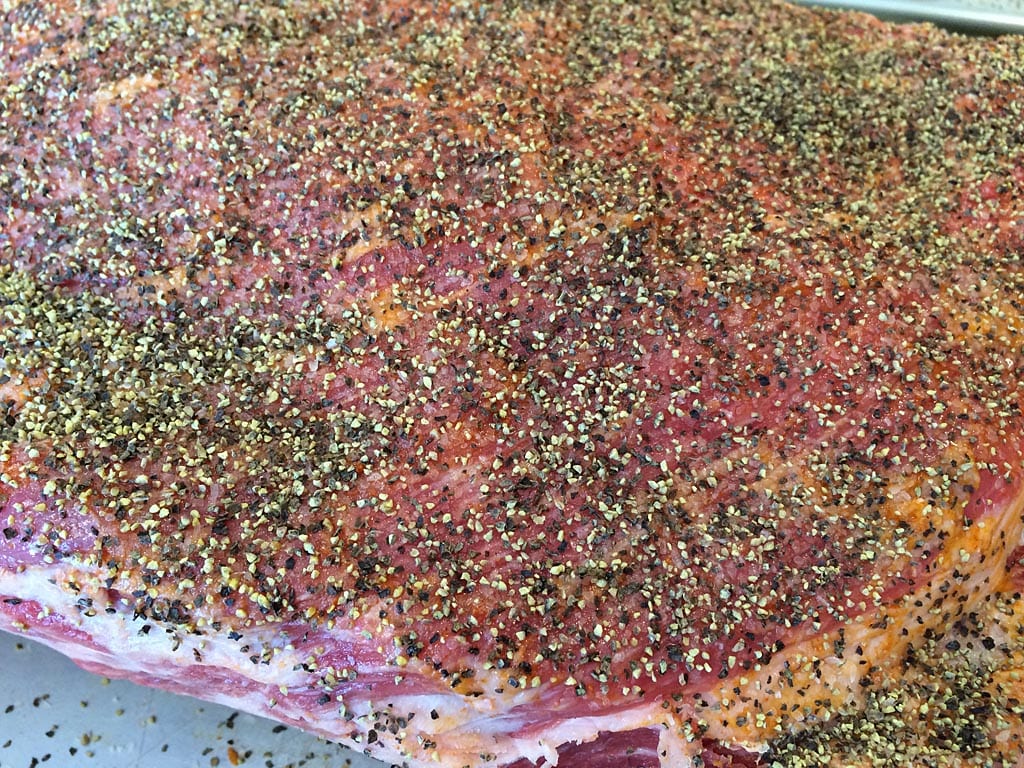
Next, sprinkle all sides of each slab evenly with a good amount of kosher salt, then follow that with roughly the same amount of coarse black pepper. Don’t worry about it being too spicy because the pepper mellows a lot during cooking when it combines with the beef fat, forming a nice crust on the meat. You can see how much salt and pepper I applied by clicking on the photos above.
Some Central Texas joints like Louie Mueller Barbecue will literally dredge short ribs in a pile of 9 parts coarse black pepper to 1 part kosher salt, tap off the excess, and put them straight into the smoker. So it seems there’s no such thing as too much pepper when it comes to short ribs. However, one of their secrets is to not use freshly ground pepper, which is too strong. Aaron Franklin says he prefers to use coarse ground pepper that’s aged for several days to a few weeks. Any coarse ground pepper you purchase at the supermarket or warehouse store will be well aged and won’t overwhelm your short ribs.
I smoked these rubbed short ribs as soon as my cooker was fired up, but you can refrigerate them overnight, if you wish.
Fire The WSM
Fire-up the Weber Bullet using the Minion Method—fill the charcoal chamber about 1/2 full with unlit Kingsford Charcoal Briquets. Spread 20-30 hot coals over the unlit ones. I used an upside-down Weber chimney starter to light the briquettes.
Smoke The Short Ribs
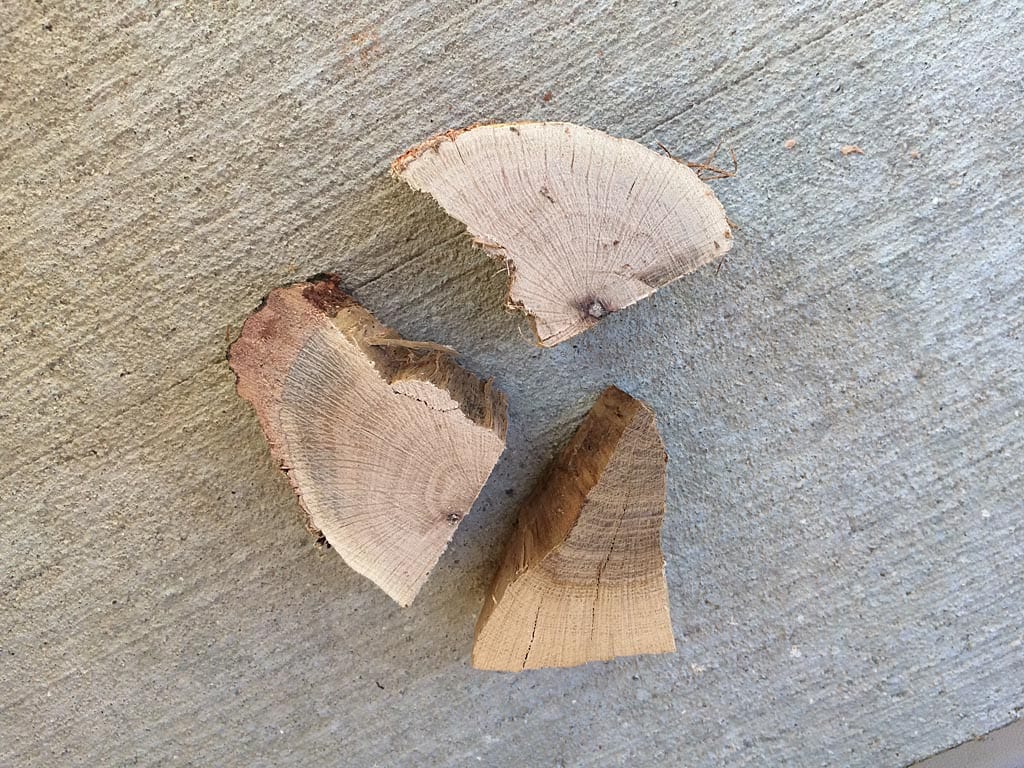

Place 3 medium-sized chunks of smoke wood on the hot coals. I used chunks of oak. There’s no need to soak the wood in water before use.
Assemble the cooker with the water pan in place but leave it empty.
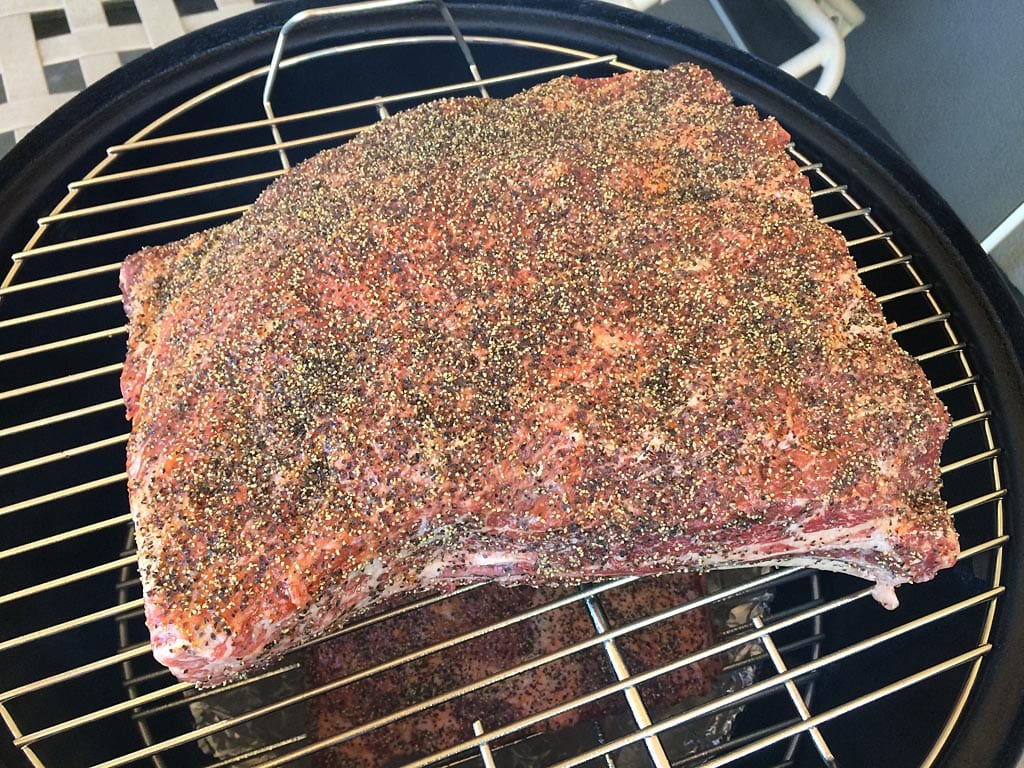
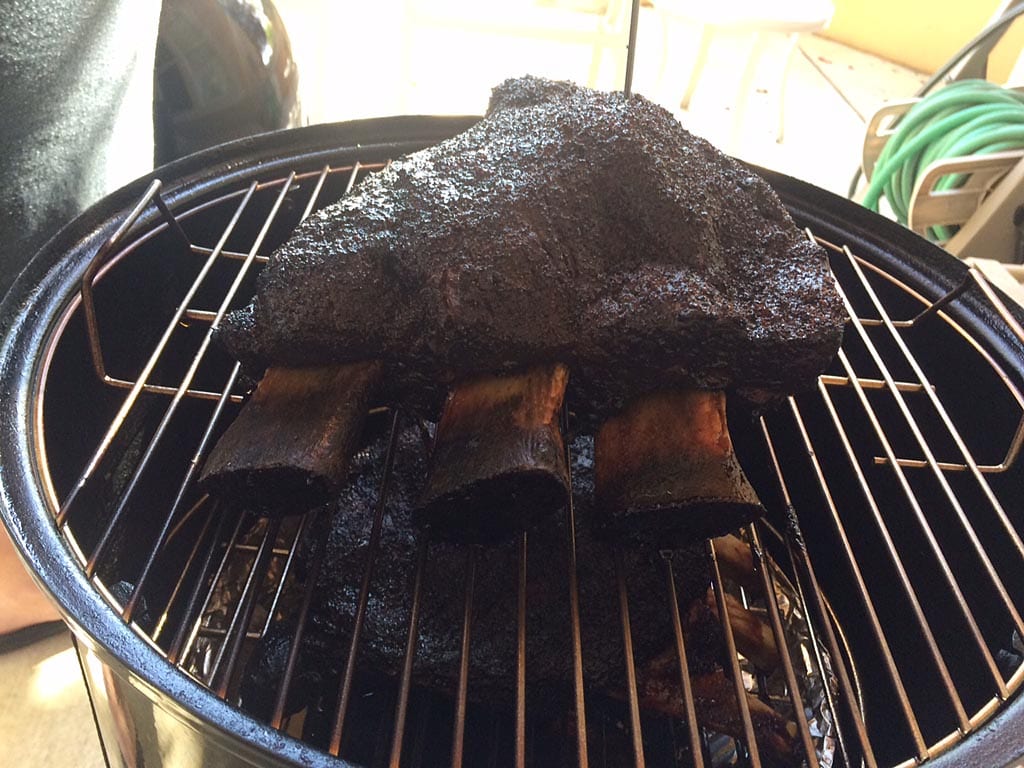
Place a slab on each cooking grate and cover with the lid. Set the top vent to 100% open and leave it that way throughout the entire cooking process. Start with all 3 bottom vents 100% open. As the cooker approaches 250°F, begin to partially close all 3 bottom vents to maintain 275-300°F. Adjust the bottom vents as needed to maintain this temperature range throughout the cooking process.
Barbecue the short ribs for 4 hours, then start spritzing the meat every hour with water, apple juice or other flavorful liquid to keep the meat moist and enhance the formation of the smoke ring. At this point, you may wish to swap the slabs between top and bottom grates to ensure even cooking. I neglected to do this and the short ribs on the bottom finished about 10°F higher than the ones on the top.
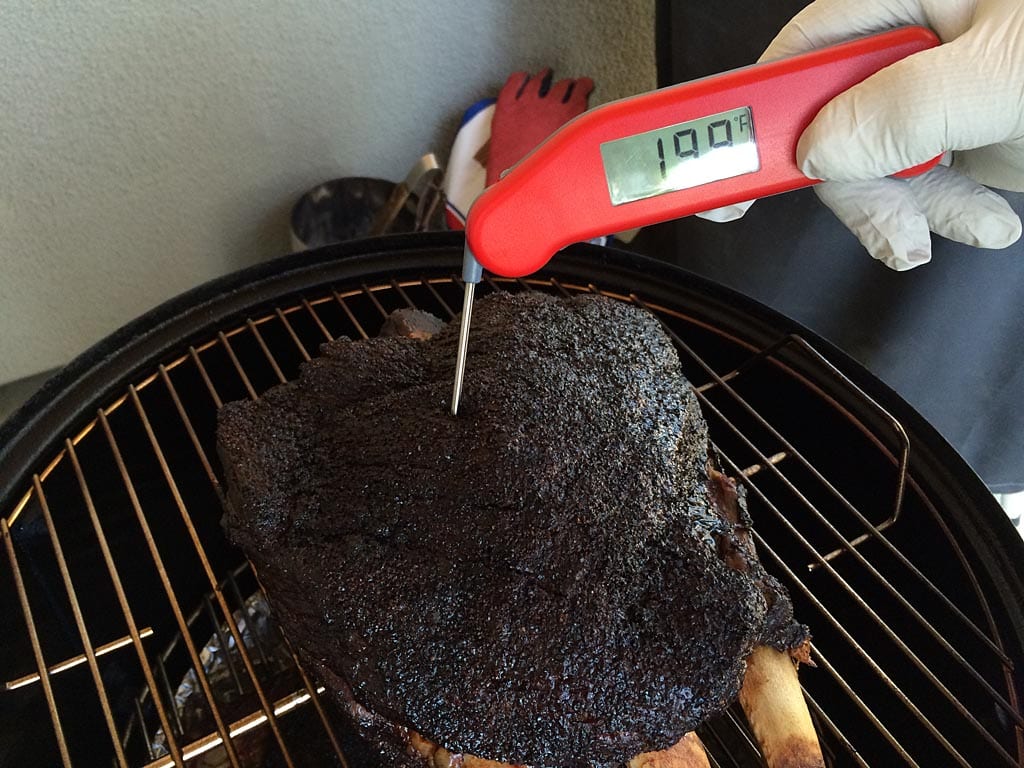
After six hours of cooking, start checking for doneness using an instant-read thermometer. Depending on size and weight, the short ribs should be done in 6-8 hours. The meat will be super-tender, the thermometer probe will go into the meat between the bones like soft butter, and if you probe further the thermometer will pierce the membrane under the meat easily. When done, the internal meat temp will be about 200°F. Make sure to probe in several spots and average the results.
Here’s how the cooker temperatures and vent settings went during my cook:
| Time | Lid Temp | Meat Temp | Vent 1 % | Vent 2 % | Vent 3 % |
| 10:00 am | – | – | 100 | 100 | 100 |
| 10:15 am | 215 | – | 100 | 100 | 100 |
| 10:30 am | 240 | – | 100 | 100 | 100 |
| 11:00 am | 273 | – | 33 | 33 | 33 |
| 11:30 am | 260 | – | 33 | 33 | 33 |
| 12:15 pm | 265 | – | 33 | 33 | 33 |
| 1:00 pm | 265 | – | 33 | 33 | 33 |
| 2:00 pm (s) | 262 | – | 50 | 50 | 50 |
| 2:40 pm | 282 | – | 50 | 50 | 50 |
| 3:00 pm (s) | 292 | – | 25 | 25 | 25 |
| 3:15 pm | 284 | – | 25 | 25 | 25 |
| 4:00 pm (s) | 275 | 188-191 | 25 | 25 | 25 |
| 4:30 pm | 274 | – | 25 | 25 | 25 |
| 5:15 pm (s) | 265 | 193-195 | 50 | 50 | 50 |
| 6:00 pm | 265 | 199-207 | 50 | 50 | 50 |
(s) spritzed with water
Note that the vent percentages represent the way I set the vents at the time indicated.
Rest & Serve The Short Ribs
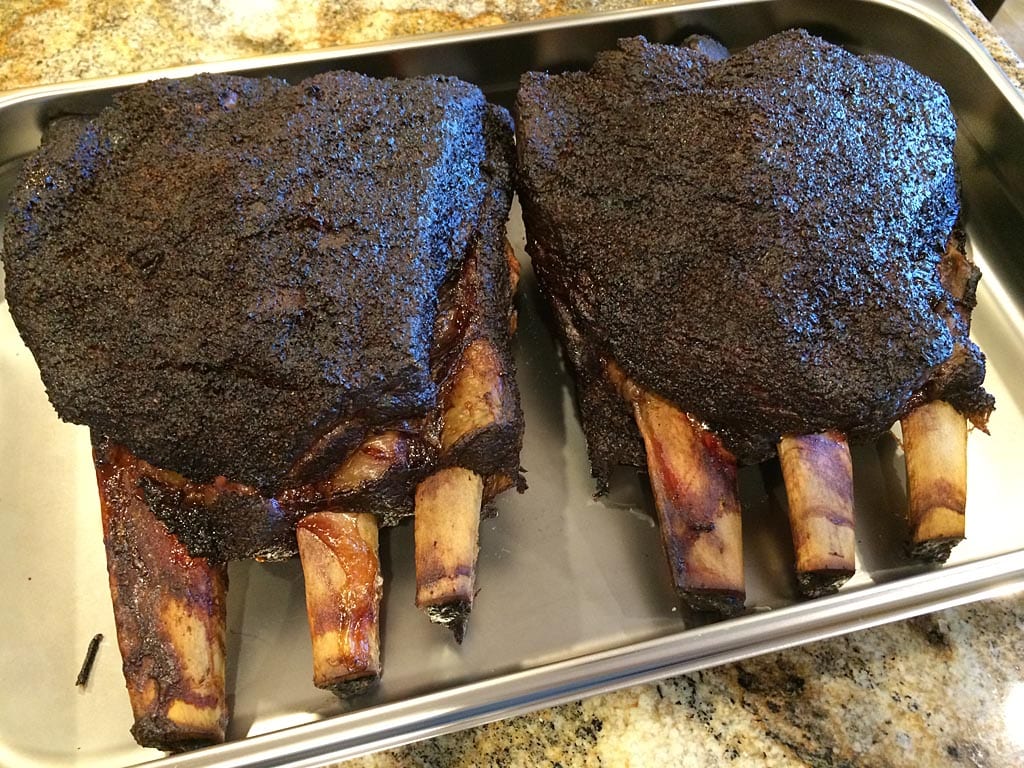
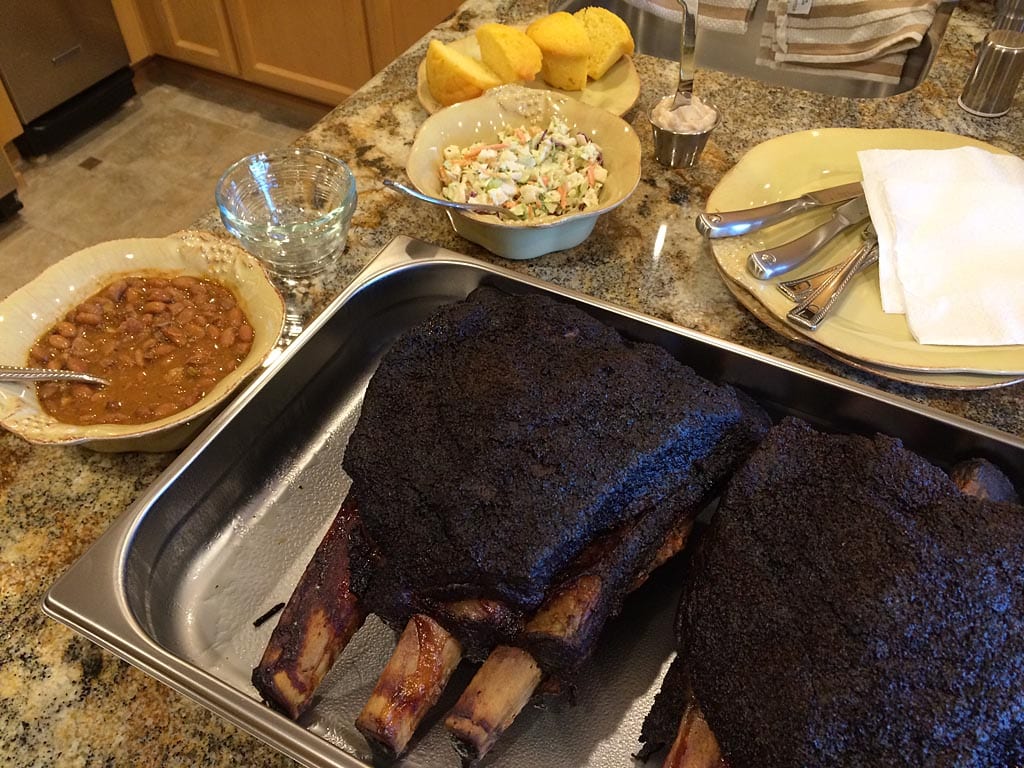

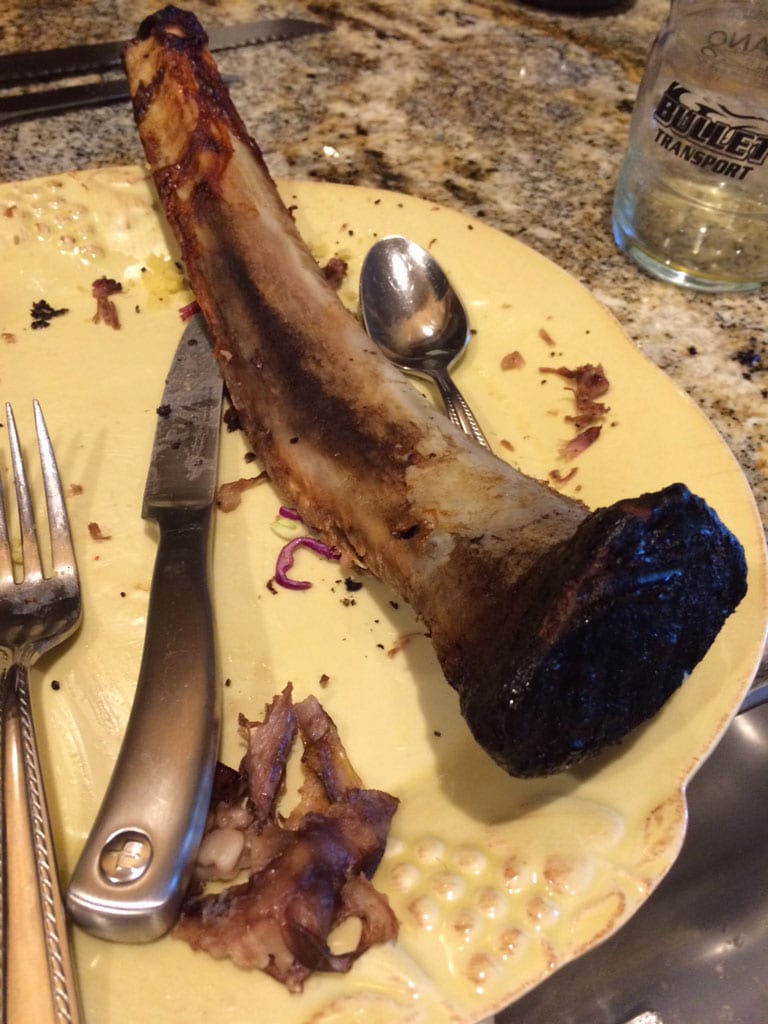
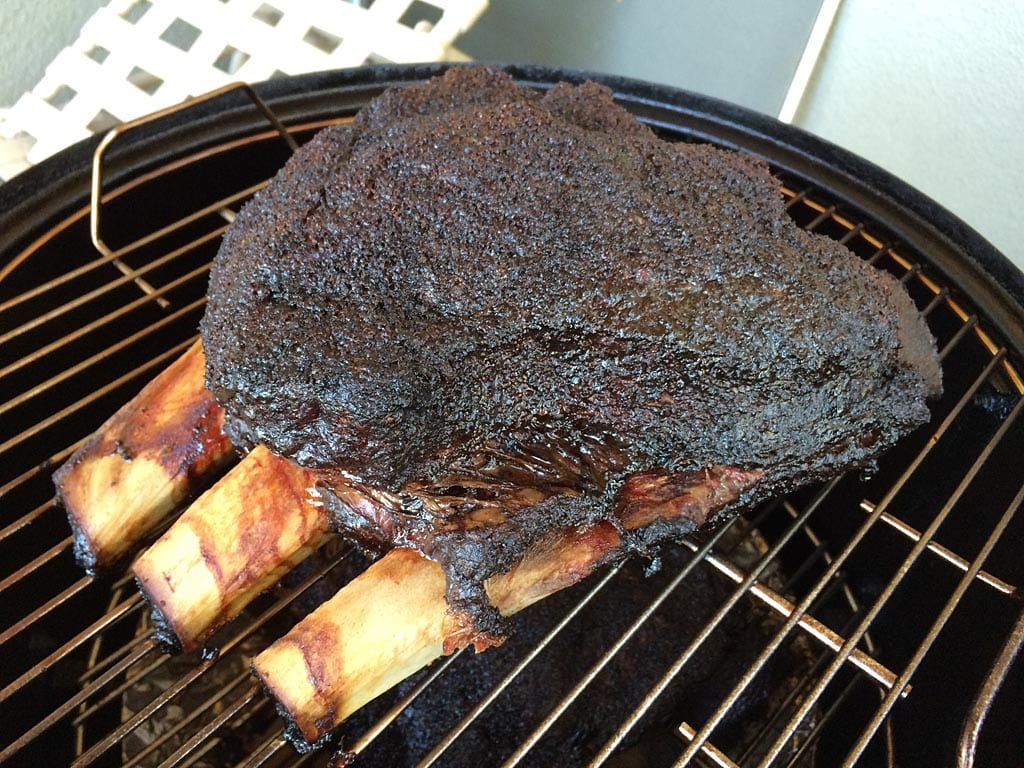
The first photo above shows how the short ribs looked coming out of the Weber Smokey Mountain Cooker after 8 hours of cooking. Tent the short ribs with foil and let the meat rest for 15-30 minutes before serving. I served these short ribs with barbecued beans, cole slaw and cornbread muffins with cinnamon honey butter. You can see how tender and moist the meat was in the third photo and just how big those bones were in the fourth photo.
My dinner guest loved the results! He and I critiqued the meat and filled-out the cooking log results together: “Dark, crusty appearance. Small smoke ring. Tender as a mother’s love, almost fall off the bone. Moist meat, smoky flavor but not too much. Rub was just the right balance of salt and pepper. Best enjoyed with beer and friend.”
I hope you’ll give beef chuck short ribs a try in your Weber Smokey Mountain Cooker. Just add beer and friend for a great meal!


