Summary
- Buy a regular (non-enhanced), 12-14 pound turkey. Don’t use a self-basting turkey for this recipe.
- Prepare the brine solution and soak the turkey for 48 hours in the refrigerator.
- Air-dry the turkey for 24 hours in the refrigerator.
- Brush with melted butter, sprinkle with kosher salt and ground black pepper.
- Smoke at 225-275°F until 160-165°F in the breast, 170-175°F in the thigh, approximately 3-1/2 to 4 hours.
- Let rest for 20 minutes before carving. Alternatively, wrap tightly in several layers of foil, place breast-side down in an empty cooler, and hold for 90-120 minutes before carving.
- Collect the pan drippings for making gravy.
I first tried this honey brined whole turkey recipe back in June 2000. It comes from Rick “Shake” Schoenberger and has been widely published on the Internet over the years and is reprinted here with permission.
If Rick Shoenberger sounds familiar, perhaps you saw him in 2007 when his restaurant The BBQ Shack in Paola, Kansas (now a food truck) was featured on an episode of Food Network’s Diners, Drive-Ins & Dives called “Real Deal BBQ”.
Here are some photos I took when I revisited this recipe and cooked it again on November 30, 2009.
Select & Prepare The Turkey
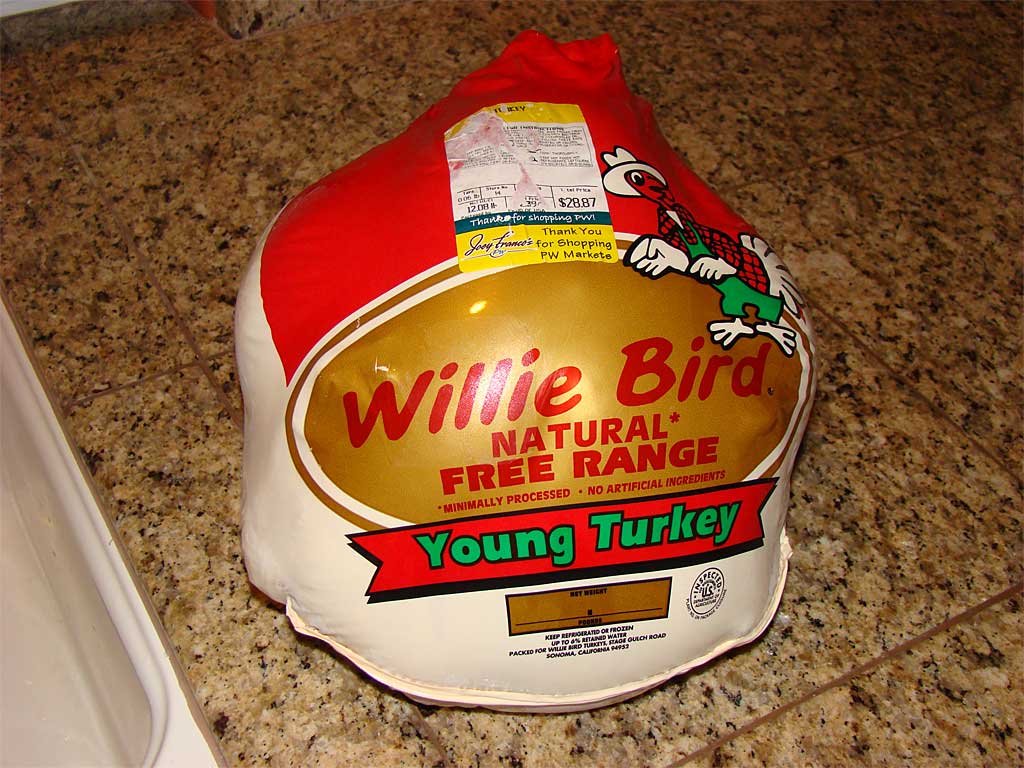
I used a 12.08 pound, natural free range turkey for this recipe.
Choose a regular turkey for this recipe, not a self-basting bird that’s been injected with a solution of salt and other flavorings. Read the fine print on the label—you do not want a turkey that says, “Contains up to X% of a solution to enhance juiciness and tenderness…” See Turkey Selection & Preparation for more details.
Choose a 12-14 pound turkey and thaw according to the package directions. Remove and discard any leg restraint, then remove the giblets from the neck cavity and the neck from the body cavity. Trim away large areas of fat or excess skin around the body cavity. Pat dry inside and out with paper towels.
Brine The Turkey
Brining is the process of soaking meat in a mixture of water, salt, sugar and seasonings for several hours to several days, depending on the type and size of meat. Brining adds flavor and moisture to turkey and works well with other types of meat, too. You can learn more about the process by visiting the All About Brining page.
To brine a whole turkey, you need to:
- find a non-reactive container large enough to hold the turkey
- make sure the container will fit in your refrigerator
- determine how much brine you need to prepare to completely submerge the turkey in the container
See All About Brining and Food Grade Plastic Containers For Brining for information about selecting an appropriate container, including alternatives like coolers or turkey roasting bags inside non-food safe containers. Keep in mind that the bigger the container you use, the more brine you’ll have to make, so try to match the size of the container to the turkey.
To determine how much brine you’ll need to prepare, place the turkey into the container and cover with cold water. Remove the turkey from the container and measure the water—that’s the amount of brine you’ll need.
Here’s the brine recipe:
Shake’s Honey Brine
- 1 gallon water
- 1 cup pickling salt
- 2 Tablespoons Morton Tender Quick
- 1 cup honey
- 4 bay leaves
- 1/2 teaspoon pickling spice
- 1/4 teaspoon ground cloves
Pickling salt is a fine-grained salt usually sold in 3- or 4-pound boxes. It does not contain the potassium iodide or anti-caking agent calcium silicate found in table salt. For the purposes of this recipe, you can substitute 1 cup of non-iodized table salt or 1-1/2 cups of Morton Kosher Salt or 2 cups of Diamond Crystal Kosher Salt.
Morton Tender Quick is a meat curing agent containing salt, sugar, sodium nitrate, sodium nitrite and propylene glycol. It can be found at some supermarkets and butcher supply stores or ordered from Amazon.com. If you cannot find it easily, just leave it out of the recipe.
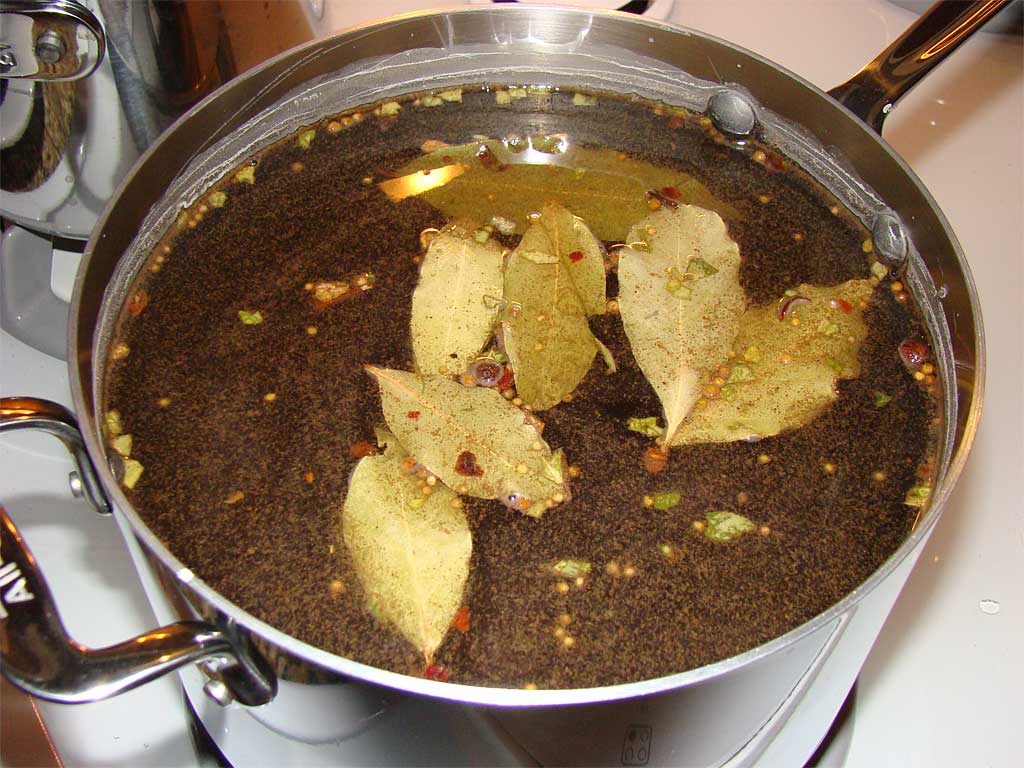
Combine all ingredients except the honey in a large pot and heat to 160°F, stirring to dissolve the salt and extract flavor from the bay leaves and pickling spice. Remove the pot from the heat and stir in the honey until combined. It is said that temperatures above 160°F harm the flavor of honey, so that’s why the mixture is not heated above that temperature.
Finally, force-cool the mixture to room temperature using an ice bath before adding to the meat.
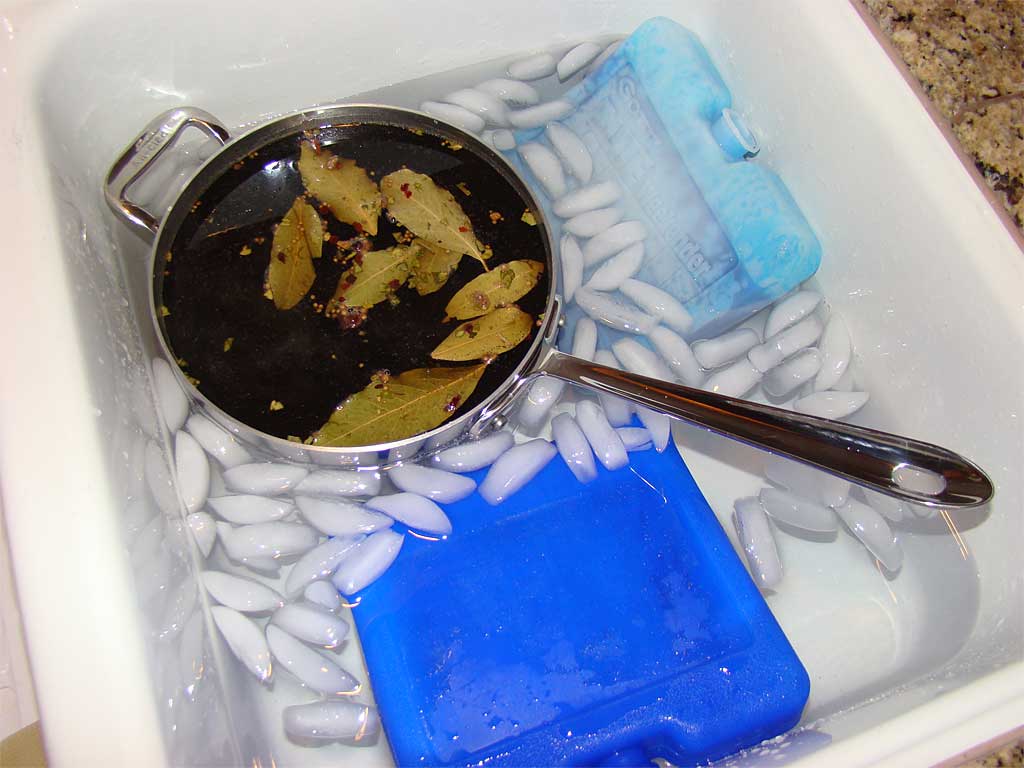
For my turkey, I determined that I needed 2 gallons of brine. I made a concentrated version of the brine by dissolving two recipes worth of ingredients in just 3 quarts of water, force-cooling the mixture to room temperature in an ice bath in the kitchen sink, then placing the turkey into a Ziploc Big Bag XL inside a medium-sized cooler and pouring in the 3 quarts of concentrated brine solution plus 5 more quarts of cold water to achieve 2 gallons of brine solution.
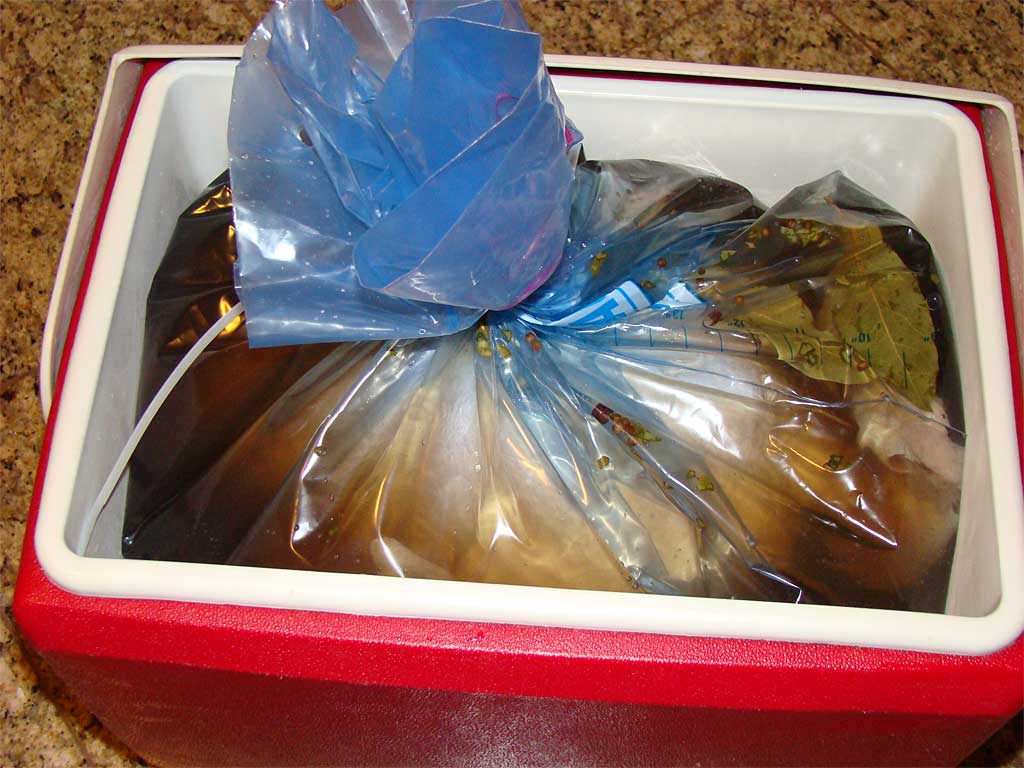
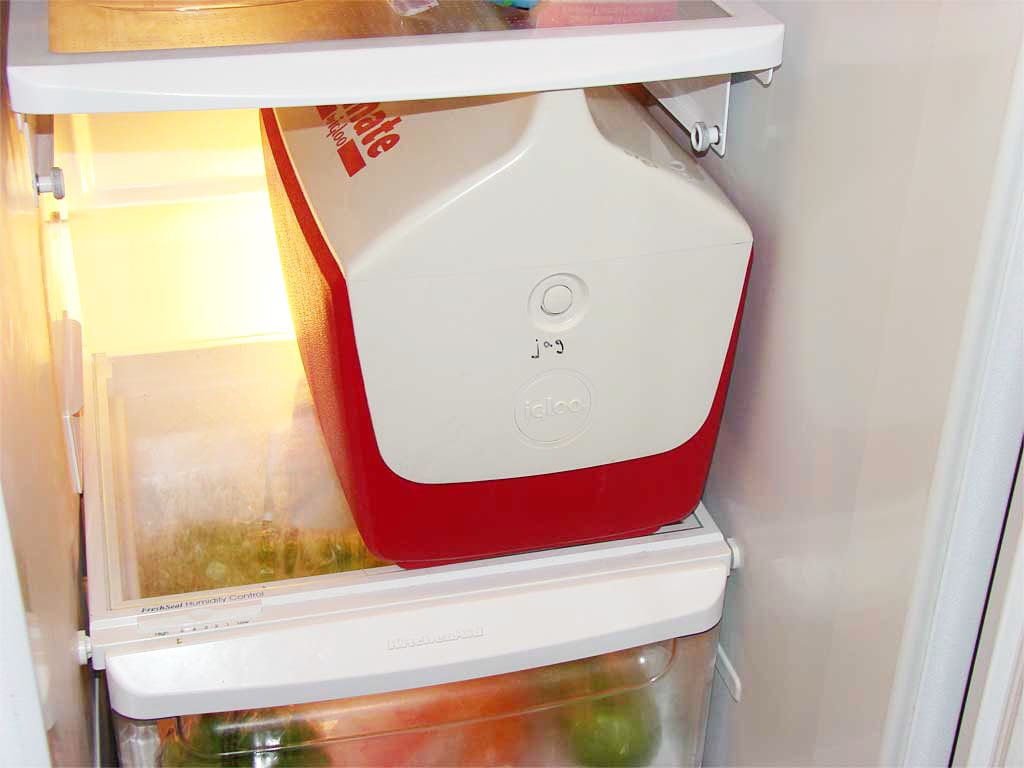
Allow the turkey to soak in the brine mixture in the refrigerator for 48 hours. Since brining does not preserve meat, the turkey must be kept below 40°F throughout the entire brining process. That’s why you’ve got to make sure you’ve got room in your fridge for the container before you start this process.
Air Dry The Turkey
After brining, pat the turkey dry inside and out with paper towels. There is no need to rinse the turkey after brining.
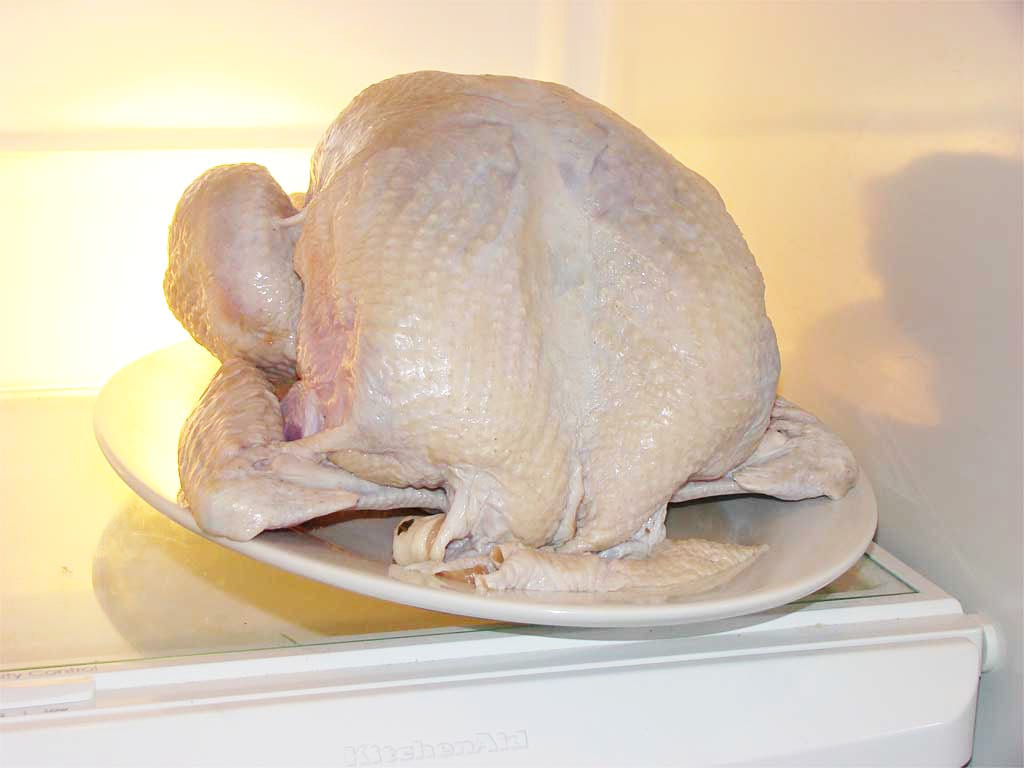
Although not part of Rick’s recipe, I decided to air-dry the turkey. Place on a platter or rimmed baking sheet pan and allow to air-dry uncovered for 24 hours in the refrigerator. This step promotes crispy skin during cooking.
Brush the skin with a few Tablespoons of melted butter and sprinkle with kosher salt and ground black pepper.
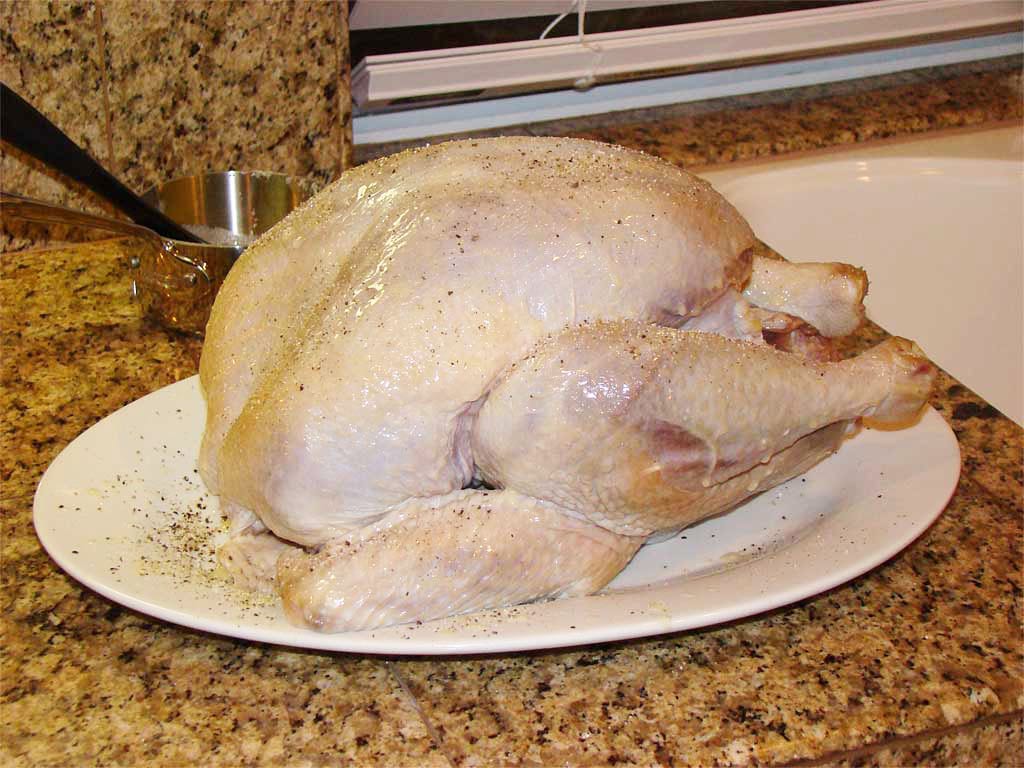
Let the turkey sit at room temperature while firing up the cooker.
Barbecue The Turkey
Fire-up the Weber Bullet using the Minion Method—fill the charcoal chamber 1/2 full with unlit Kingsford Charcoal Briquets. Use a Weber chimney starter to light 20-40 briquettes and place them on top of the unlit ones.
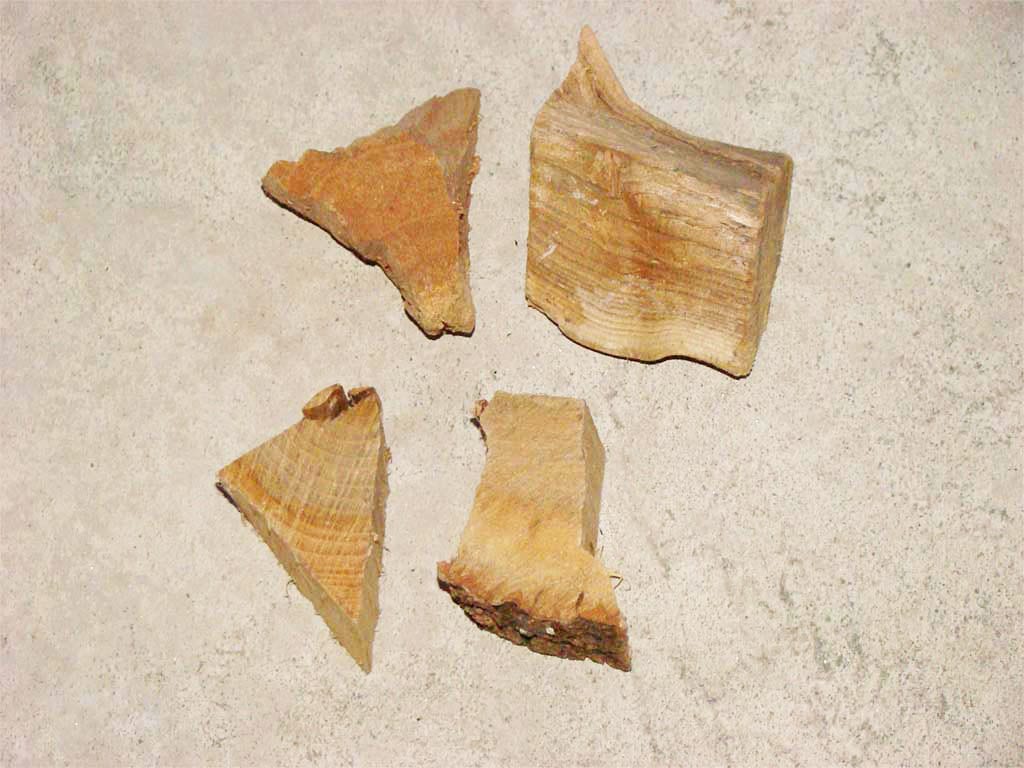
Place a few small chunks of mild fruit wood on the hot coals. I used two apple wood chunks and two hickory wood chunks.
Assemble the cooker with the water pan in place and fill it with cool water.
Place the turkey breast-side up on the top cooking grate. Set the top vent to 100% open and leave it that way throughout the entire cooking process. Start with all 3 bottom vents 100% open. As the cooker approaches 250°F, begin to partially close all 3 bottom vents to maintain 225-275°F. Adjust the bottom vents as needed to maintain this temperature range throughout the cooking process.

Cook the turkey until it measures 160-165°F in the breast, 170-175°F in the thigh, using an instant-read thermometer. Cooking time is approximately 3-1/2 to 4 hours. This turkey took 3-1/2 hours to reach 167°F in the breast.
There’s no need to baste or rotate the turkey during the cooking process.
Here’s how the cooker temperatures and vent settings went during my cook:
| Time | Lid Temp | Vent 1 % | Vent 2 % | Vent 3 % |
| 5:15 pm | – | 100 | 100 | 100 |
| 5:45 pm | 217 | 100 | 100 | 100 |
| 6:00 pm | 235 | 100 | 100 | 100 |
| 6:15 pm | 245 | 100 | 100 | 100 |
| 6:30 pm | 250 | 100 | 100 | 100 |
| 6:45 pm | 250 | 100 | 100 | 100 |
| 7:15 pm | 255 | 100 | 100 | 50 |
| 7:45 pm | 262 | 100 | 100 | 50 |
| 8:45 pm | 275 | 100 | 100 | 0 |
Note that the vent percentages represent the way I set the vents at the time indicated.
Rest Then Carve The Turkey
Remove the turkey from the cooker and let rest for 20 minutes before carving. Do not cover with foil, as this will cause the skin to go soft.
Alternatively, wrap the turkey tightly in several layers of wide, heavy duty aluminum foil, place breast-side down in an empty cooler, and hold for 90-120 minutes before carving.
After the rest, carve the turkey to your liking. See the Turkey Selection & Preparation article for carving tips. I like to remove the breast as a single piece and then cut into slices across the grain using an electric carving knife.
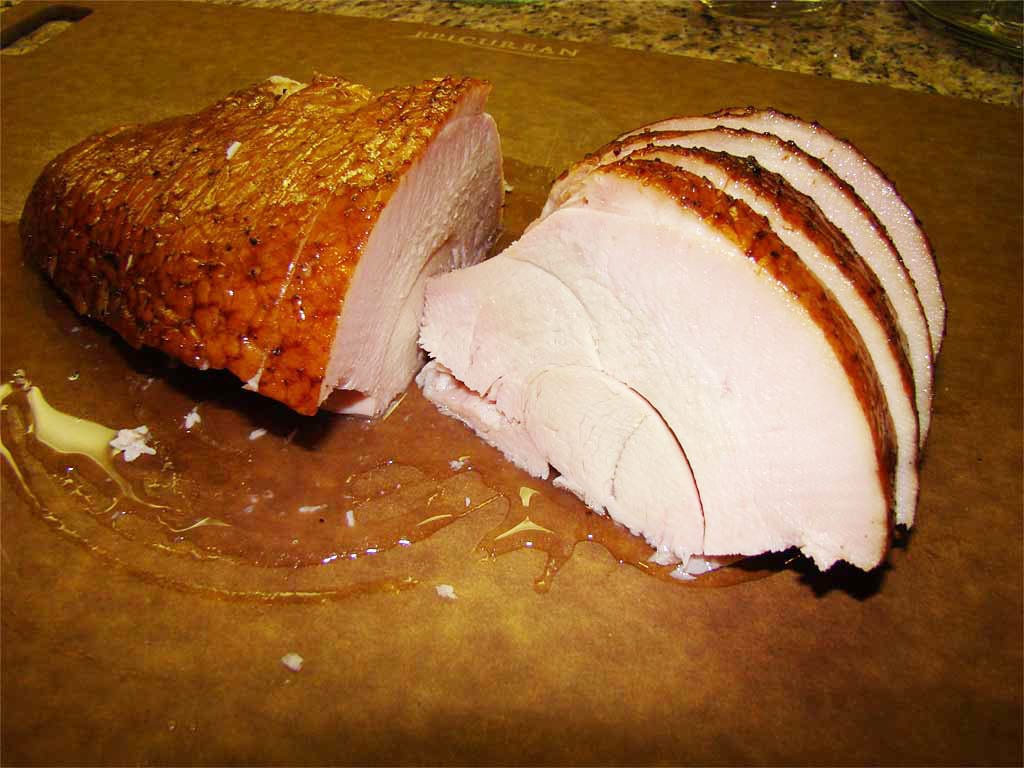
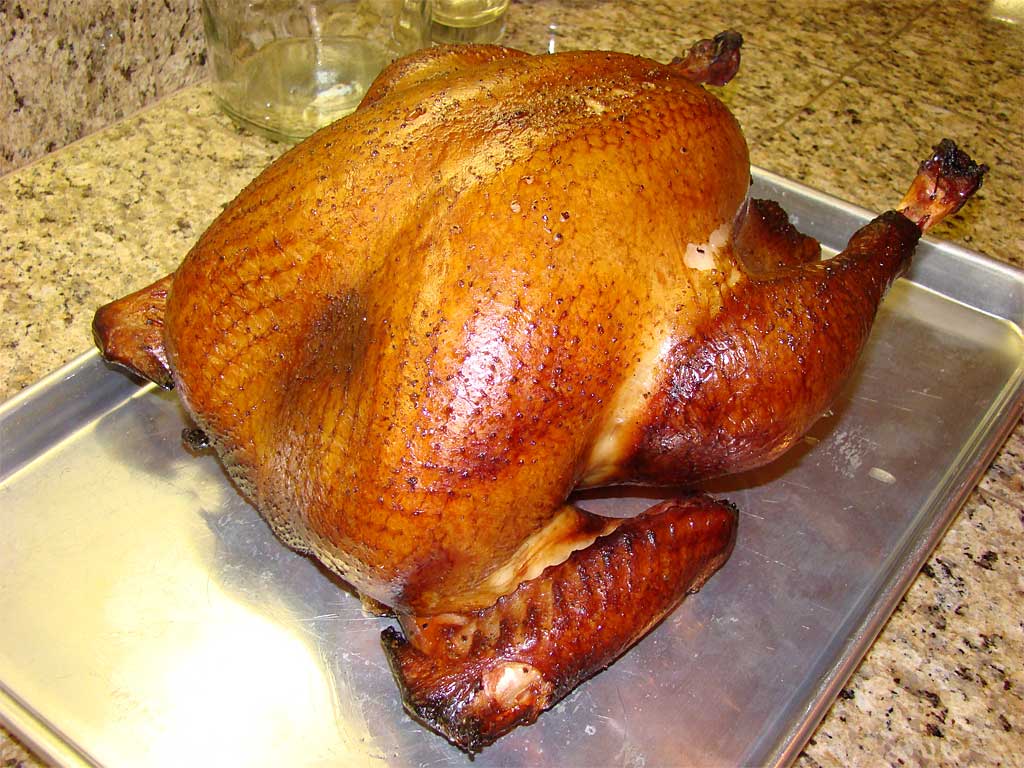
The turkey came out looking and tasting great. The meat was well seasoned throughout and was super-moist. In the photo above, you can see that the Morton Tender Quick gives the meat a light pink, slightly cured look, and the meat has a slightly cured taste, too. Some people say that Tender Quick makes everything taste like ham…you’ll have to judge that for yourself. I liked the taste of this turkey a lot.
I wrote in my cooking log, “I’d be happy to serve this turkey at Thanksgiving!”, and I think you will be, too. Gobble gobble!
Collecting Pan Drippings For Gravy
There are three common ways to collect pan drippings when smoking a turkey:
- Cook the turkey in a shallow, disposable foil pan.
- Cook the turkey on the top cooking grate. Place an empty foil pan on the bottom grate to catch the drippings.
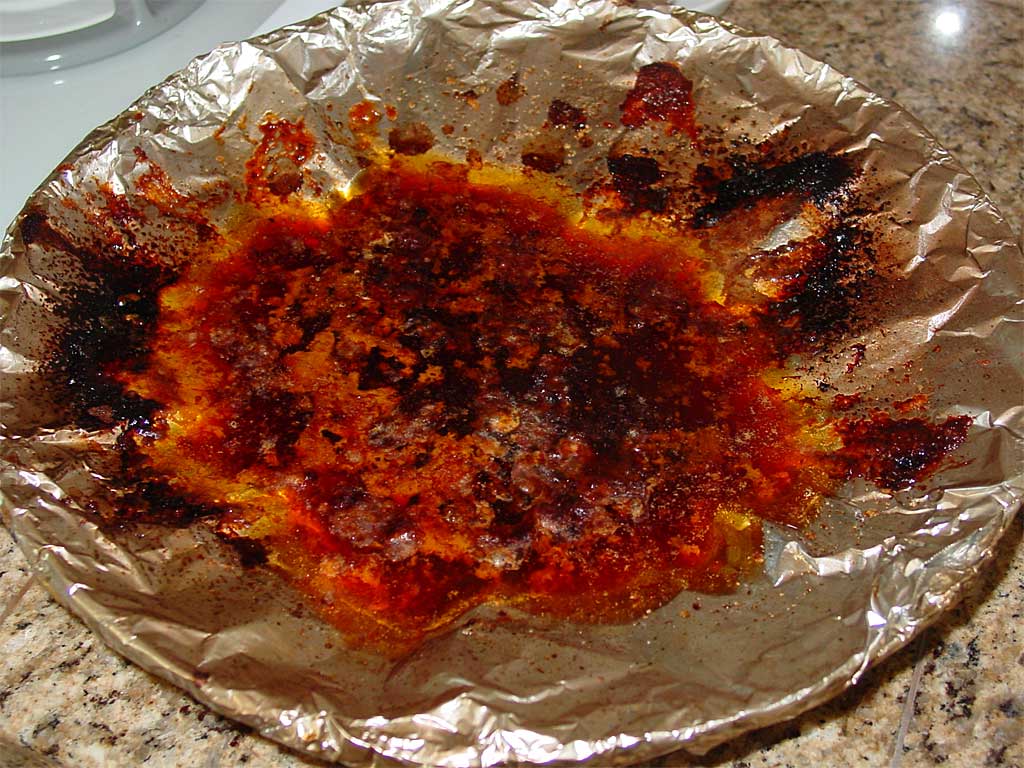
- Cook the turkey on the top cooking grate. Line the water pan with wide, heavy duty aluminum foil, but suspend the foil 1-1/2″ above the bottom of the pan so it does not touch. This prevents the drippings from burning.
Here’s an example of lining the water pan with foil and catching the drippings:
 Assuming you don’t over-smoke the turkey, the drippings will be perfect for making gravy—in fact, they’re already seasoned by the salt applied to the turkey.
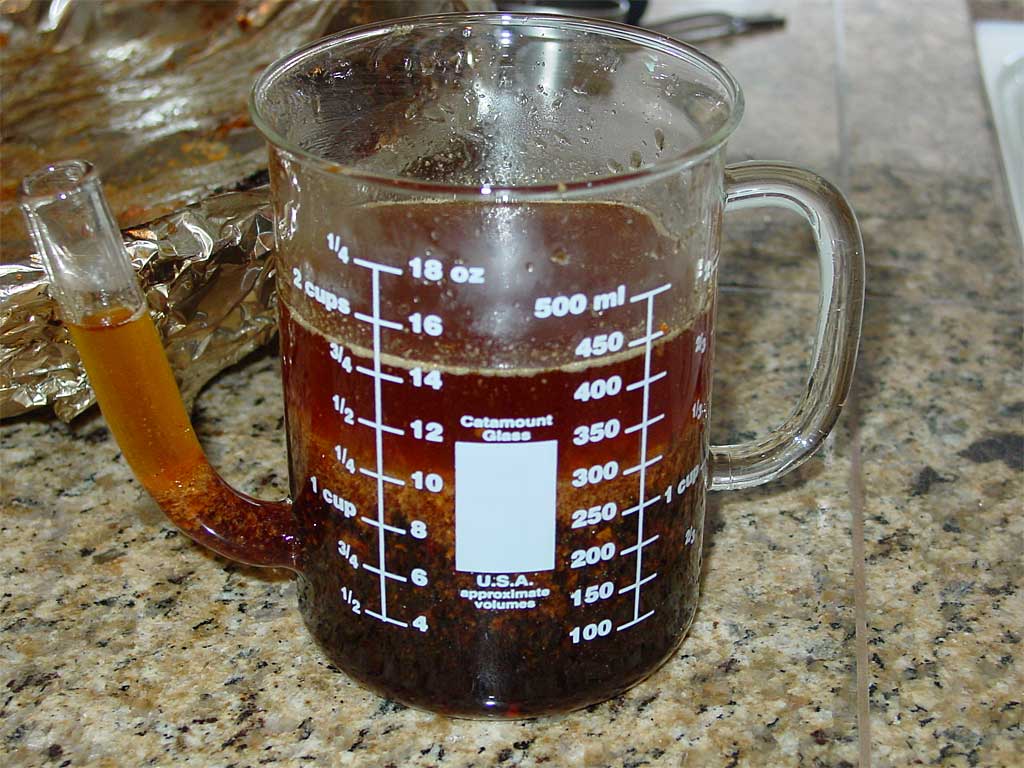
As you remove the turkey from the cooker, pour any accumulated juices inside the body cavity into the pan. You can also use the juices left in the bottom of a rimmed baking sheet pan after letting the turkey rest before carving.
You’ll typically end up with about 1-1/2 cups of drippings.
If you don’t have any drippings, make the delicious turkey giblet gravy described on The Virtual Weber Bulletin Board using the giblets, aromatic vegetables, chicken stock, white wine, and seasonings.
-
More Turkey Links On TVWB
- Whole Turkey – Self-Basting
- Whole Turkey – Basic Brine
- Whole Turkey – Brined Butterball Self-Basting
- Whole Turkey – Apple Brine
- Whole Turkey – Salted aka Dry Brined
- Butterflied Turkey – Salted
- Turkey Breast – Bone-In
- Turkey Breast – Boneless & Skinless
- Turkey Breast – Central Texas Style
- Giant Texas Turkey Legs: The Easy Way
- Turkey Selection & Preparation
- All About Brining
- All About Dry Brining (Salting) Meat
- Video: Turkey Carving Demo
- Transcript: Turkey Chat With TVWB & Weber’s Kevin Kolman – November 2013
- Countdown to Thanksgiving: 30 Tips For Your Best Thanksgiving Ever
- Turkey Talk Forum At The Virtual Weber Bulletin Board
- Turkey Recipes At The Virtual Weber Bulletin Board
 Don’t Cook Your First Turkey On Thanksgiving Day
Don’t attempt to cook your first whole turkey on Thanksgiving Day. Who needs the pressure? Instead, cook a practice turkey a week or so before the big day. This way, you’ll be confident in your abilities and in your recipe, and you’ll look like a seasoned pro when you pull the perfect smoked turkey from the WSM and present it to your family and friends.


