Splitting Pork Butt Creates More Bark
Splitting a boneless pork butt before cooking creates more delicious outside bark (more surface area = more bark) and promotes faster cooking.
You can split a pork butt in different ways, but to maximize surface area you want to cut it in half lengthwise across its width, as shown in this diagram.
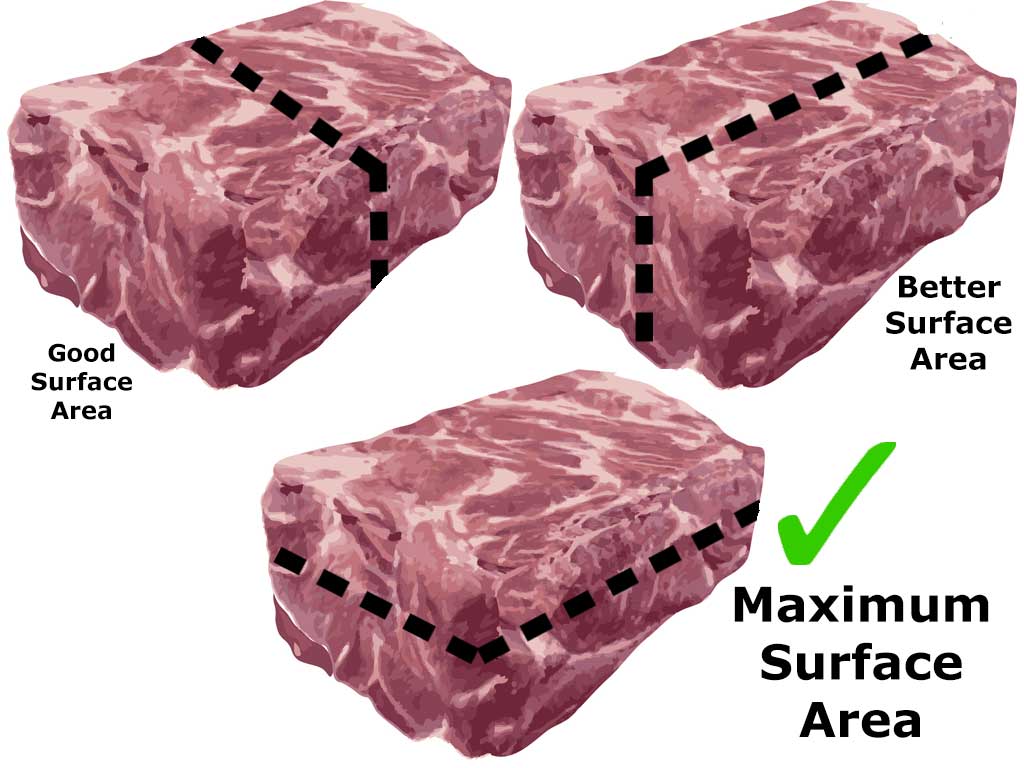
Of course you can split a pork butt into three or four pieces but at some point there are diminishing returns, e.g. too much bark and not enough inside meat, and perhaps not enough room to arrange the pieces on the cooking grate. To me, splitting a pork butt into two pieces makes the most sense.
I have seen photos of butterflied pork butts, opened up like a book along the long or short edge, resulting in a single large piece of meat. Cutting a butt into two separate pieces versus a single large piece creates more surface area and is, I think, easier to manage on the cooking grate.
Video: Pork Butt Split In Half
This video demonstrates the preparation and cooking process described in this article.
Start With A Boneless Pork Butt
To split a pork butt into two pieces, you need a boneless butt. You can purchase one at the supermarket, or you can debone a butt yourself. Deboning a pork butt is kind of a tricky process, as shown in my How NOT To Debone A Pork Butt video, but if you’re comfortable using a sharp boning knife I’d encourage you to give it a try.
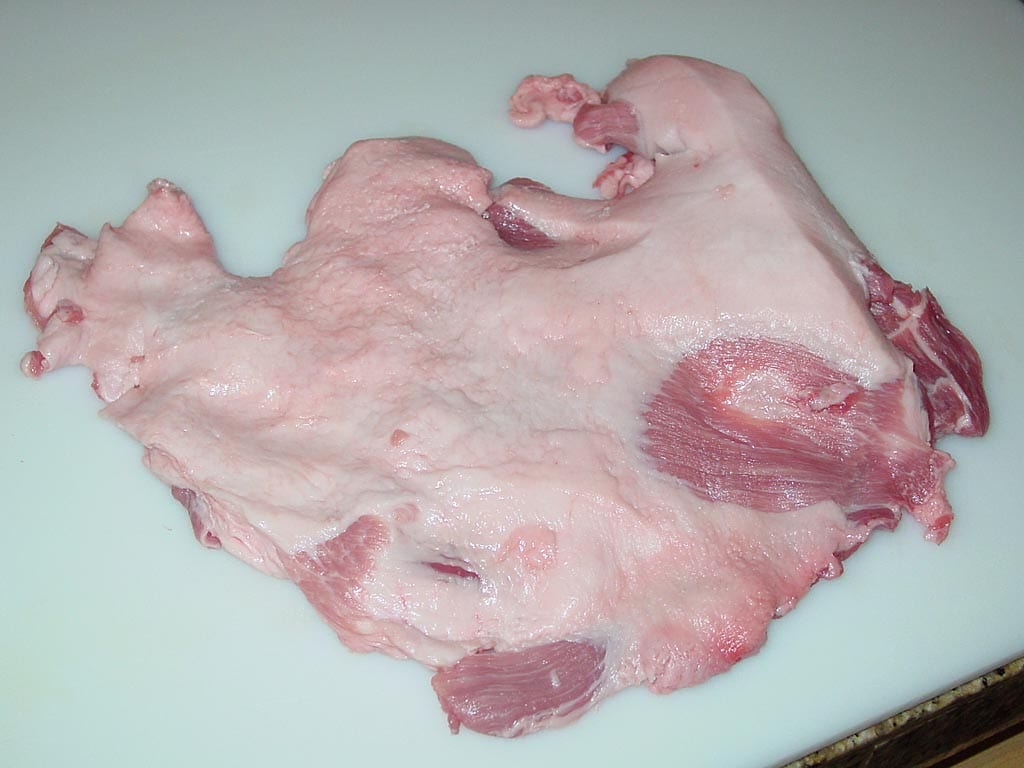
I would urge you to remove the fat cap and false cap from the pork butt. If you’ve got a bone-in butt, it’s easier to do this before removing the bone. You can watch me remove the fat cap and false cap from a pork butt in this video.
With fat cap, false cap, and bone removed, cut the pork butt in half lengthwise as shown in these two photos. I used a 10″ cimeter knife to make this cut.
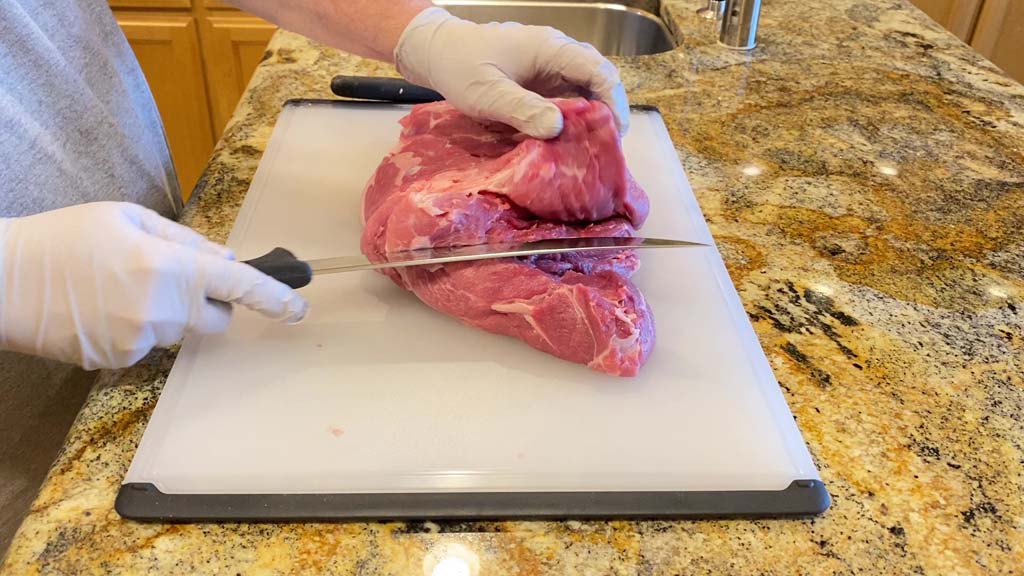
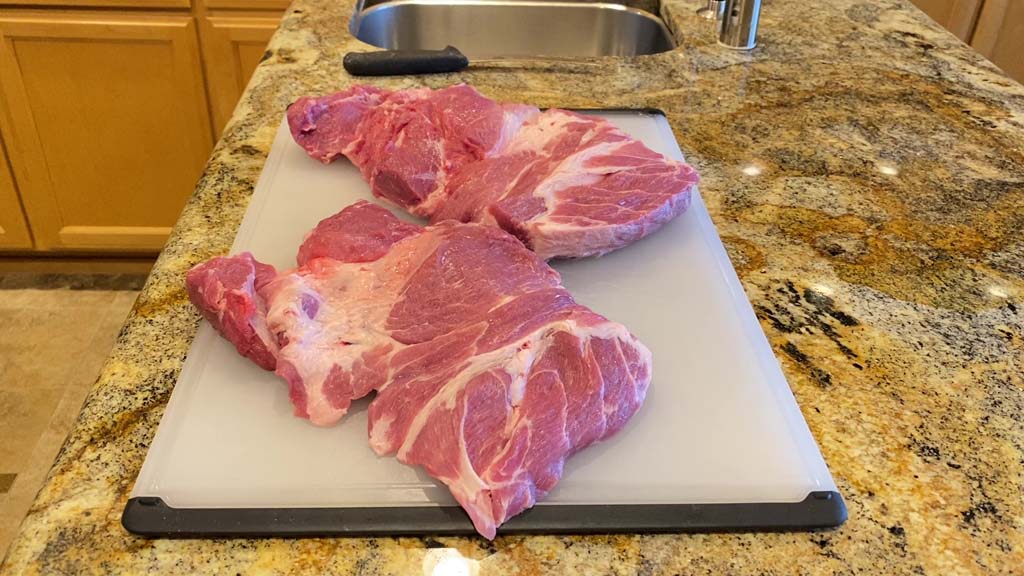
The two pieces won’t be exactly even, but that’s OK, don’t worry about it.
The pork butt shown here started out weighing 10.17 pounds with the bone in.
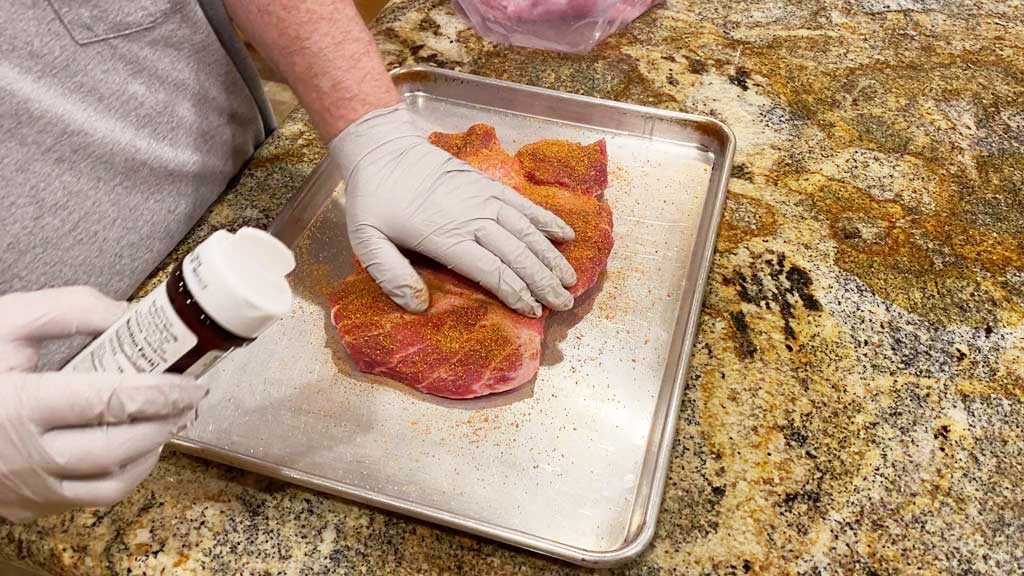
Trim & Rub The Meat
Once you’ve split the butt into two separate pieces, trim away any excessive areas of fat and weird bits like blood vessels or glands.
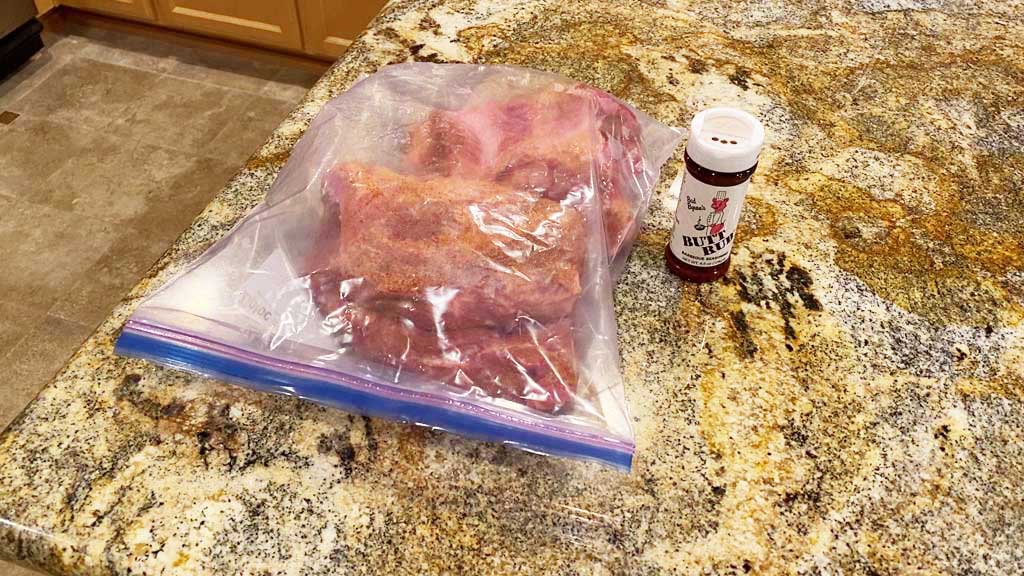
You’re now ready to apply your favorite rub and cook the split butt using whatever method you like. I applied Bad Byron’s Butt Rub to the pork butt, refrigerated it overnight, and applied a bit more rub before putting it in the WSM.
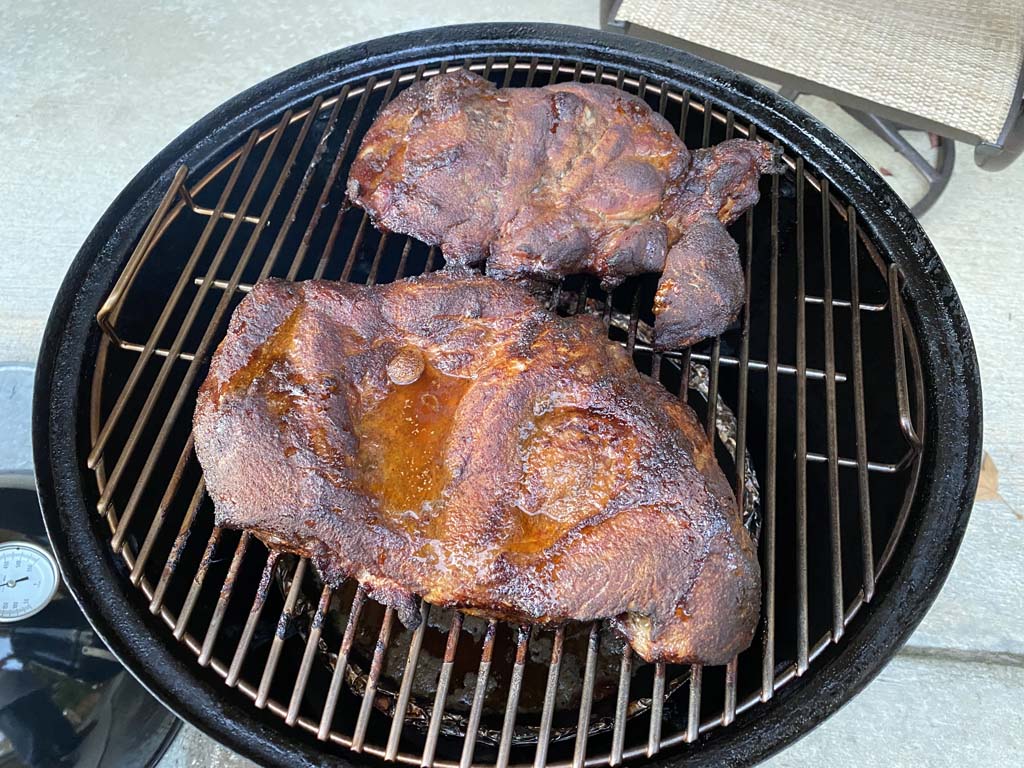
Smoke The Pork Butt
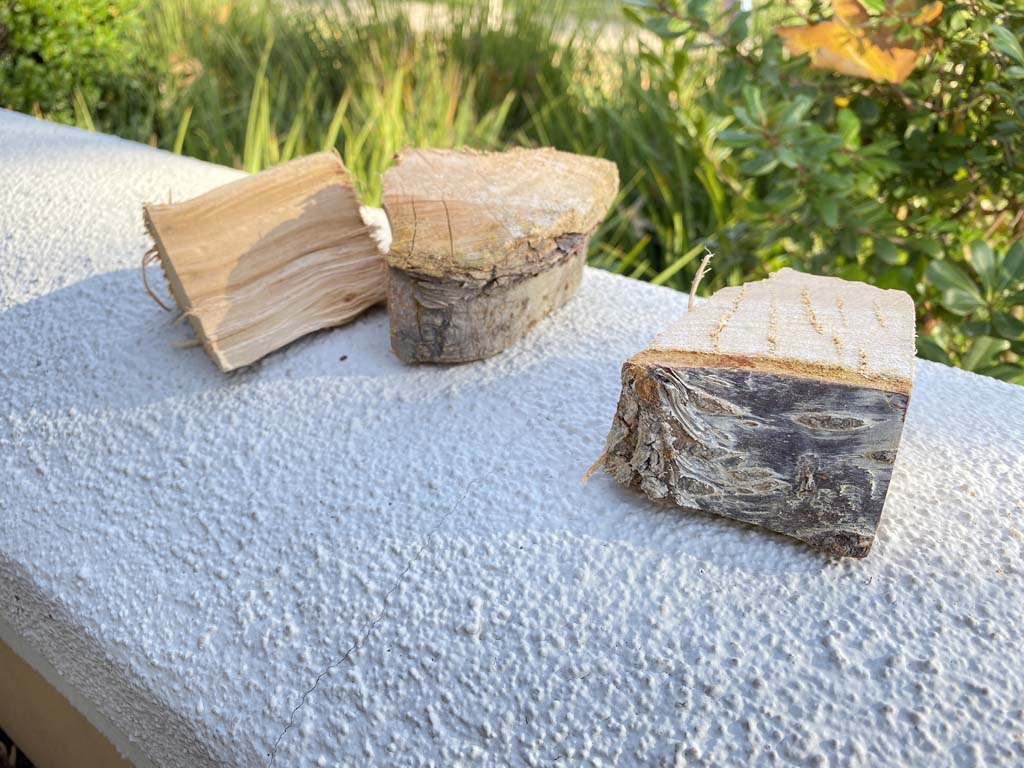
I fired the WSM using the Minion Method, filling the charcoal chamber to the top with unlit Kingsford Charcoal Briquets and nestling two large chunks of apple smoke wood and one large chunk of cherry smoke wood into the unlit charcoal.
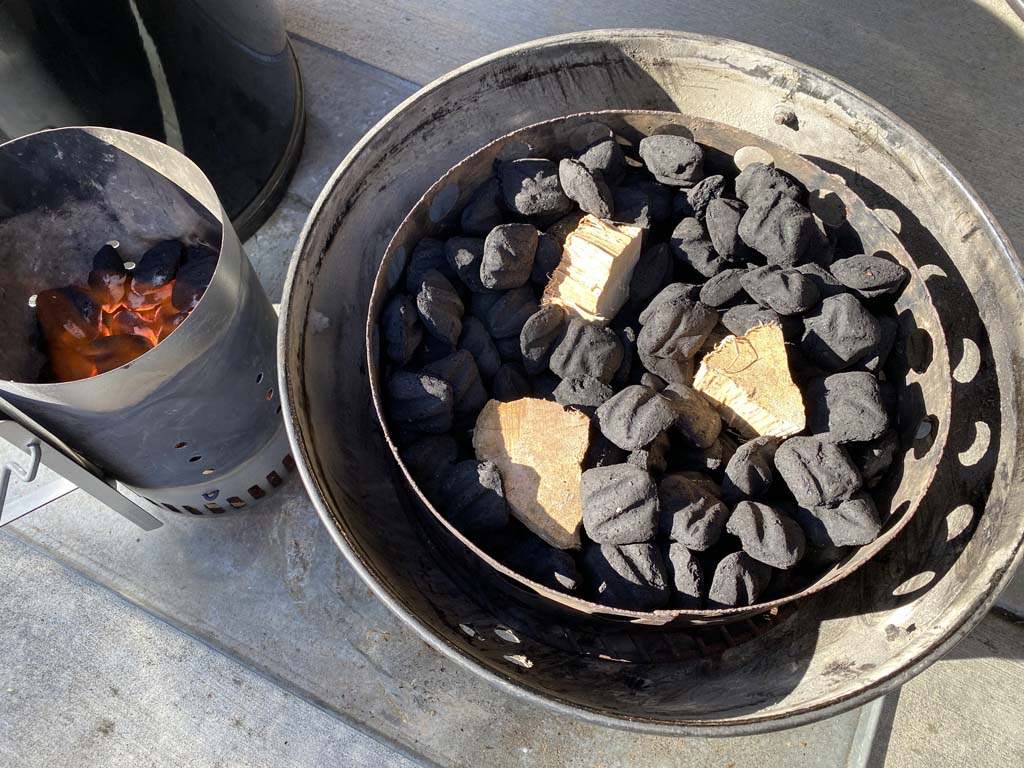
I lit 40 briquettes using a Weber chimney starter and spread them over the unlit briquettes and smoke wood.
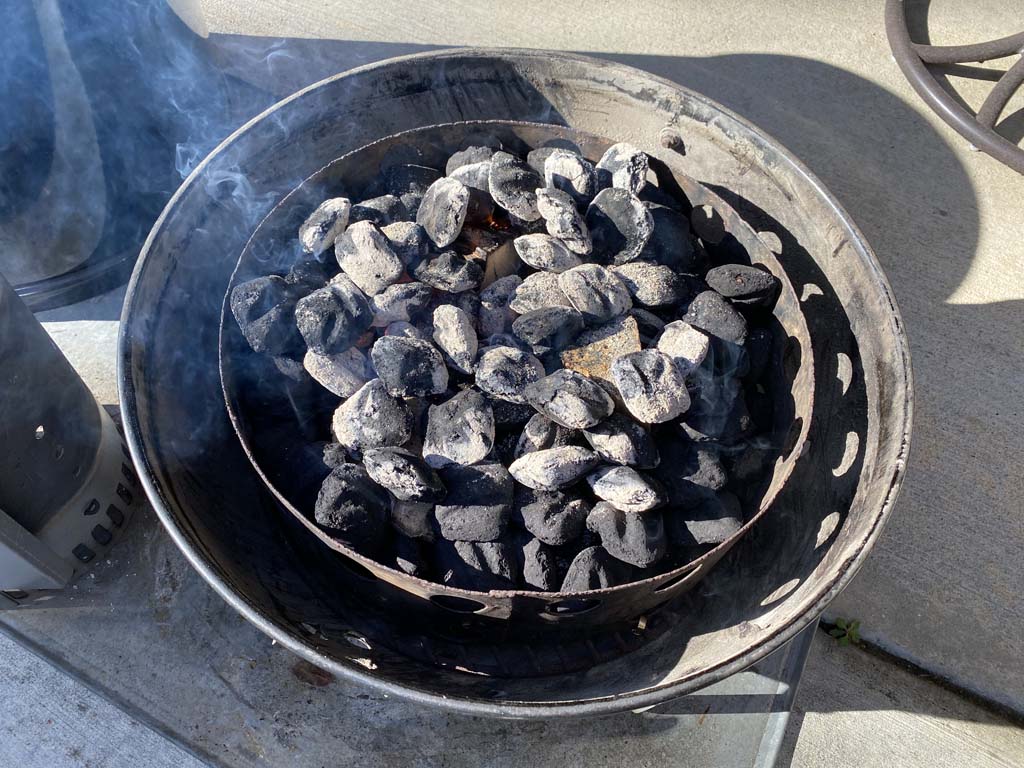
I assembled the cooker, immediately filled the water pan from above with hot tap water, and placed the pork butt onto the top cooking grate.

I started with the 3 bottom vents at 100% open. I opened the top vent fully and left it that way throughout the entire cook.
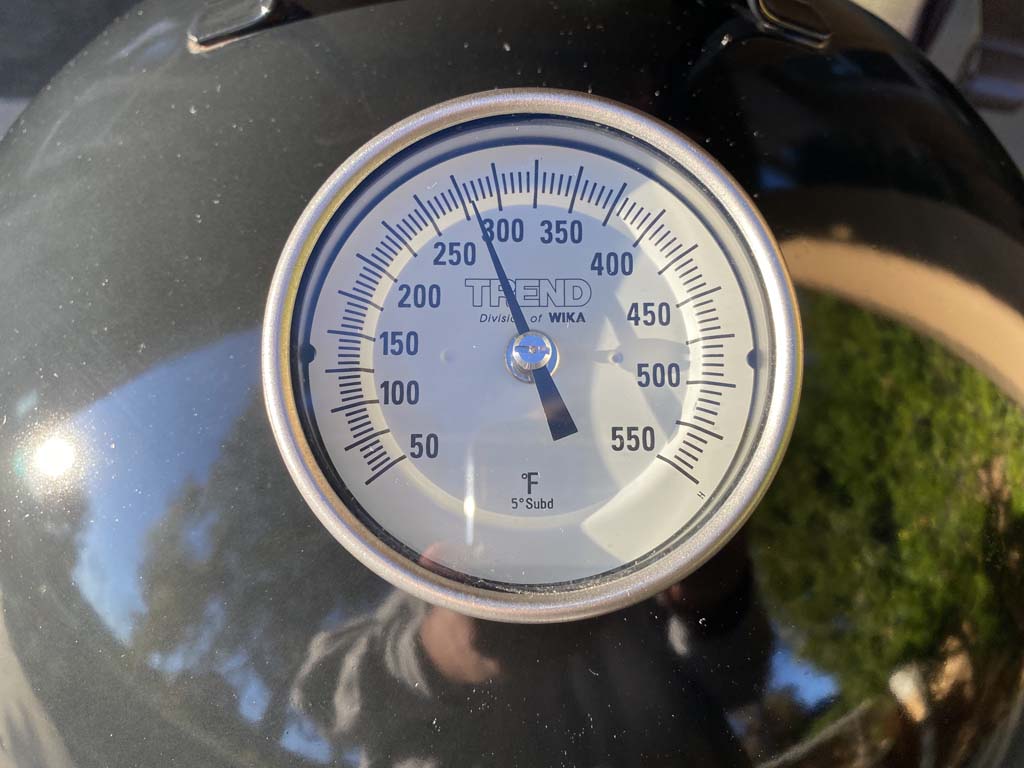
I ran the WSM at 275-300°F, adjusting the 3 bottom vents as needed to keep the temp in that range. After three hours of cooking, the internal meat temp reached 170-185°F…I was surprised, expecting it would only be 160-170°F.
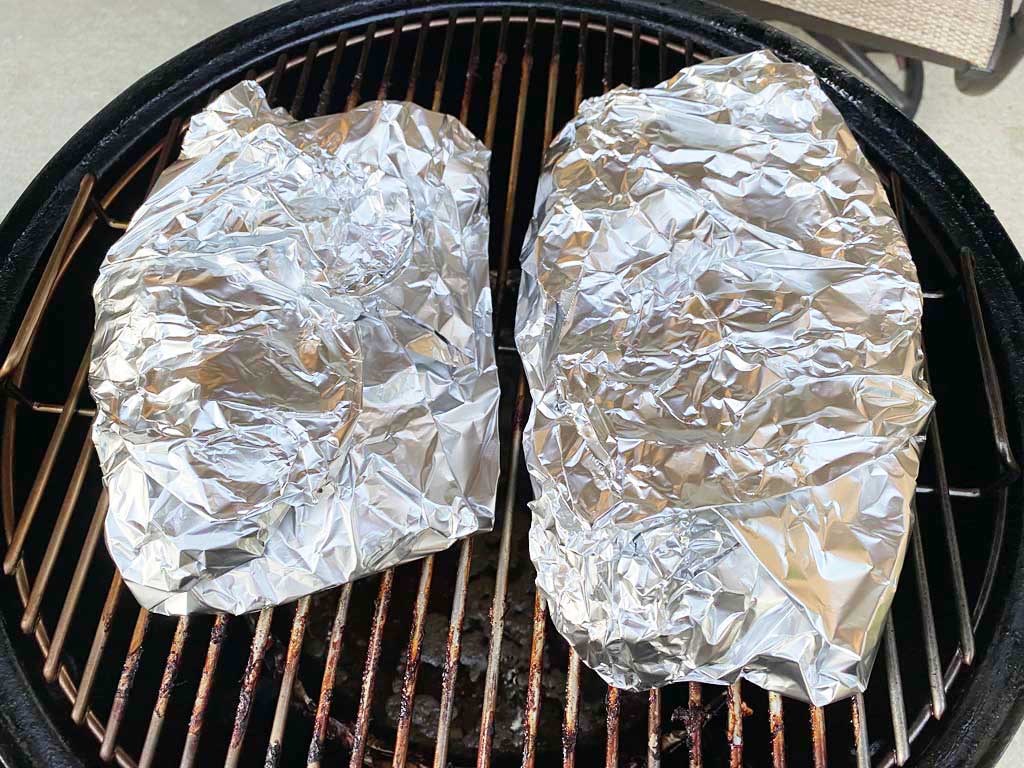
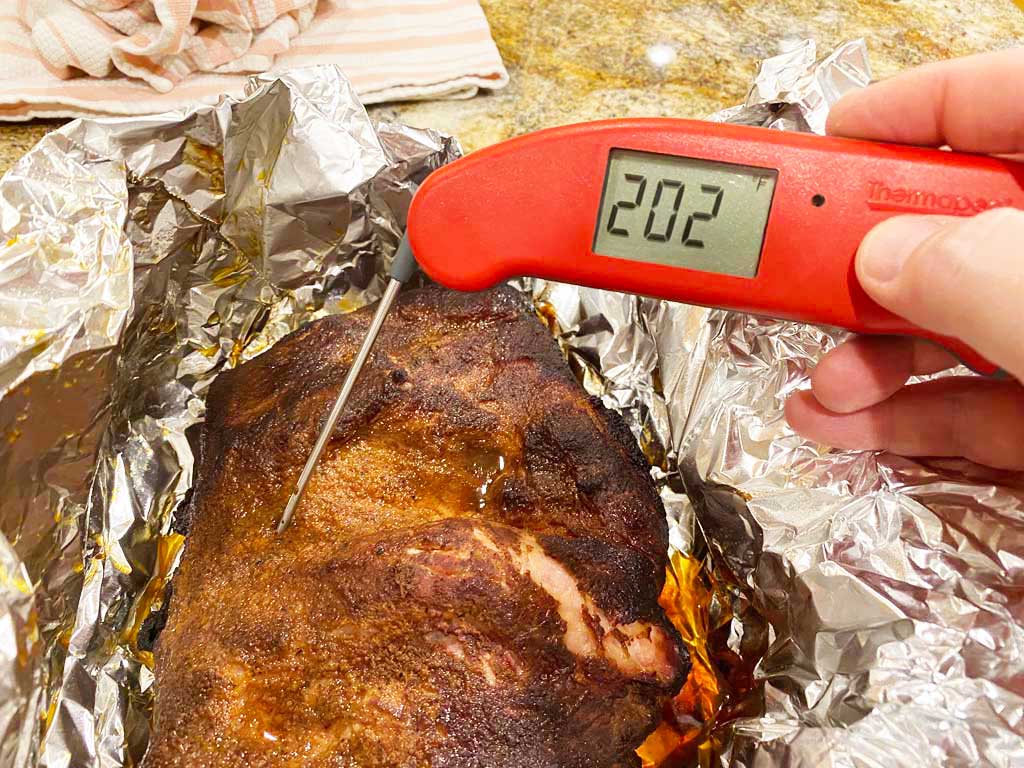
I gave the meat a good spritz with water, wrapped each piece in aluminum foil, and returned it to the cooker.
It took just 70 minutes for the meat to reach 203-211°F measured with an instant-read thermometer. This split pork butt cooked in just 4 hours 10 minutes! So splitting a pork butt really does speed up cooking.
Here’s how the cooker temperatures and vent settings went during my cook:
| Time | Lid Temp | Meat Temp | Vent 1 % | Vent 2 % | Vent 3 % |
| 1:40 pm | – | – | 100 | 100 | 100 |
| 2:00 pm | 239 | – | 100 | 100 | 100 |
| 2:30 pm | 258 | – | 100 | 100 | 100 |
| 3:00 pm | 255 | – | 100 | 100 | 100 |
| 3:45 pm | 280 | – | 100 | 100 | 100 |
| 4:15 pm | 286 | – | 100 | 100 | 100 |
| 4:40 pm (s)(f) | 290 | 170-185 | 100 | 100 | 100 |
| 5:00 pm | 305 | – | 100 | 100 | 0 |
| 5:30 pm | 285 | – | 100 | 100 | 0 |
| 5:50 pm | 275 | 203-211 | 100 | 100 | 0 |
(s) Spritzed with water
(f) Wrapped in foil
Note that the vent percentages represent the way I set the vents at the time indicated.
Rest & Pull The Pork
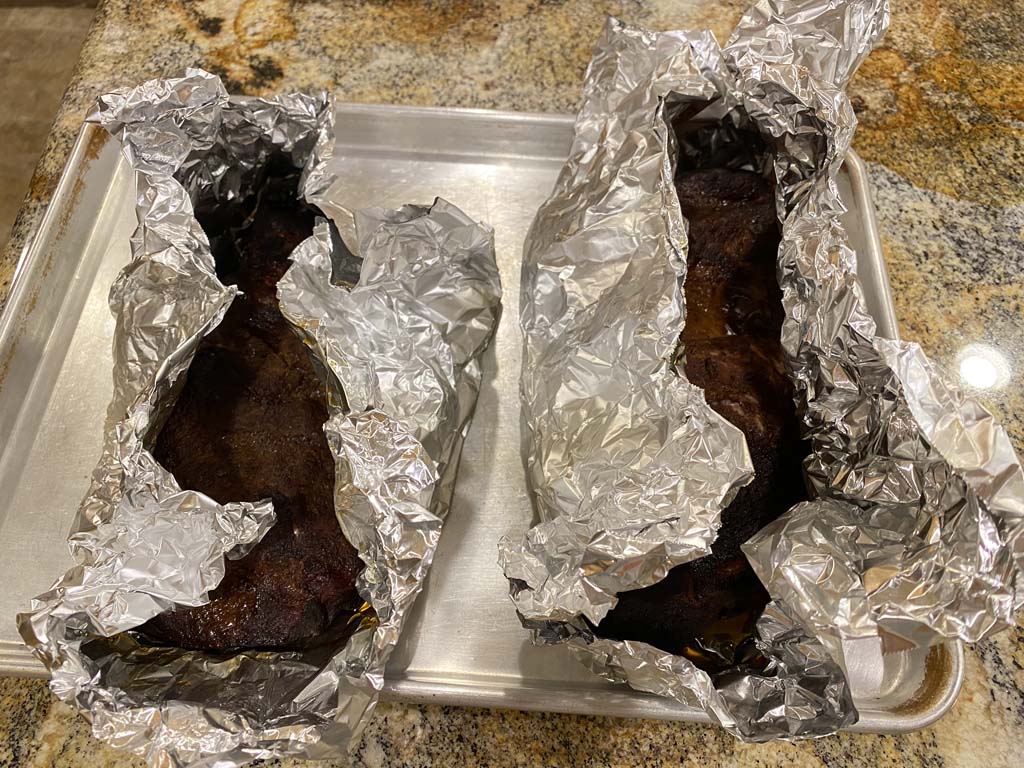
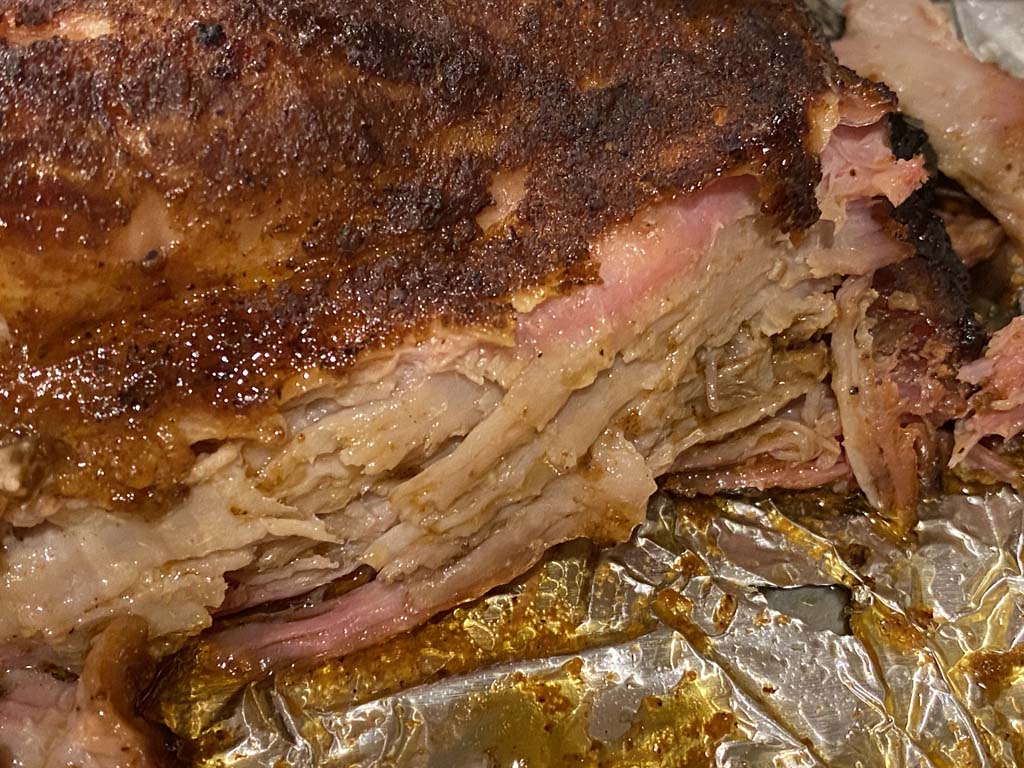
I brought the foiled pork into the kitchen, cracked open the foil, and let the meat cool and rest for 30 minutes before pulling it. In this photo, you can see signs of a decent smoke ring and moist inside meat.
I pulled the meat, discarding areas of fat and connective tissue, which resulted in this container of delicious pulled pork with lots of dark outside meat.
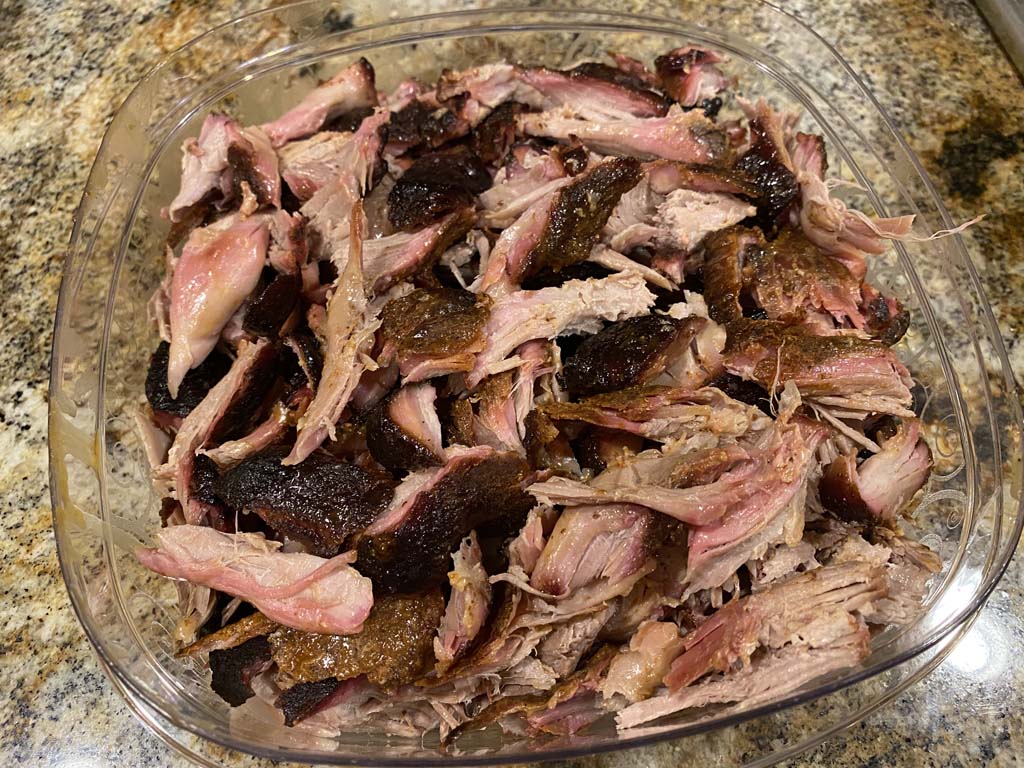
I consider this split pork butt to be a big success. It’s a technique I will definitely use again in the future. One thing I should point out is that the very fast cooking time of 4 hours 10 minutes can be attributed to not only splitting the butt into two thinner pieces, but also to cooking at 275-300°F and to wrapping in foil during the last part of cooking.
Give pork butt split in half a try…I think you’ll be pleased with the results!
More Pork Butt Links On TVWB
- Pork Butt – Smoke & Spice The Renowned Mr. Brown
- Pork Butt – Slathered With Mustard & Rub
- Pork Butt – Chris Lilly Big Bob Gibson Championship Injection
- Pork Butt – Harry Soo Slap Yo’ Daddy Injection
- Pork Butt – Untrimmed Direct Heat
- Pork Butt – Buckboard Bacon
- Pork Butt In Foil Pans
- Pork Butt Split In Half
- Pulled Pork Butt Servings Calculator
- Pork Butt Selection & Preparation


