Summary
- Select meaty slabs of beef back ribs (beef long ribs) with good meat coverage over and between the bones.
- A full slab will have 7-8 bones.
- Remove the membrane from the bone side of the slab, as you would with pork ribs.
- Cut slabs into pieces that will fit into rib racks and apply rub to both sides.
- Smoke at 250-275°F for 3 hours. Wrap in pink butcher paper and continue cooking 1-2 hours until tender.
 I made long bone beef back ribs in March 2010 and liked them very much. I thought I’d try making them again, but this time using a simpler rub and wrapping them in pink butcher paper during the last part of the cooking process. I’m not sure they were better than the ribs I made in 2010, but they sure tasted great!
Here are some photos I took on July 5, 2015 when I barbecued these long bone beef back ribs.
Choosing And Prepping Beef Back Ribs
Beef back ribs correspond to loin back ribs on a pig, but of course they’re much larger in size. The extremely tender rib roast sits right on top of the back ribs, so you know these suckers are going to be tender and delicious if prepped and cooked properly.
For this cook, I wanted big, meaty, beef back “long ribs”. I bought these at Restaurant Depot, a members-only wholesale restaurant supply store with locations throughout the United States. If you are a Kansas City Barbeque Society (KCBS) member, you can get a free day pass by showing your KCBS membership card and a photo ID.
I purchased three slabs of beef back ribs in Cryovac packaging weighing 15.49 pounds. Look carefully at beef back ribs before purchasing them. You want meaty slabs with good meat coverage over and between the bones. We’ve all seen stores selling slabs in which all the meat has literally been carved out from between the bones—don’t buy those ribs. Also, count the number of bones. A full slab of beef back ribs will contain 7-8 bones.
Prepping beef back ribs is about the same as prepping pork ribs. Remove the membrane from the bone side using a butter knife and paper towel, as described in the Pork Loin Back Rib Preparation article. The membrane on beef ribs is much thicker and may put up more of a fight than on pork ribs, but the process is the same.
After removing the membrane, scrape away any large areas of fat on the bones, then flip the slab over and trim away any large areas of fat from the meat side. You don’t have to be too fussy, just trim away what makes sense to you.
The last step is to figure out how you’re going to fit these monsters into the cooker. These ribs are not as long as a full slab of pork loin back ribs, but much wider and with much thicker bones, which makes fitting them into a rib rack difficult. They also don’t like to roll into a circle like pork ribs do.
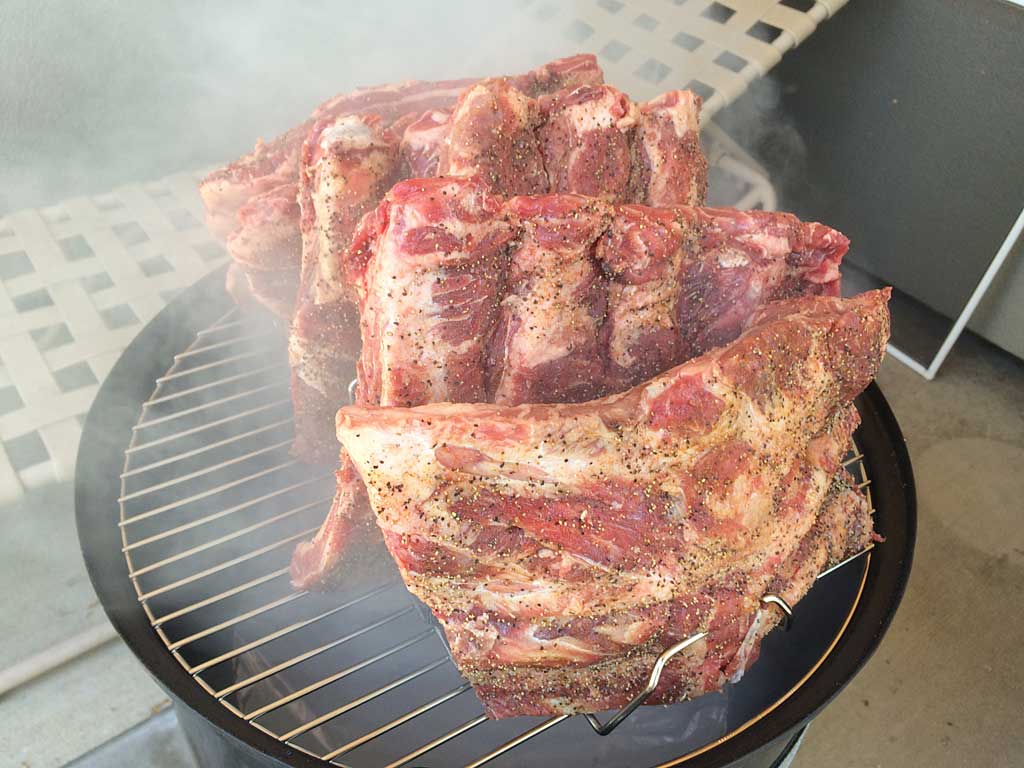
I was able to fit these ribs into the WSM by cutting each slab into two pieces and arranging them in rib racks on the top and bottom cooking grates, as shown in a photo later in this article.
Rubbing The Ribs
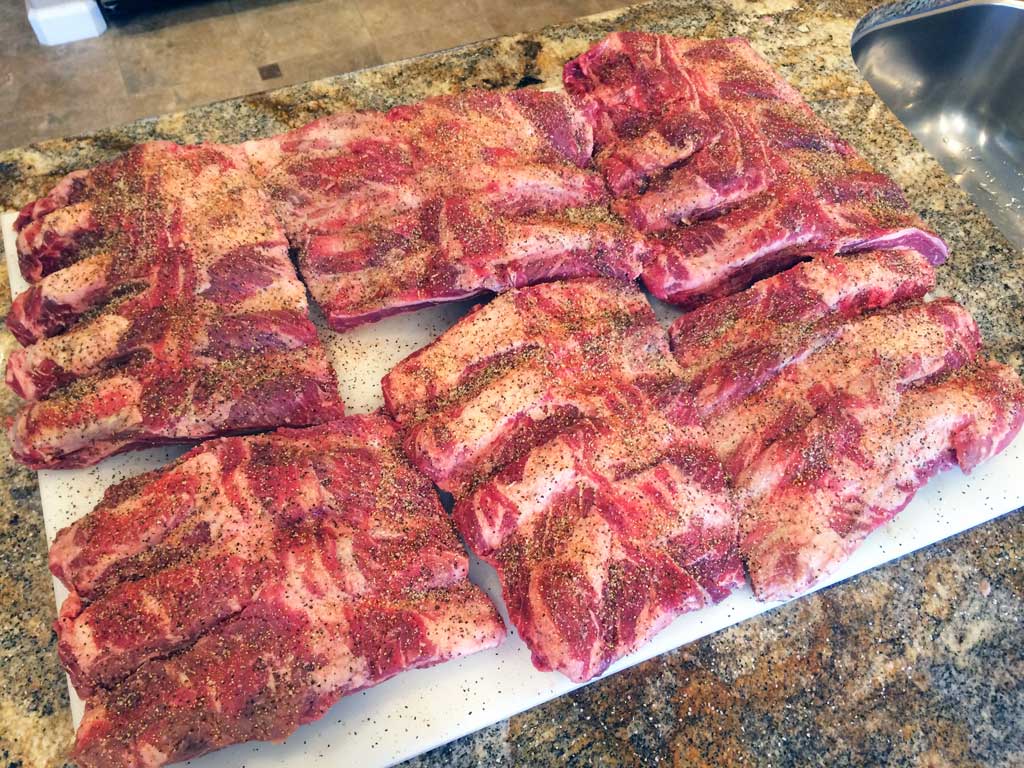 This photo shows the three slabs of ribs cut into 3- and 4-rib portions and rubbed with this simple mixture:
Simple Beef Back Rib Rub
- 4 Tablespoons kosher salt
- 4 Tablespoons coarse ground black pepper
- 1 Tablespoon granulated garlic powder
- 1 Tablespoon paprika
Combine all ingredients and mix thoroughly.
Apply a heavy dose of rub to both sides of the ribs. Let the ribs sit at room temperature while you fire-up the Weber Smokey Mountain Cooker.
Using The Minion Method
 Fire-up the Weber Bullet using the Minion Method—fill the charcoal chamber about 1/2 full with unlit Kingsford Charcoal Briquets and then spread about 30-40 hot coals over the unlit ones.
Place a few chunks of your favorite smoke wood on the hot coals—I used 2 oak chunks.
Assemble the cooker with the water pan in place but leave the water pan empty. Last time I cooked these ribs, I used water in the pan, but this time I decided to skip the water.
Arrange the ribs on the top and bottom cooking grates using rib racks and put the lid on the cooker.
Set the top vent to 100% open and leave it that way throughout the entire cooking process. Start with all 3 bottom vents 100% open. As the cooker approaches 250°F, begin to partially close all 3 bottom vents to maintain 250-275°F. Adjust the bottom vents as needed to maintain this temperature range throughout the cooking process.
Details Of The Cook
Barbecue the beef back ribs at 250-275°F for 3 hours. I did not spritz, spray, baste, mop, sauce or turn these ribs during this time.
Here’s how the cooker temperature went during the first three hours of cooking:
| Time | Lid Temp | Vent 1 % | Vent 2 % | Vent 3 % |
| 12:20 pm | – | 100 | 100 | 100 |
| 12:50 pm | 230 | 100 | 100 | 100 |
| 1:20 pm | 245 | 100 | 100 | 100 |
| 1:40 pm | 257 | 100 | 100 | 100 |
| 2:00 pm | 265 | 50 | 50 | 50 |
| 2:20 pm | 262 | 50 | 50 | 50 |
| 2:50 pm | 282 | 50 | 0 | 0 |
| 3:20 pm | 262 | 50 | 0 | 0 |
Note that the vent percentages represent the way I set the vents at the time indicated.
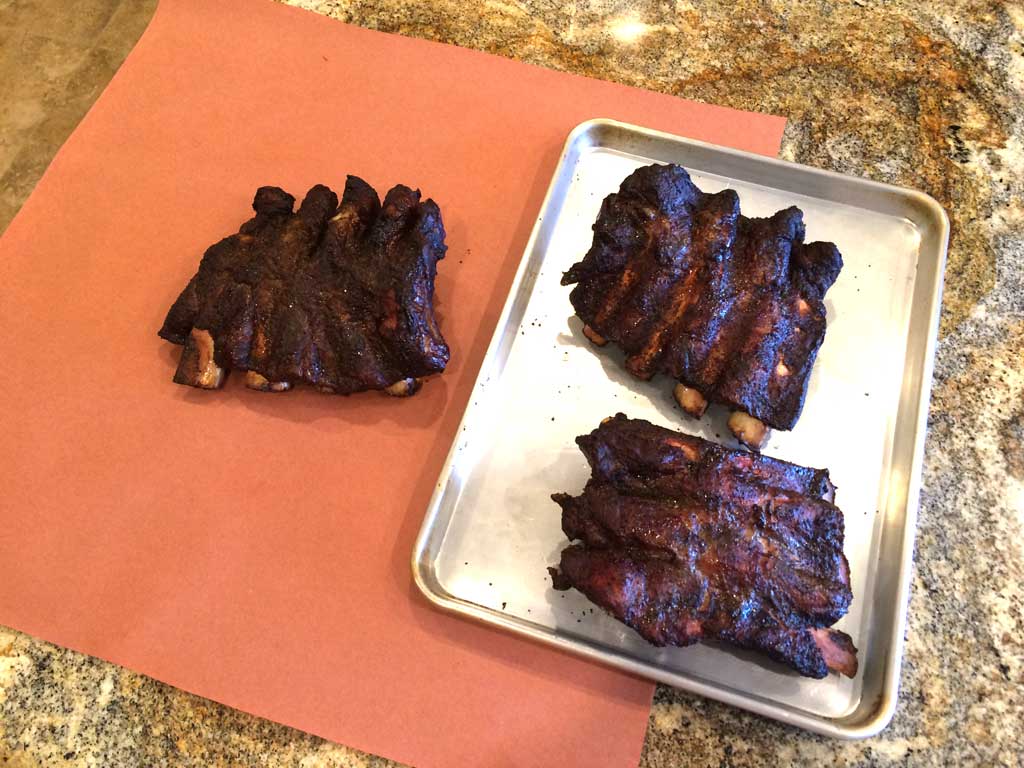
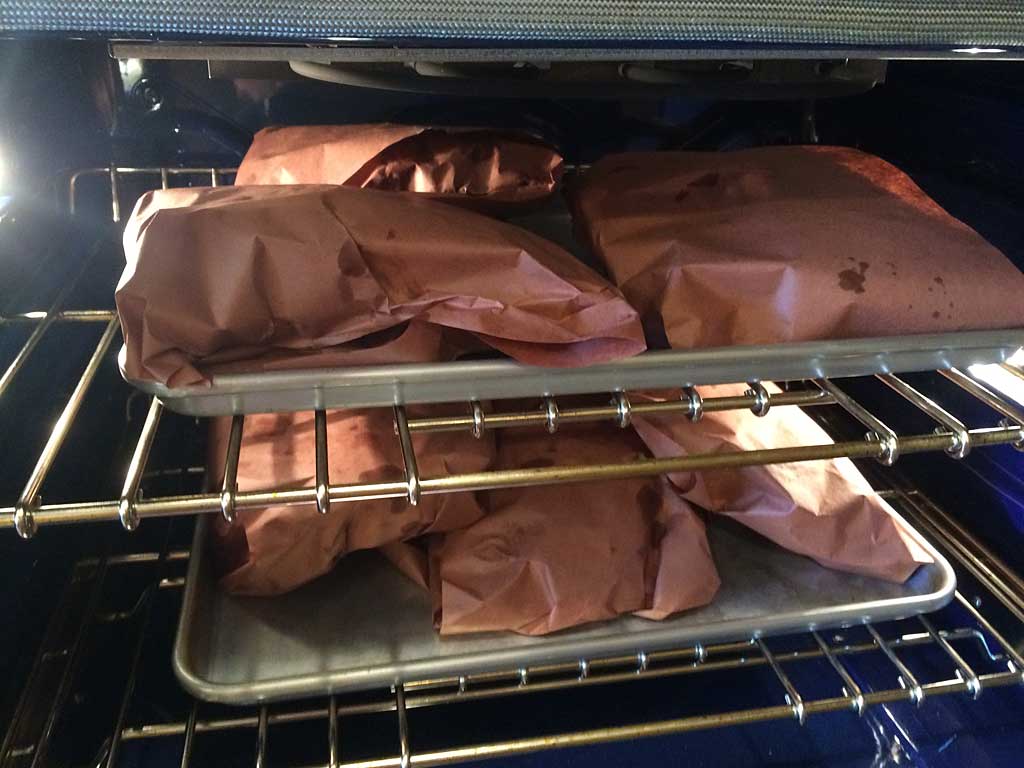
After three hours in the WSM, wrap the ribs in a layer of pink butcher paper. Return them to the cooker or move them into a 275°F oven and continue cooking until tender. Start testing for tenderness at the 4 hour mark; ribs should be done after 4-5 hours of total cooking time.
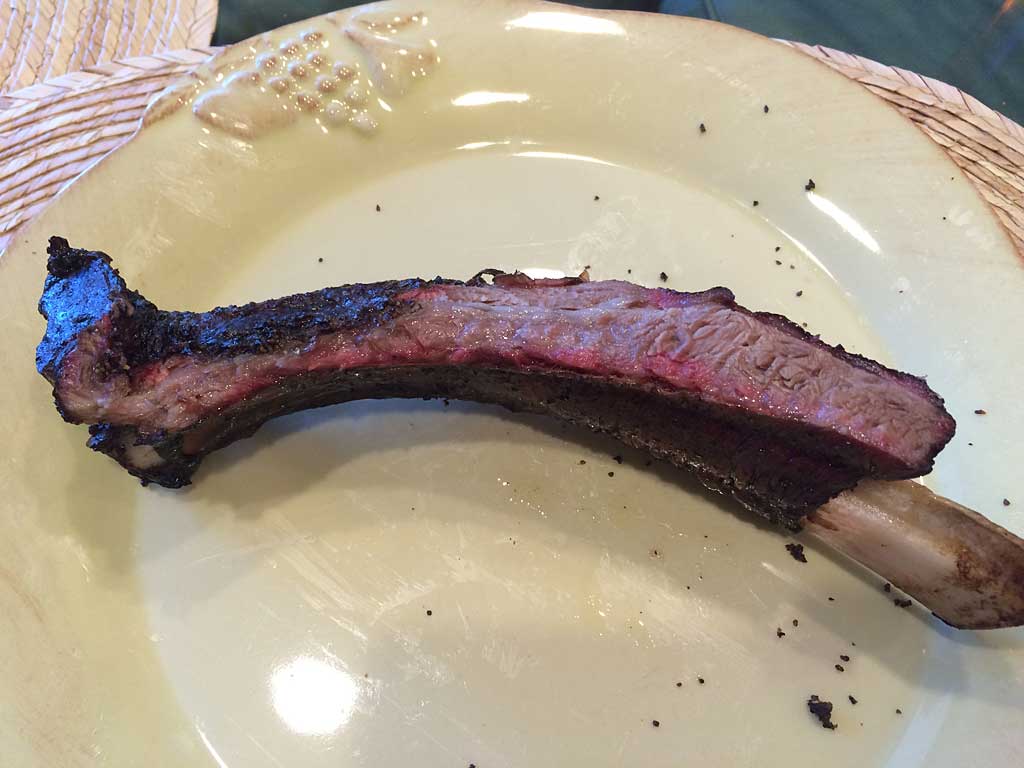
Cut Into Individual Bones & Enjoy!
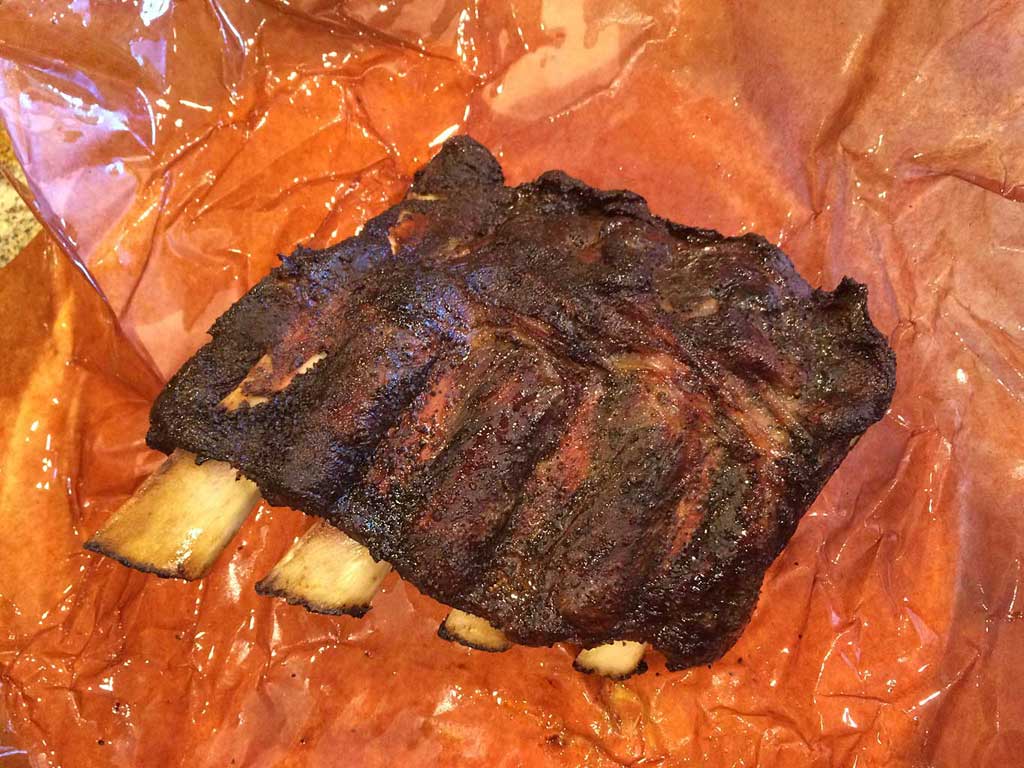
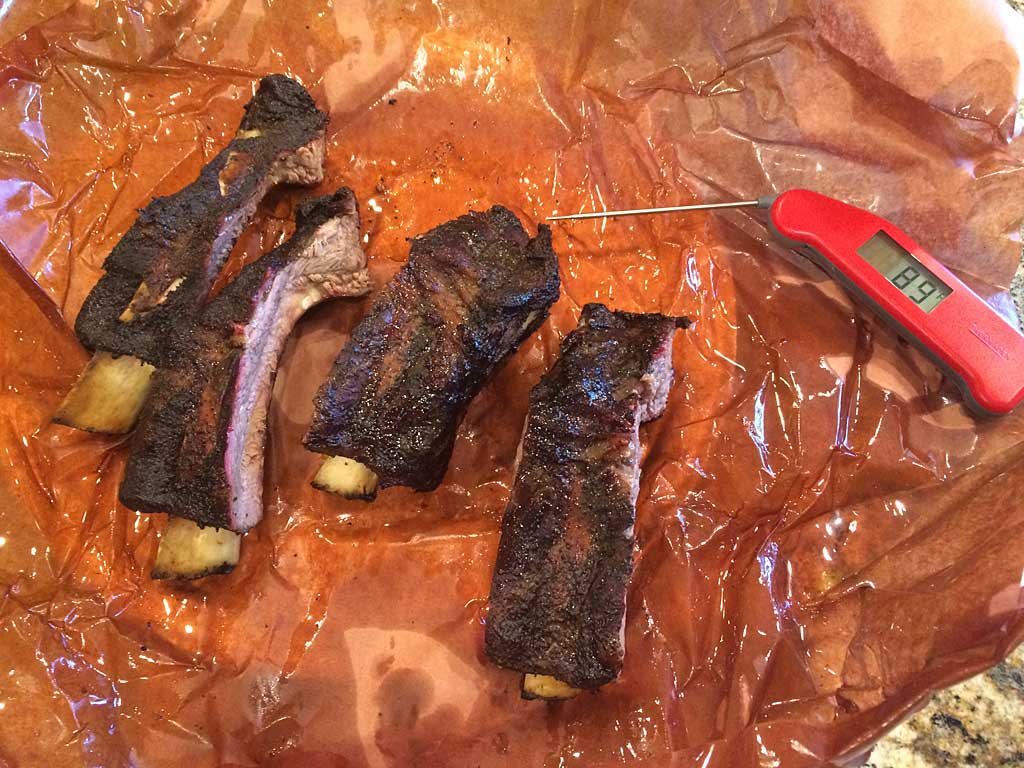
After 1 hour in butcher paper, I checked the ribs for tenderness by pulling on two adjacent bones. The smaller, thinner pieces offered just a little resistance before tearing easily, so I knew they were done. The larger pieces took an additional 1 hour of cooking to get tender.
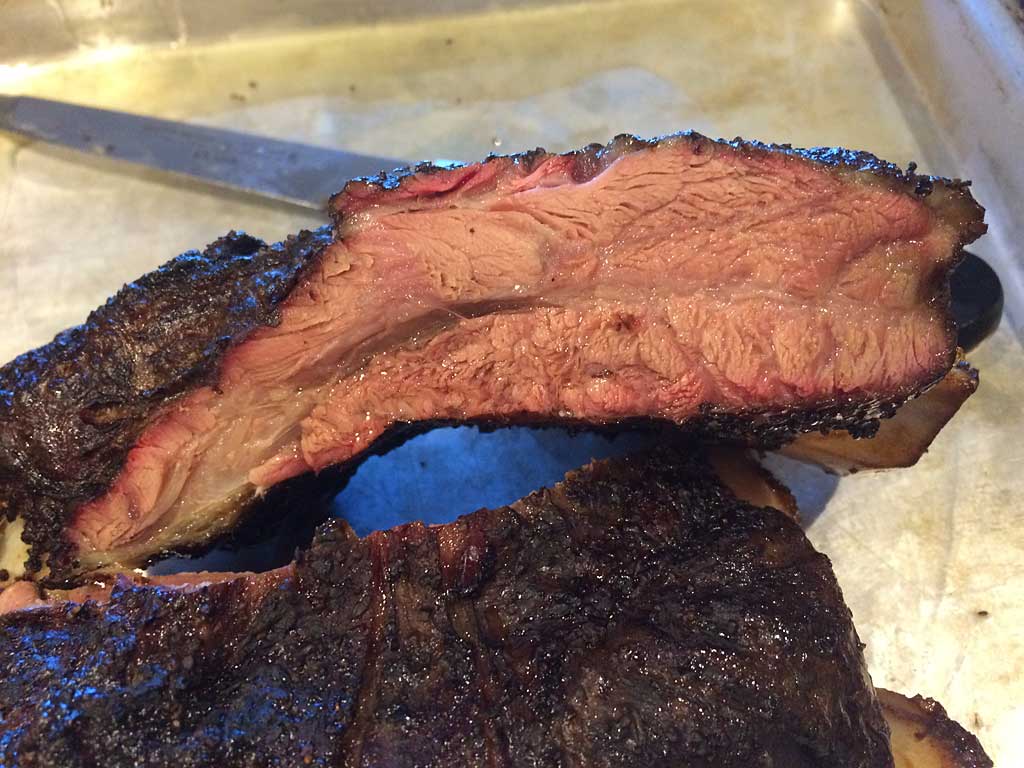
As you can see in the photos above, some of these ribs were more meaty than others, some much longer than others, but all were delicious, tender, and fun to gnaw on! The flavor is an intense, concentrated version of prime rib, since that’s what sits right on top of these bones.
If you can find some good quality long bone beef back ribs, I hope you’ll give them a try…they’re big on size and big on flavor!


