 Once you’ve mastered barbecued chicken in your new Weber Smokey Mountain Cooker, you’re now ready to “kick it up a notch” and try baby back ribs!
This easy method requires only one adjustment to the vent settings at the beginning of the cooking session. We’ll use water in the water pan to keep the cooker temperature under control. This allows us focus on the tenderness of the ribs, not the temperature of the cooker.
What You’ll Need For This Recipe
- 18.5″ Weber Smokey Mountain Cooker
- Weber Chimney Starter
- At least 9 pounds Kingsford Charcoal Briquettes (enough to fill the Weber chimney starter 1.5 times)
- 4 small chunks smoke wood
- 3 slabs pork loin back ribs—as close to 2 pounds each as possible
- Various herbs/spices for rub—see ingredients list below
- Yellow mustard
- Apple juice in spray bottle for basting
- KC Masterpiece Original Flavor barbecue sauce
- Honey
Note: This recipe may not turn out well if you do not use Kingsford Charcoal Briquettes and a Weber Chimney Starter for measuring the amount of charcoal used. The amount of charcoal used in this recipe is overkill, but it ensures that no matter what the conditions, your WSM won’t run out of fuel before the ribs are cooked. You can experiment with using less fuel the next time you cook this recipe.
Choose The Smoke Wood
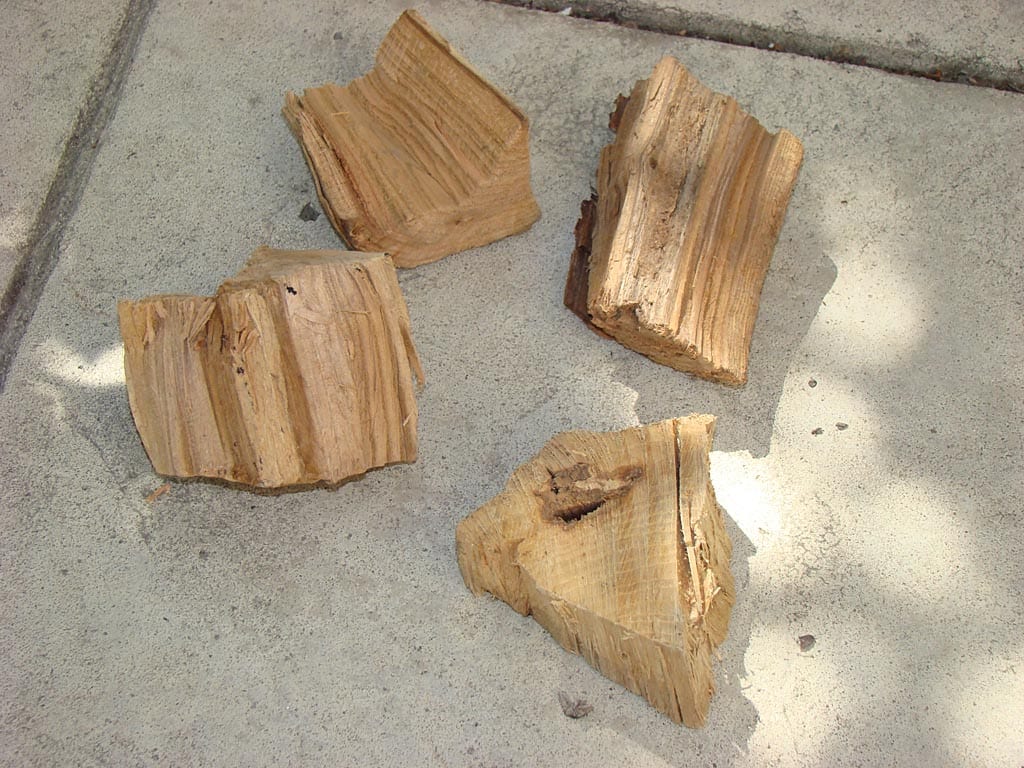
Use four chunks of oak, apple, cherry, or other mild fruit wood. As an alternative, you can use three chunks of any of these and one chunk of hickory. I used three chunks of apple and 1 chunk of hickory for the ribs shown here. Do not use mesquite for this recipe.
Each smoke wood chunk should be small, for example 3″ x 2″ x 2″ or similar.
There is no need to soak the wood or remove the bark before use.
Learn More Later: All About Smoke Woods
Prepare The Rub
Mix up a batch of “Magic Dust” from the book Peace, Love, and Barbecue by Mike Mills.
Magic Dust
- 2 Tablespoons paprika
- 1 Tablespoon kosher salt
- 1 Tablespoon sugar
- 1 Tablespoon chili powder
- 1 Tablespoon ground cumin
- 1 Tablespoon granulated garlic powder
- 1-1/2 teaspoons mustard powder
- 1-1/2 teaspoons ground black pepper
- 1-1/2 teaspoons cayenne pepper
Combine all ingredients and mix thoroughly. Makes enough rub for 3 slabs of pork loin back ribs.
Prepare The Sauce
Combine 5 parts KC Masterpiece Original Flavor barbecue sauce with 1 part honey and stir thoroughly. For example, 1/2 cup + 2 Tablespoons of sauce and 2 Tablespoons of honey makes 3/4 cup of sauce mixture.
Set the sauce mixture aside for use when the ribs are finished cooking.
Prepare The Ribs
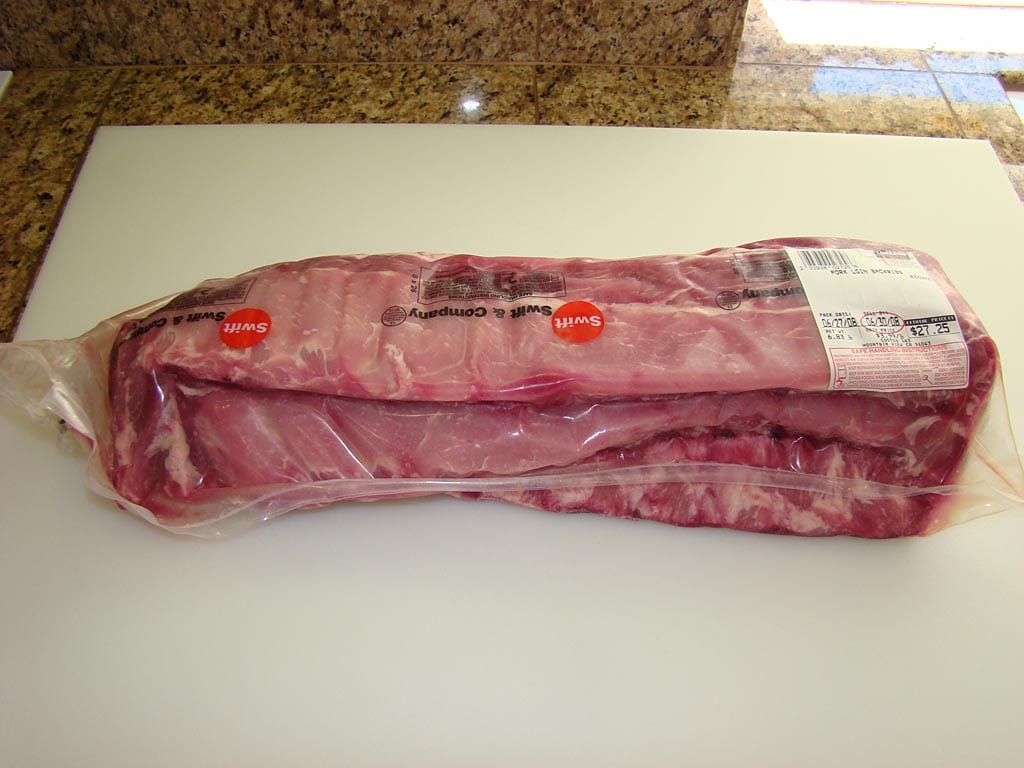
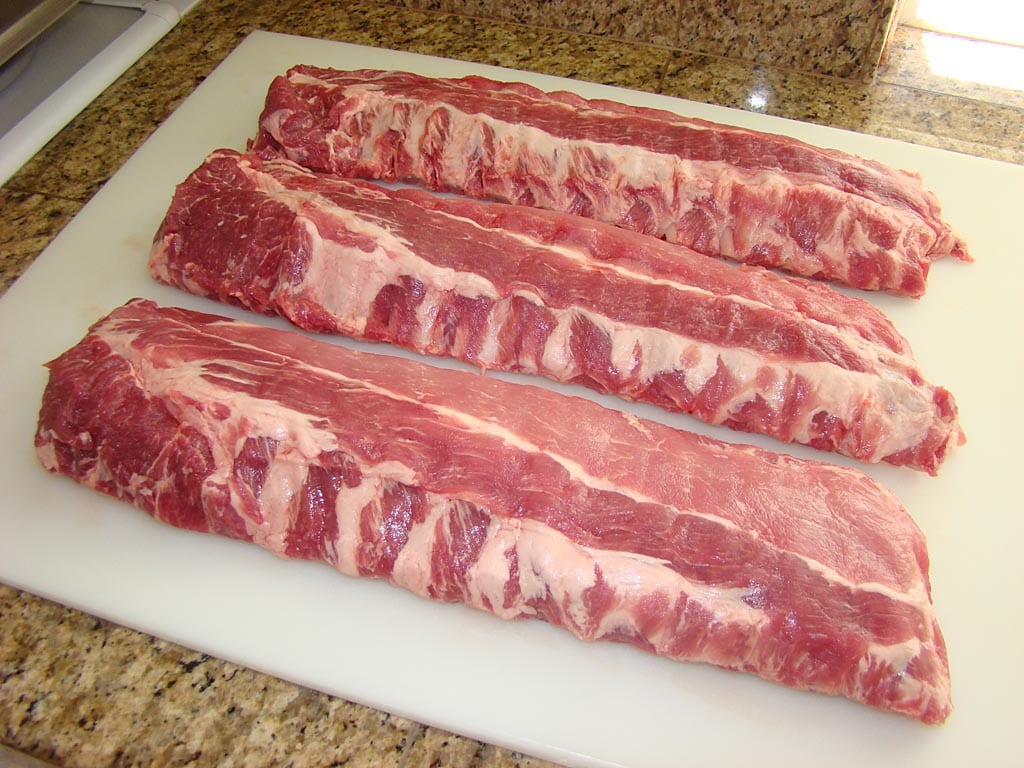
Remove the ribs from their packaging and pat dry with paper towels.
If you’re feeling ambitious, read the Pork Loin Back Rib Preparation article and watch the accompanying video to learn how to remove the membrane from the bone-side of each slab. This allows for better eating and better smoke and seasoning penetration of the meat. If you don’t feel comfortable doing this your first time out, then skip this step.
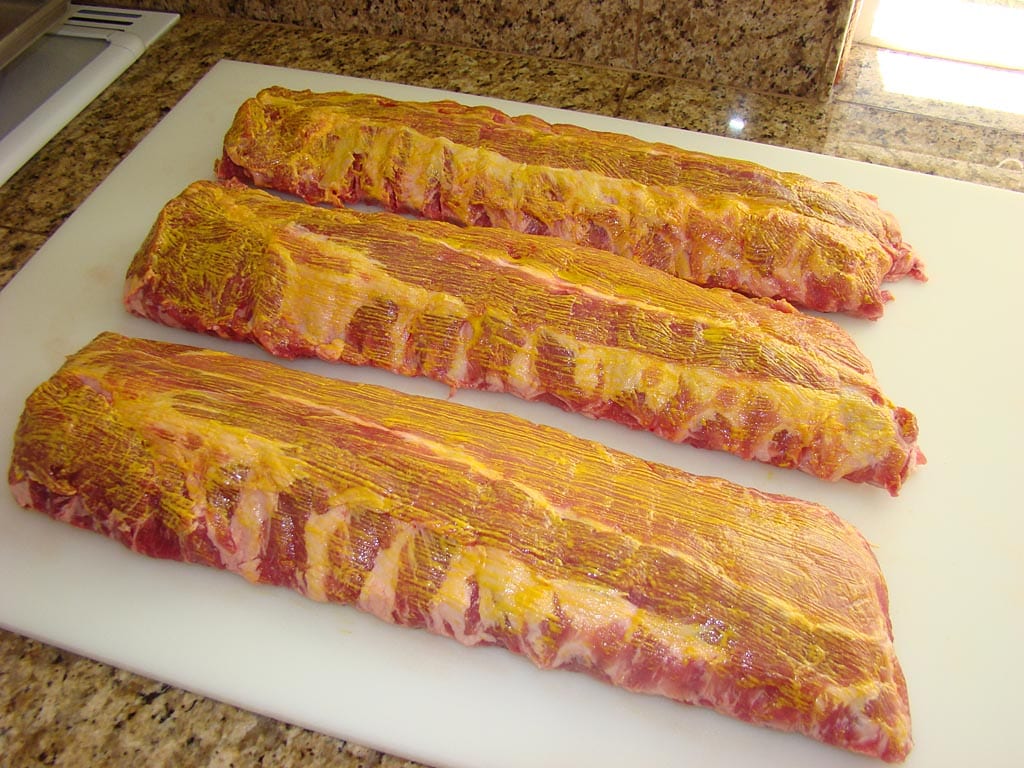
Brush a thin layer of yellow hot dog mustard onto both sides of the ribs. Don’t worry, this won’t make your ribs taste like mustard…it helps the rub stick to the meat, and it’s fun to do, too.
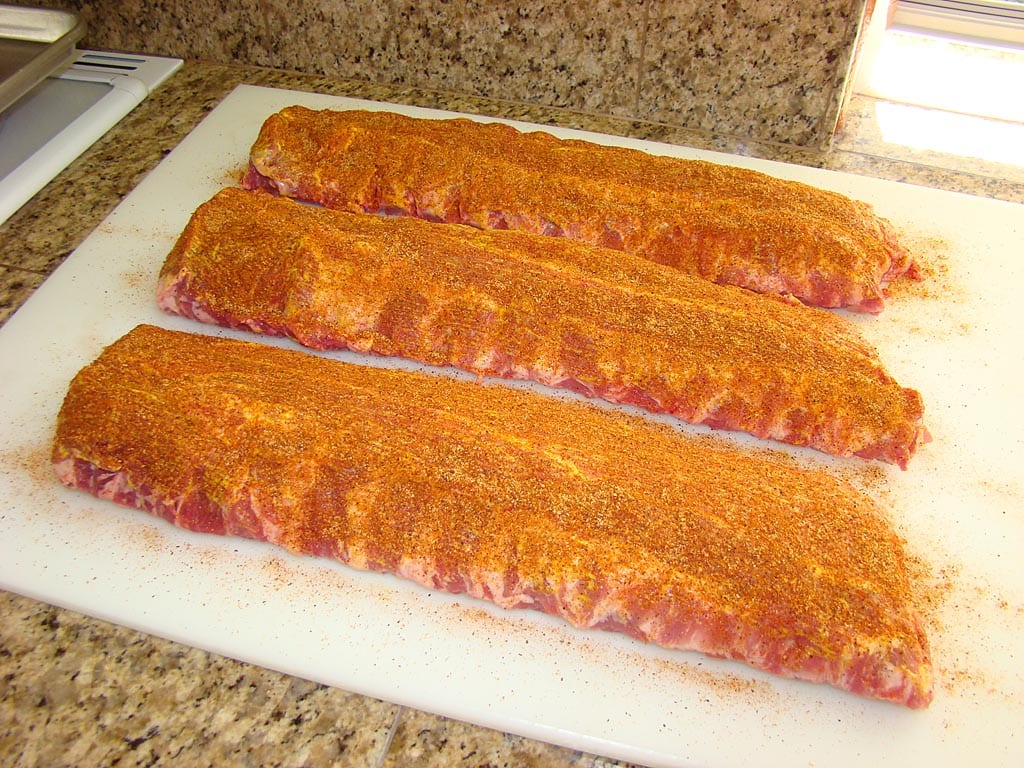
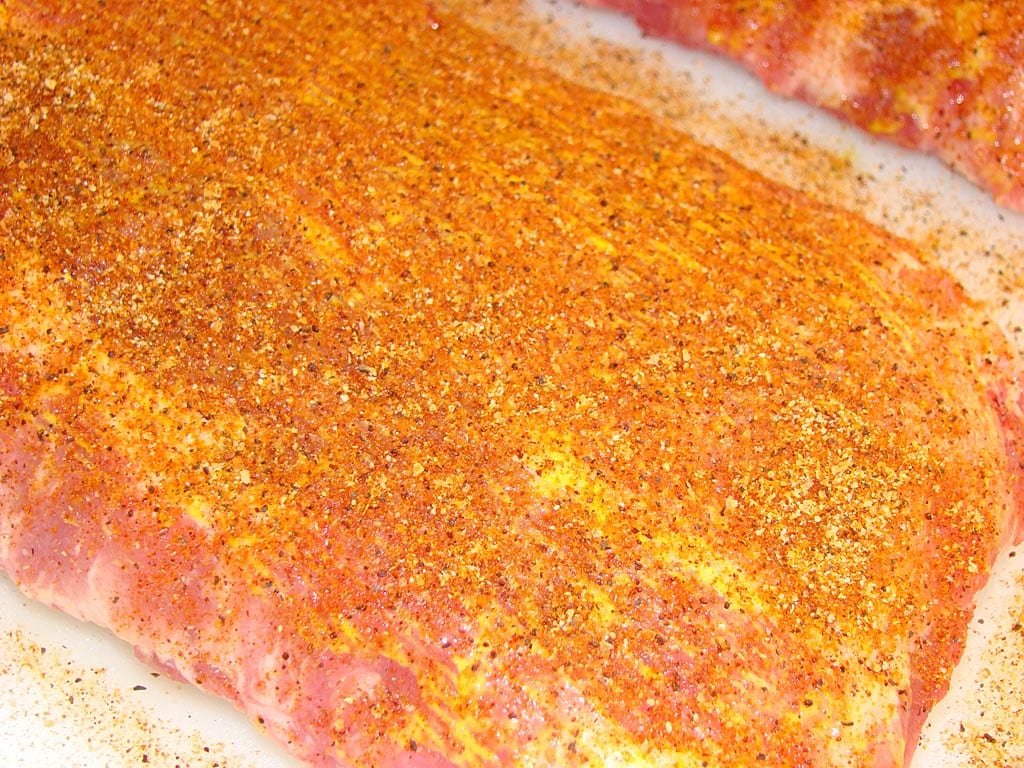
Generously sprinkle rub onto both sides of the ribs. Reserve a little bit of rub for use later in the cooking process.
Learn More Later: Pork Rib Selection and Pork Loin Back Rib Preparation
Fire The Cooker
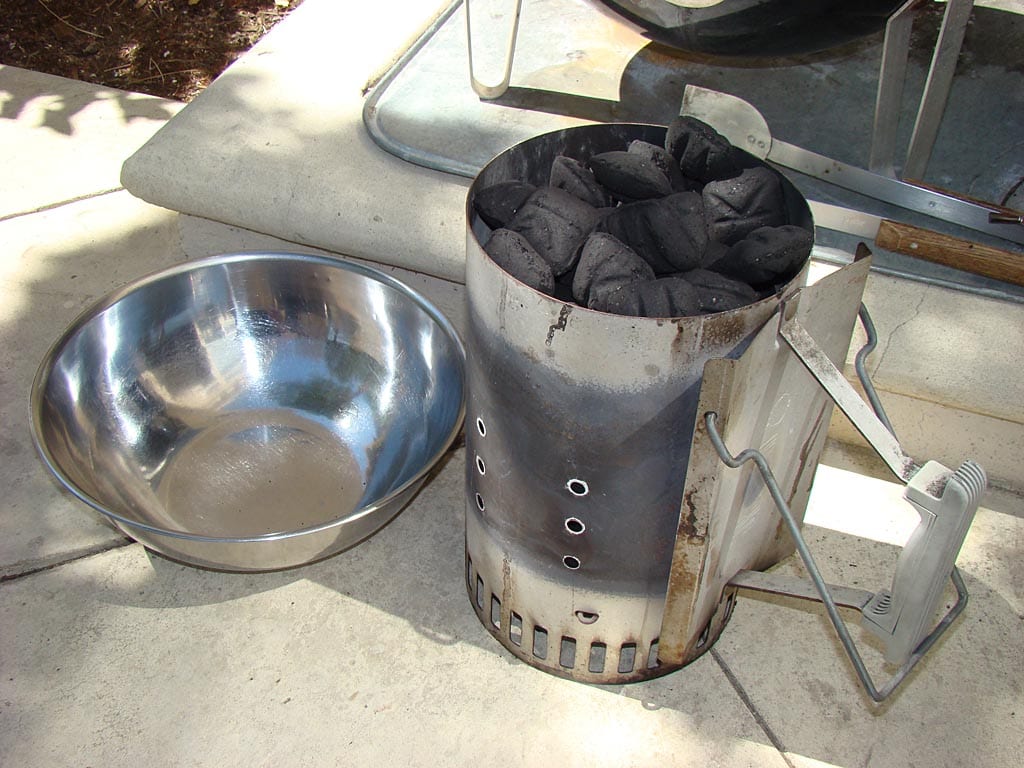
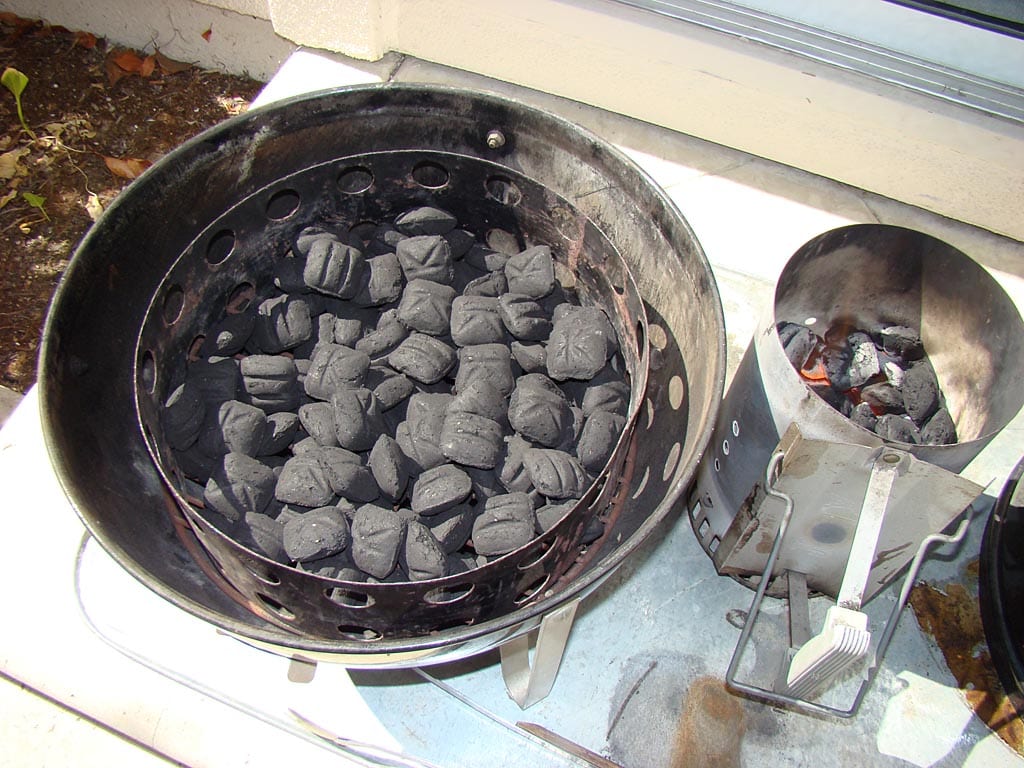
Using the Weber chimney starter as a measuring cup, measure a full chimney of Kingsford Charcoal Briquets and set them aside in a large bowl or container.
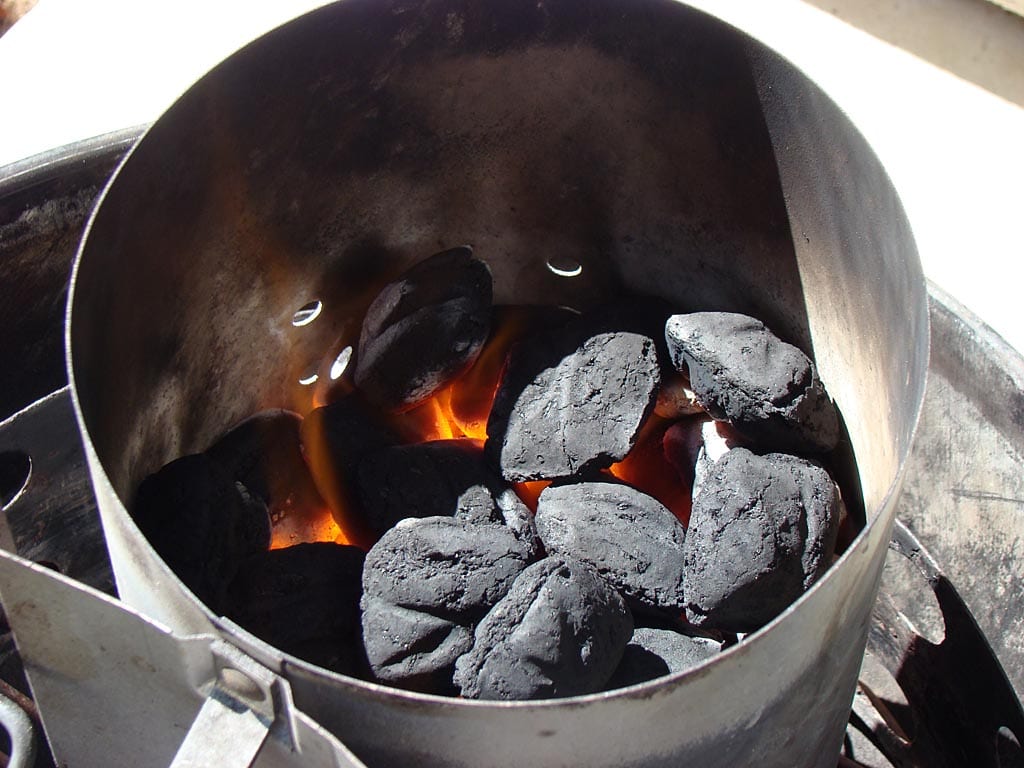
Measure another 1/2 chimney full of briquettes and light them:
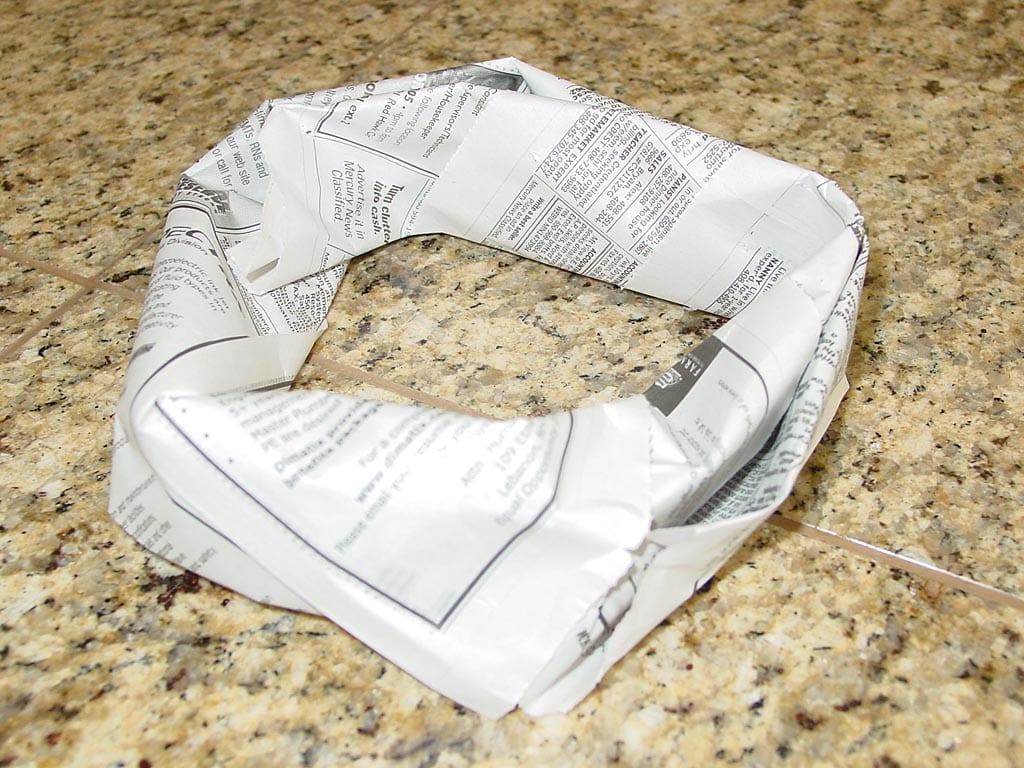
- Loosely roll a double-wide sheet of newspaper on the diagonal from the upper left corner to the lower right corner. Bring the ends together to form a circle that fits inside the bottom of the chimney. Repeat with a second sheet of newspaper.
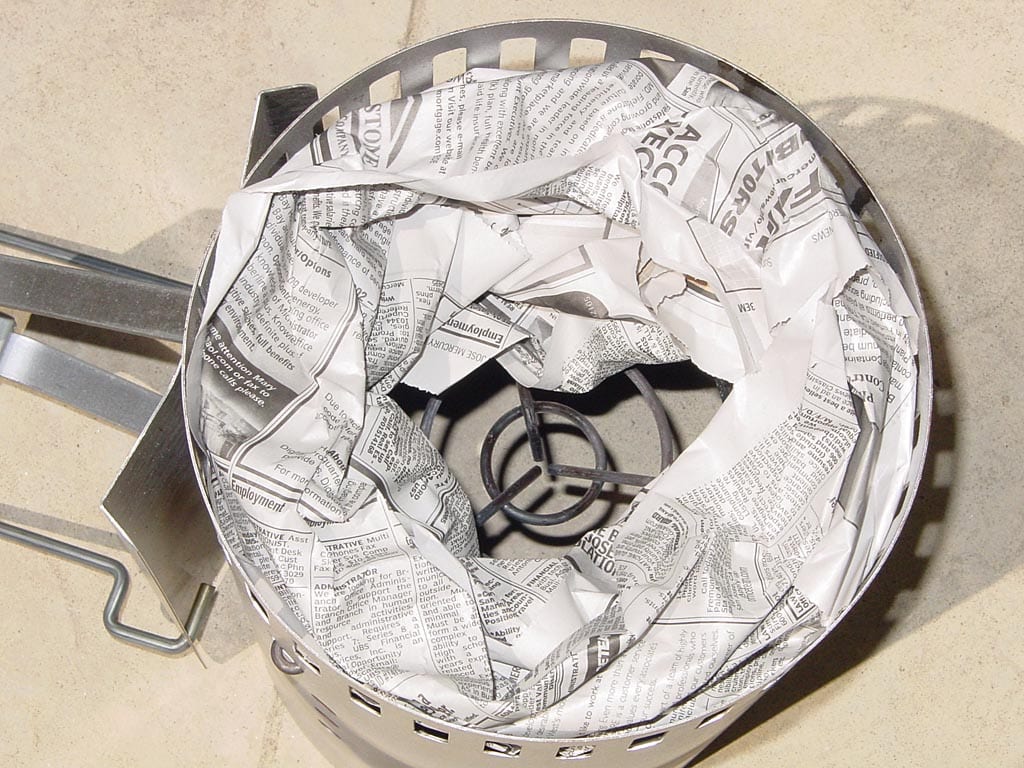
- Put the rolled newspaper in the bottom of the chimney.
- Place the chimney on the charcoal grate and fill 1/2 full with briquettes. Light the newspaper in several locations with a long match or a butane lighter. Two sheets of newspaper is usually sufficient to get things started under normal conditions. If not, repeat the process with additional sheets of newspaper.
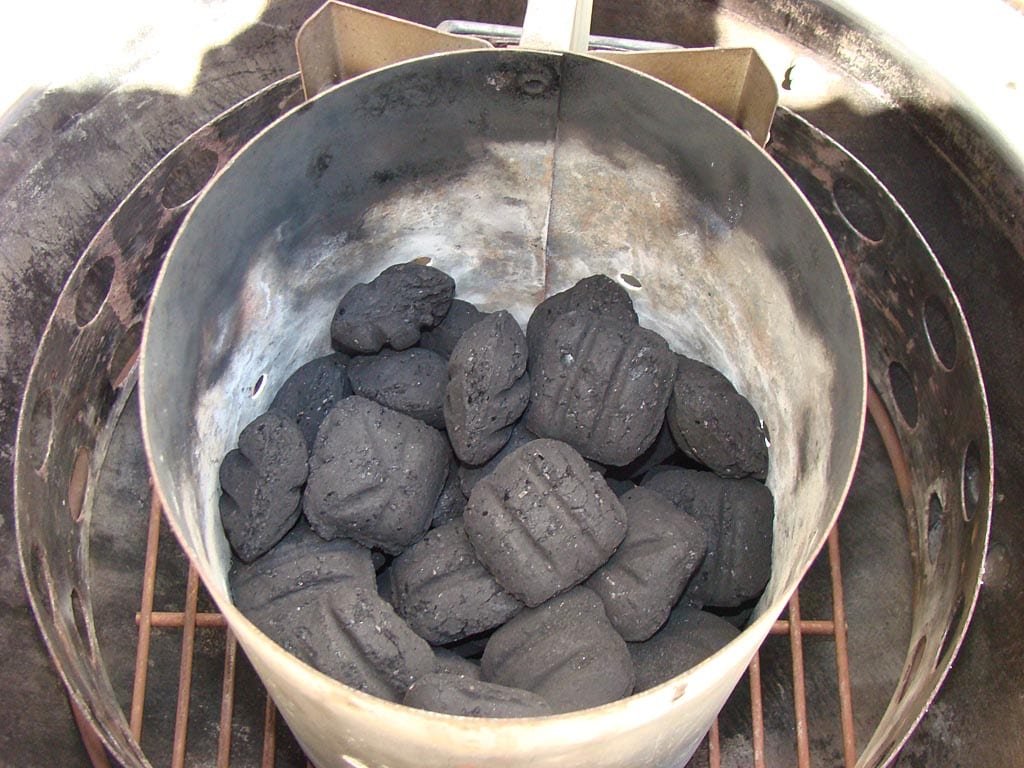
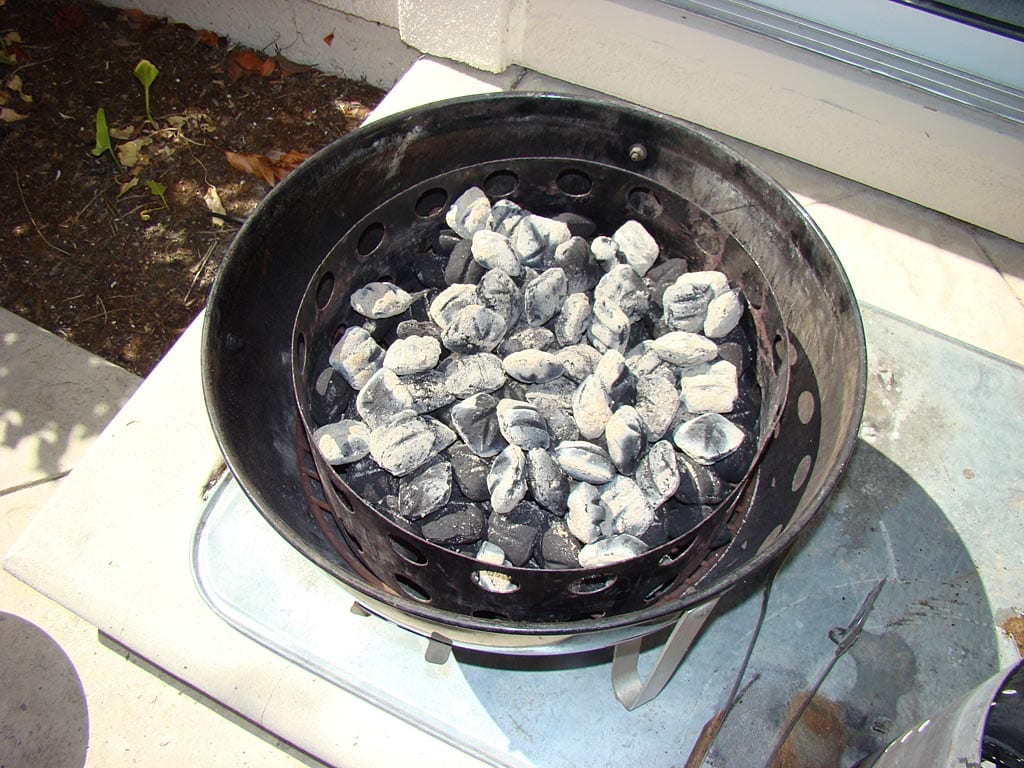
- It will take 15-20 minutes for the coals to light. You’ll know they’re ready when flames are licking at the briquettes at the top of the chimney and they’re just starting to turn gray.
Pour the unlit briquettes onto the charcoal grate.
Pour the hot coals over the unlit briquettes and spread them out evenly.
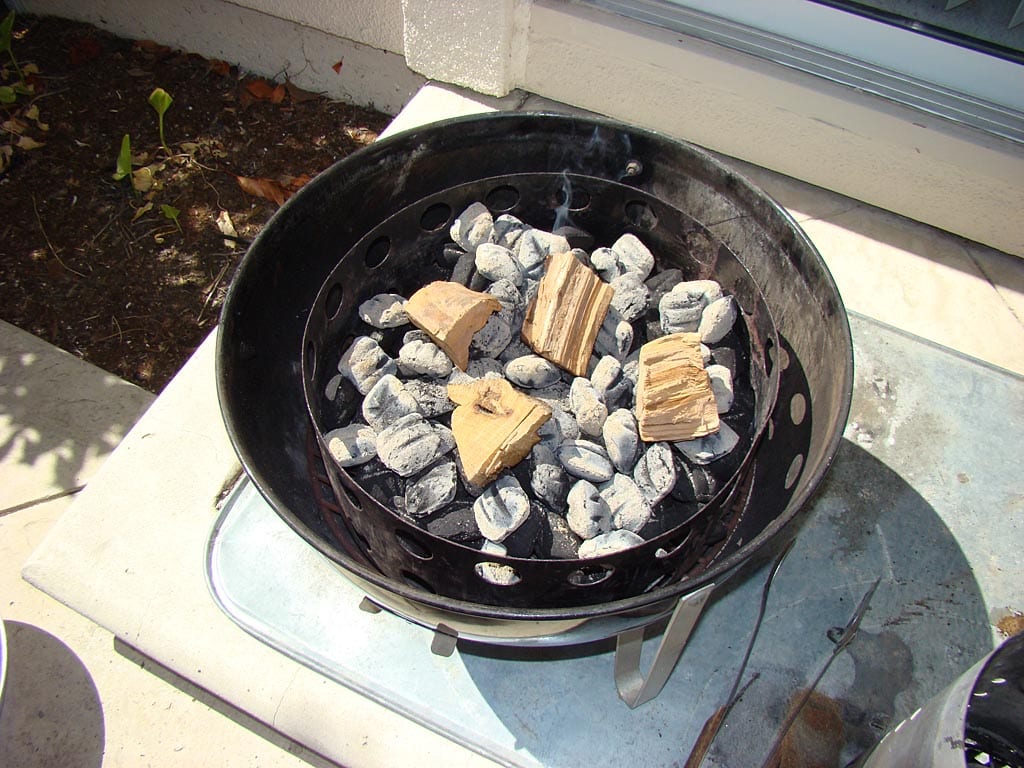
Immediately place the smoke wood chunks on top of the hot coals.
Now assemble the cooker:
- Put the water pan in the middle cooking section.
- Insert the middle cooking section into the charcoal bowl.
- Carefully fill the water pan from above with cool tap water.
- Put the top cooking grate in place.
There is no need to check the water level or add water to the pan during the cooking process. The water you add at the beginning will be enough.
You’re now ready to cook!
Learn More Later: Firing Up Your Weber Bullet, How To Use A Chimney Starter, and Using A Water Pan In Weber Smokers
Barbecue The Ribs
Arrange the ribs meat-side up on the grate. Put the shortest slab in the middle and the longer ones on either side. You may need to curve the ribs, as shown above. Squeeze them in as best you can and put the lid in place.
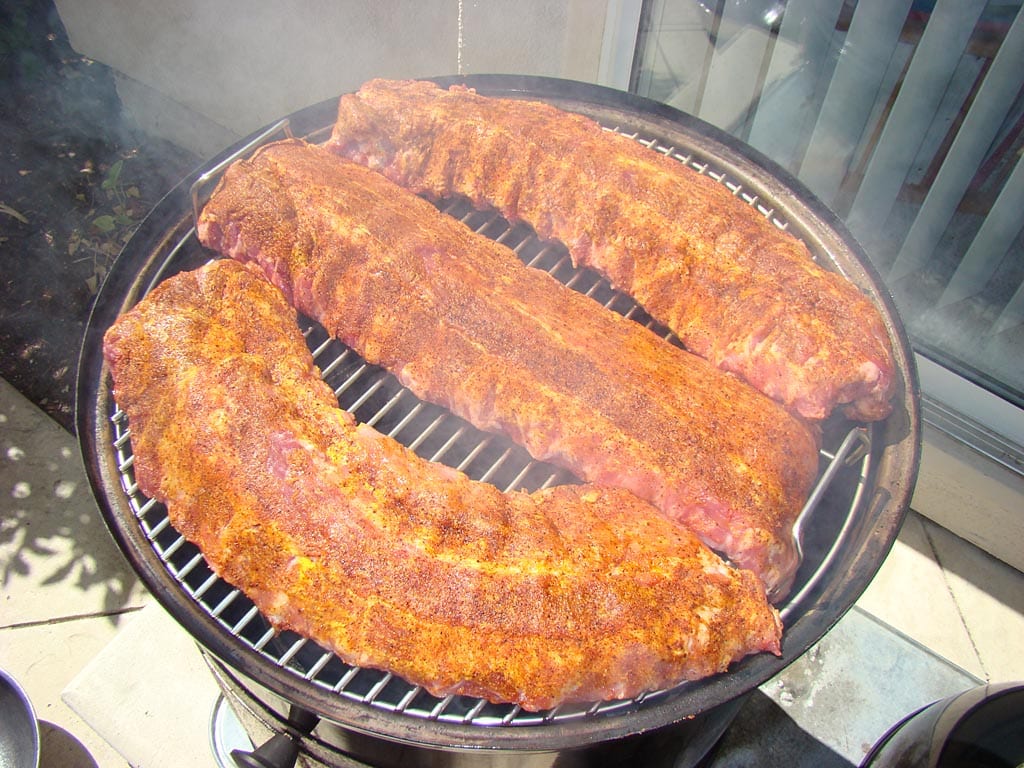
Set the lid vent 100% open. Set the three bottom vents 33% open and leave them that way throughout the entire cooking process.
You’ll see a lot of smoke coming out of the lid vent and maybe from around the lid and access door. This is completely normal and will eventually subside.
Cook the ribs for 3 hours. No peeking allowed!
When you hit the 3 hour mark, remove the lid and check the ribs for tenderness.
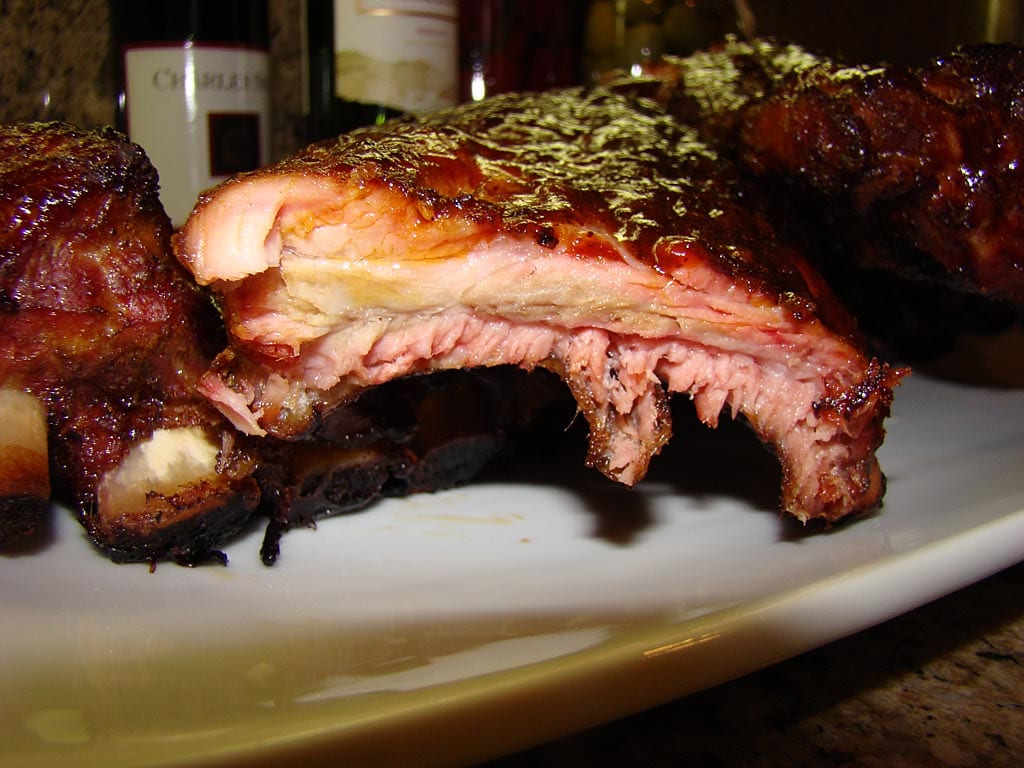
The best way to tell whether your ribs are cooked to perfection is to use the “tear test”. Take hold of two adjacent bones toward the middle of the slab and give them a pull. If the meat offers a bit of resistance but then tears easily, you know the ribs are done just right. Other indicators of doneness, such as how far the meat has pulled down the bone or whether a toothpick passes easily through the meat, are not as reliable as the tear test.
The ribs are probably not fully tender at the 3 hour mark. Quickly spray the meat-side of the ribs with apple juice using a spray bottle, sprinkle lightly with some of the remaining rub, and replace the lid.
Continue to cook the ribs and check for tenderness every 30 minutes. They will probably be finished after 4 to 4-1/2 hours.
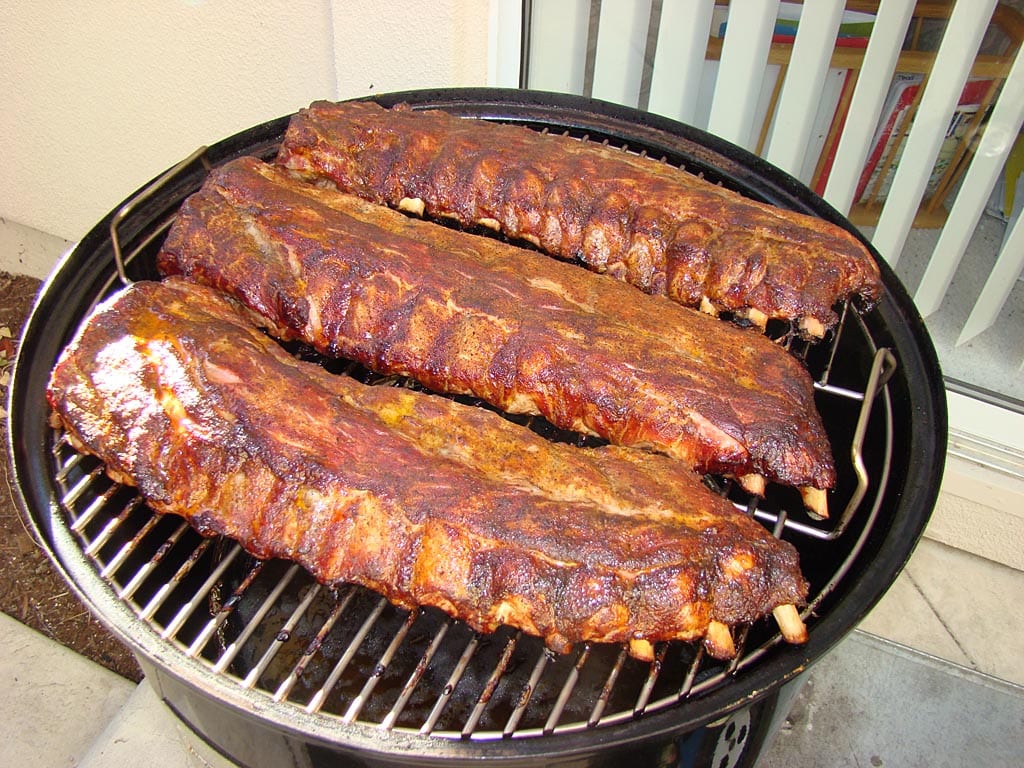
When the ribs pass the tear test, brush them with the sauce mixture and leave them in the cooker for another 10-15 minutes before removing.
It’s possible that some slabs may achieve tender perfection before others. If so, remove them from the cooker and wrap tightly in wide, heavy-duty aluminum foil while waiting for the others to finish cooking.
Sauce Again And Enjoy!
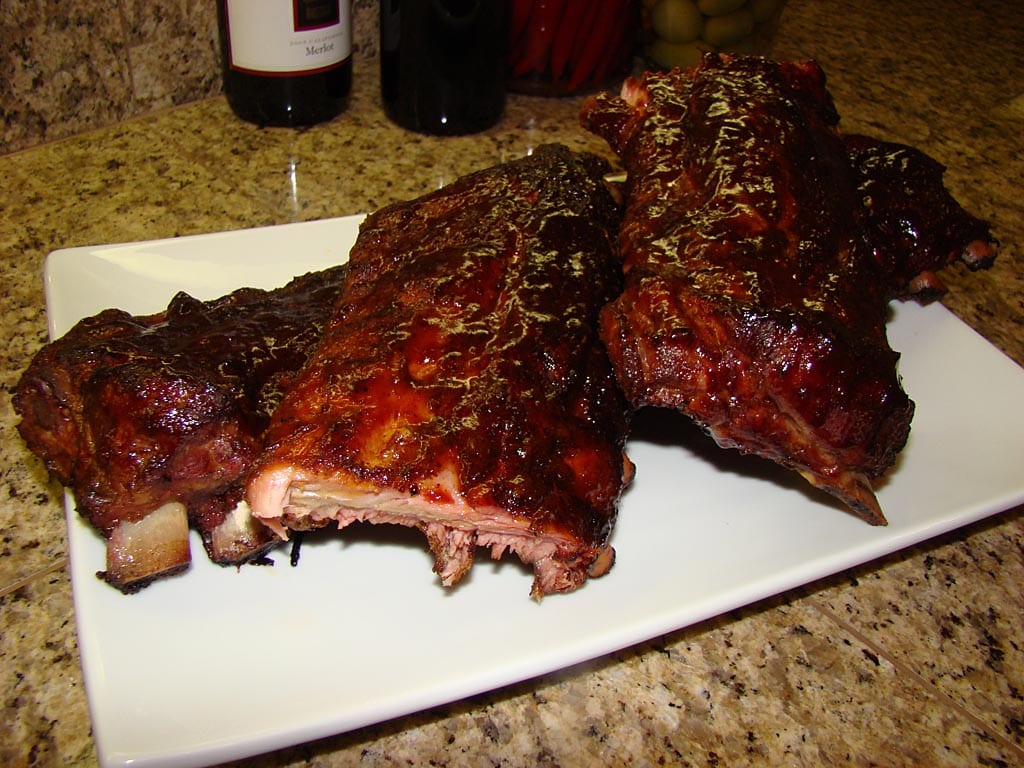
Once all the ribs are out of the cooker, brush on some more sauce and serve as full slabs, half slabs, or individual bones. Make sure you have plenty of napkins on hand!
This photo shows the pink smoke ring of these moist, delicious ribs.