Summary
- Buy a regular (non-enhanced), 12-14 pound turkey. Don’t use a self-basting turkey when using the salting technique.
- Loosen the skin over the breasts, legs, and thighs.
- Apply kosher salt and salt/baking powder mixture in the amounts and locations described below.
- Refrigerate for 24-48 hours.
- Brush skin with melted butter. Poke holes in skin so rendered fat can escape.
- Smoke at 325-350°F until 160-165°F in the breast, 170-175°F in the thigh, approximately 2-1/2 to 3 hours.
- For best skin, let rest uncovered for 20 minutes before carving.
- Collect the pan drippings for making gravy.
Salting is a method that adds flavor to poultry and retains moisture in the meat without the hassles associated with brining. No big plastic containers taking up room in the refrigerator, and no significant changes to the texture of meat after brining that some people find objectionable.
Crispy skin is always a challenge when barbecuing poultry, and brining makes matters worse because the skin retains water from the brine solution. To promote better skin, this recipe applies a mixture of salt and baking powder to the skin that helps remove moisture, and the alkalinity of the baking powder creates more browning and crispier skin. The recipe also calls for poking holes into the skin that let rendered fat drain away, which also promotes better skin. These techniques are inspired by several articles that have appeared in Cook’s Illustrated magazine over the years.
Here’s how I salted and cooked a whole turkey using this method on August 22, 2009 and May 25, 2013. The photos in this article are a mix from both dates. You may notice that, in some photos, the black pepper is missing from the turkey skin…that’s the August turkey.
Video: Whole Turkey – Salted aka Dry Brined
This video highlights the steps of dry brining a whole turkey described in this article. I prepared and barbecued this turkey on November 26-27, 2019.
Note: An astute viewer noticed a discrepancy between the amount of salt used on each breast in the video (1 teaspoon) versus the amount listed below in the written article (1 Tablespoon). The article is correct, the video is wrong. Use 1 Tablespoon of Diamond Crystal kosher salt per breast, 1/2 towards the front and 1/2 towards the back.
Select And Salt The Turkey

Choose a 12-14 pound turkey and thaw according to the package directions. Remove and discard any leg restraint, then remove the giblets from the neck cavity and the neck from the body cavity. Trim away large areas of fat or excess skin around the body cavity, and pat dry with paper towels.
When buying a turkey for salting, choose a regular turkey, not a self-basting bird that’s been injected with a solution of salt and other flavorings. Read the fine print on the label—you do not want a turkey that says, “Contains up to X% of a solution to enhance juiciness and tenderness…” See Turkey Selection & Preparation for more details.
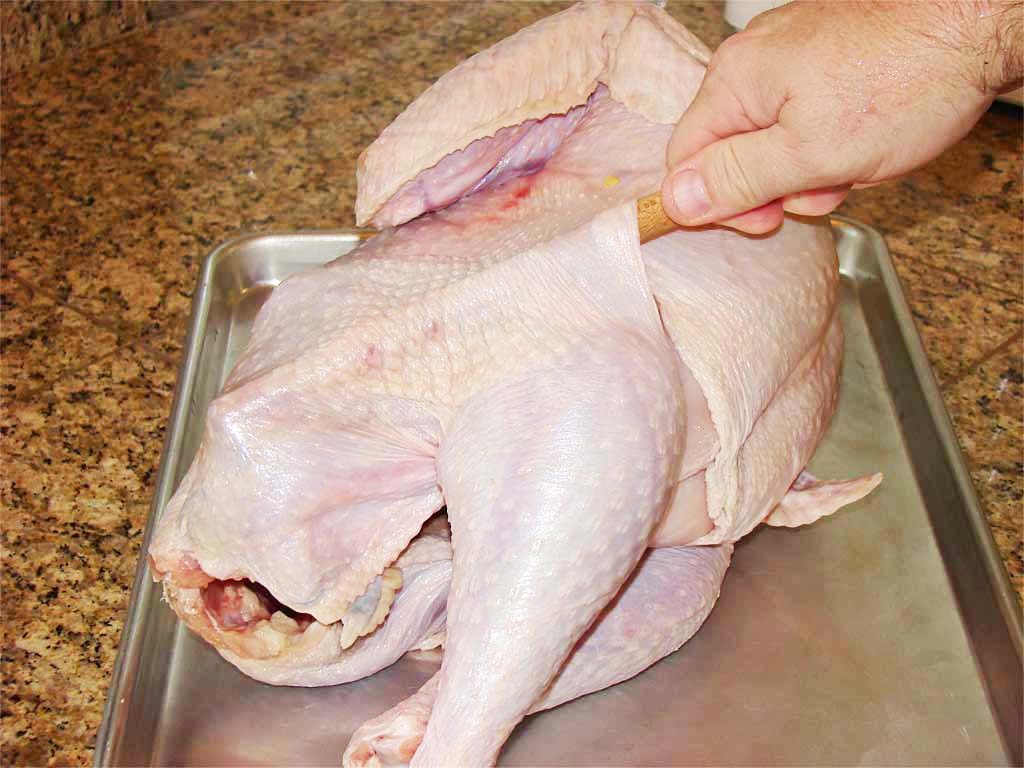
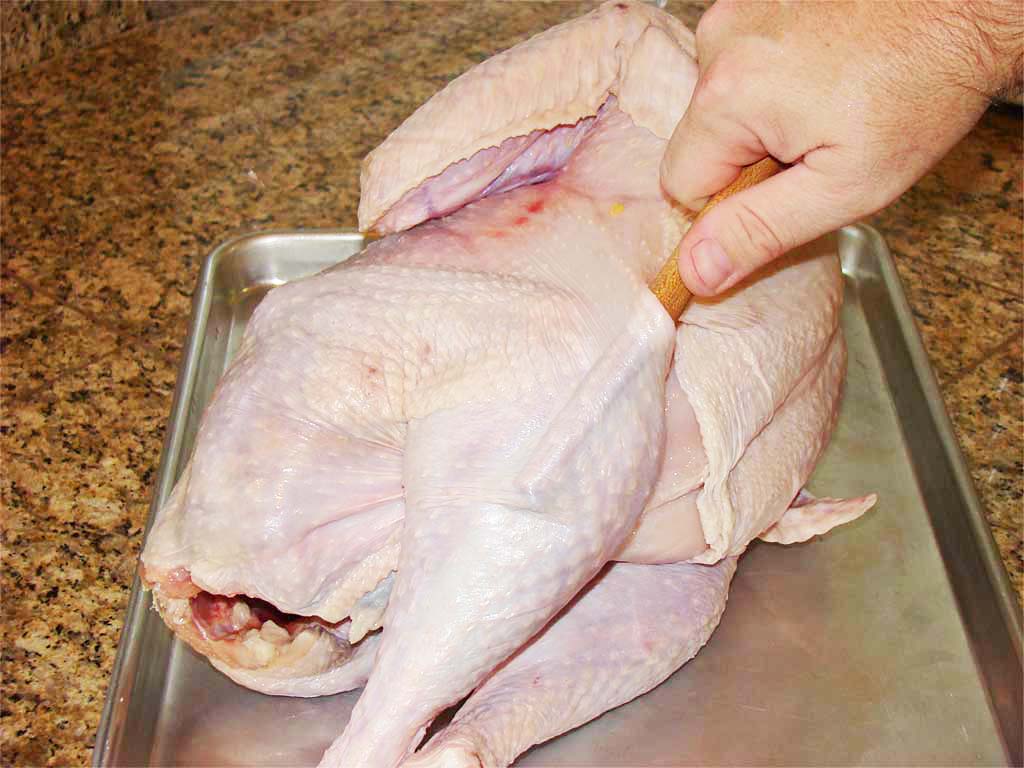
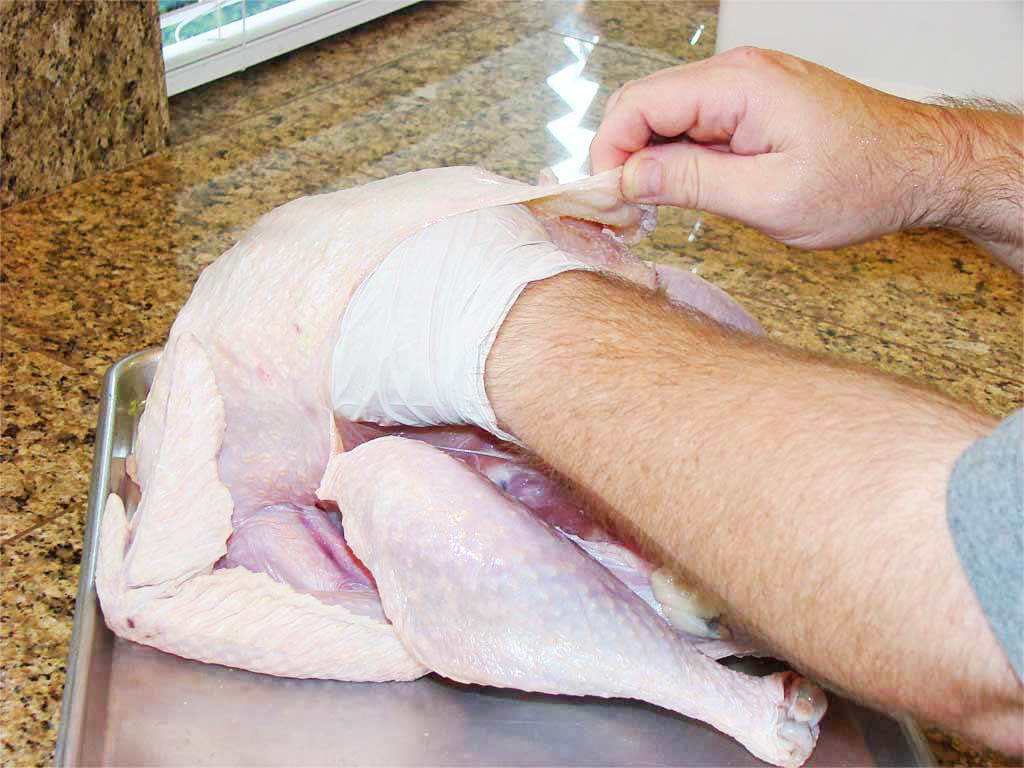
Using the handle of a wooden spoon, loosen the skin over the breasts, legs, and thighs as far as you can in all directions. Work slowly from the cavity opening, making sure not to puncture the skin.
Salt the turkey as described below. Measurements assume using Diamond Crystal Kosher Salt. (1 TBSP Diamond Crystal Kosher Salt = 2-1/4 tsp Morton’s Kosher Salt; 1 tsp Diamond = 3/4 tsp Morton’s.)
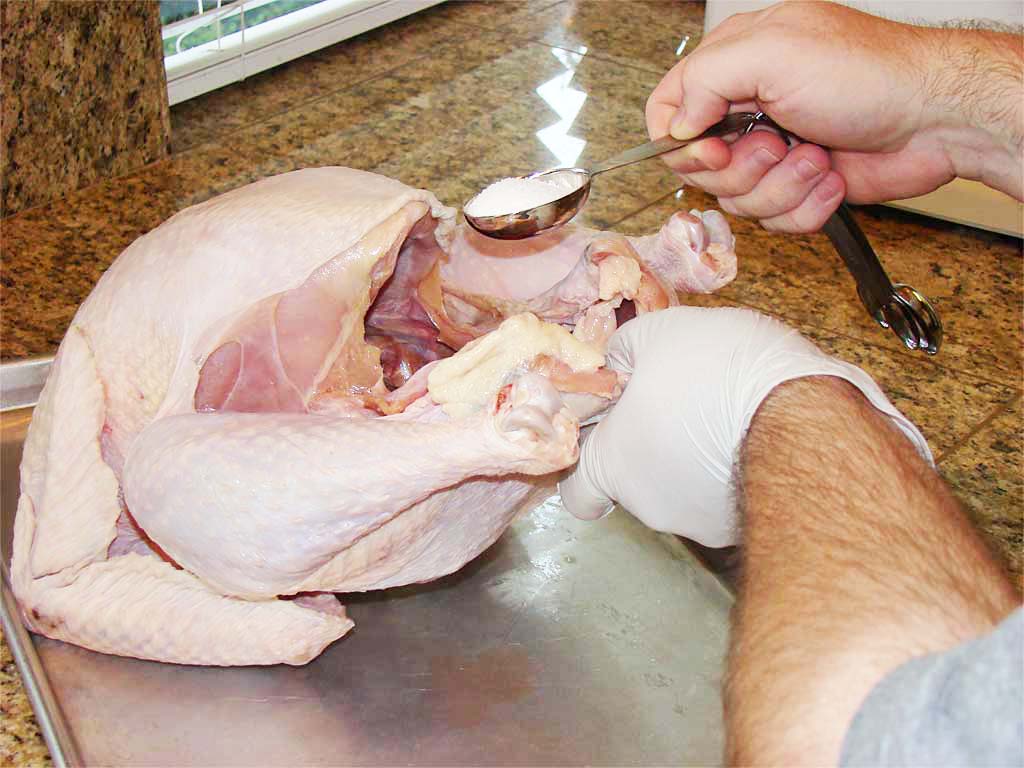
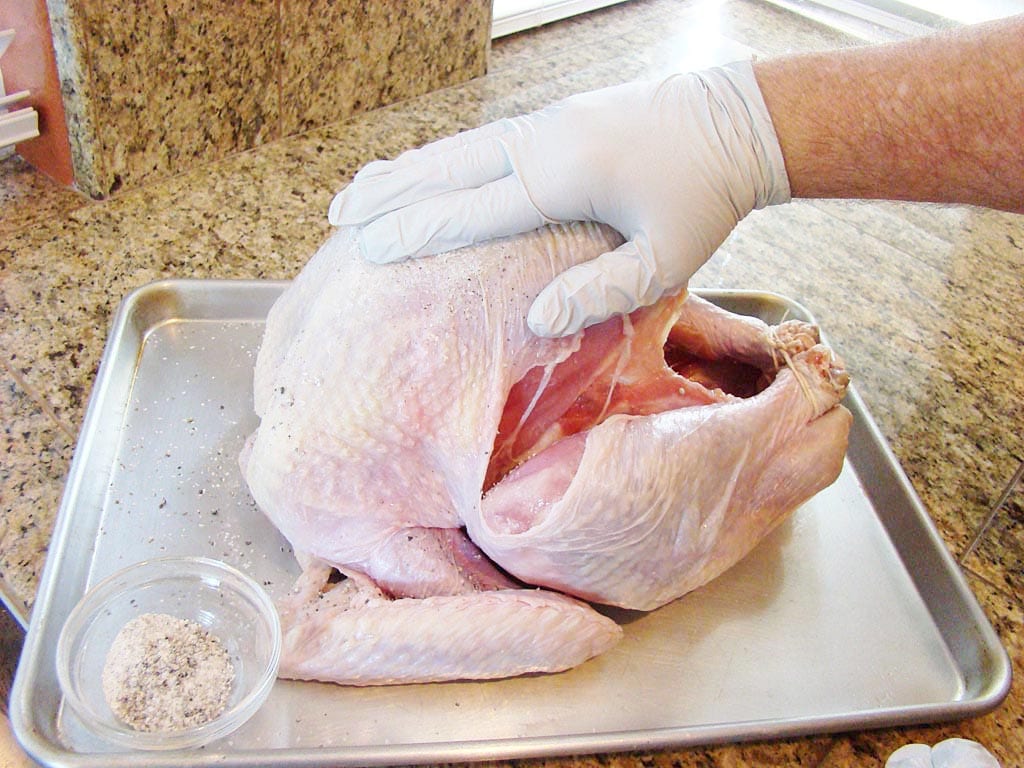
- Cavity: Sprinkle 1 Tablespoon salt inside the body cavity and rub it around thoroughly.
- Breasts: Lift the skin and apply 1 Tablespoon salt to each breast (1/2 Tablespoon at each end of the breast), then rub it around thoroughly over the meat.
- Legs and Thighs: Lift the skin and apply 1 teaspoon salt to each leg/thigh (1/2 teaspoon to the leg/thigh while the turkey is breast-up, then flip over the turkey and 1/2 teaspoon to the underside of the thigh), then rub it around thoroughly over the meat.
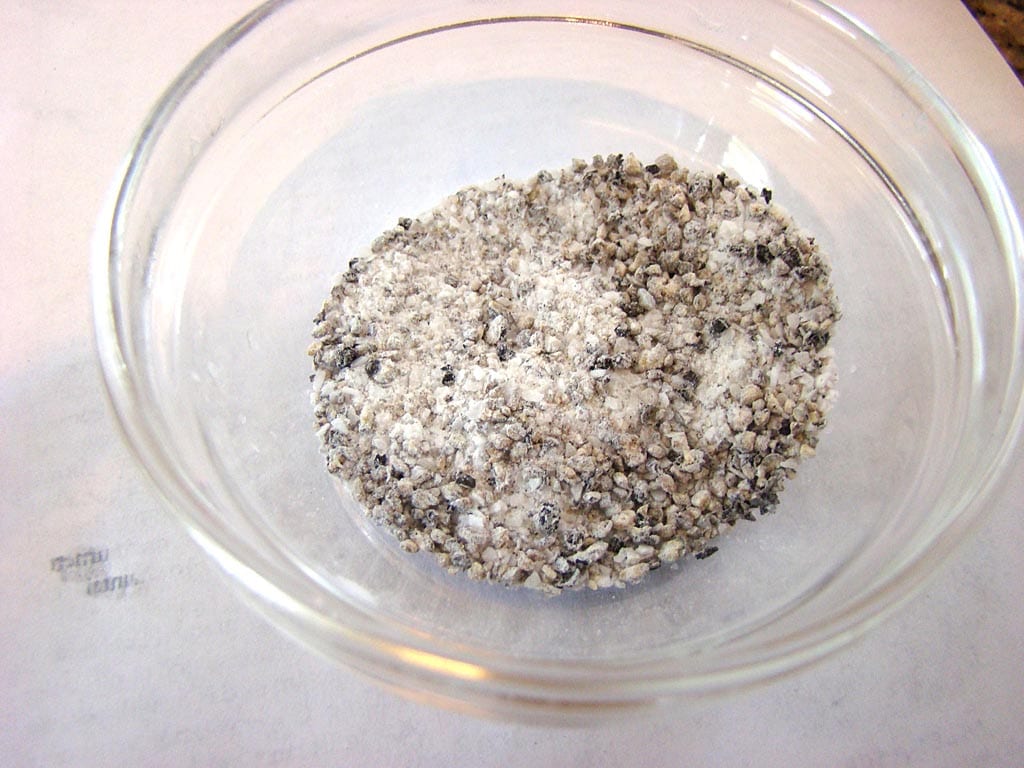
- Skin: Combine 1 teaspoon salt, 1 teaspoon freshly ground black pepper, and 1 teaspoon baking powder. Sprinkle and rub over the outside of the turkey.
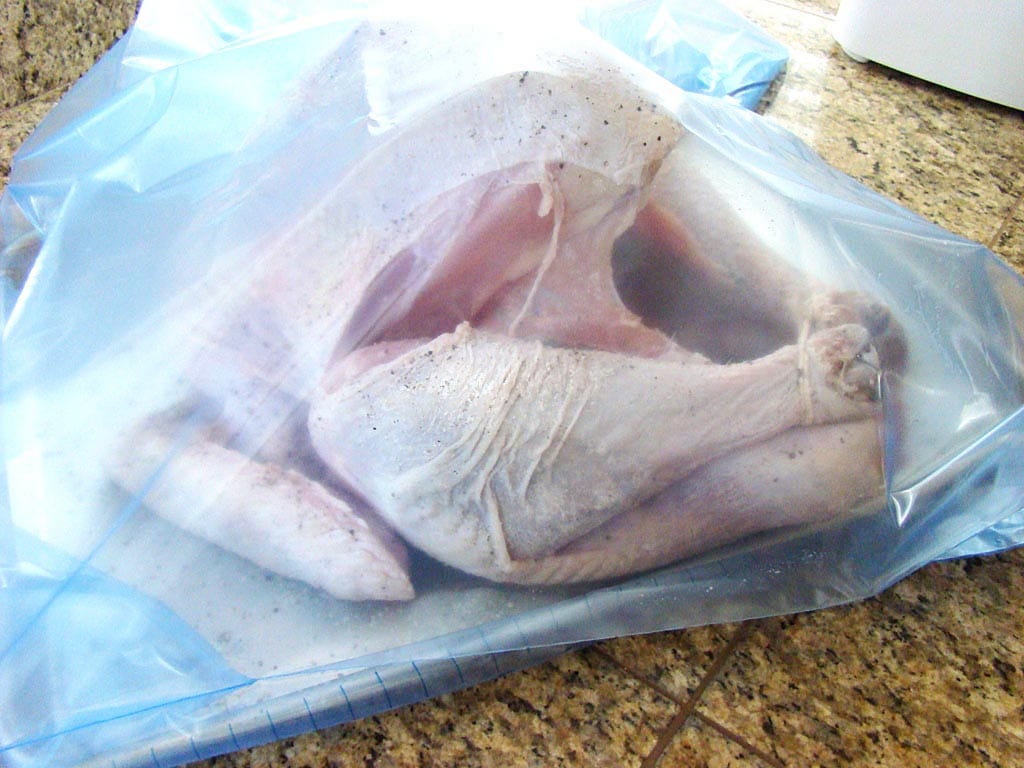
After salting, cover the turkey and refrigerate for 24-48 hours.
Skewer And Butter The Turkey
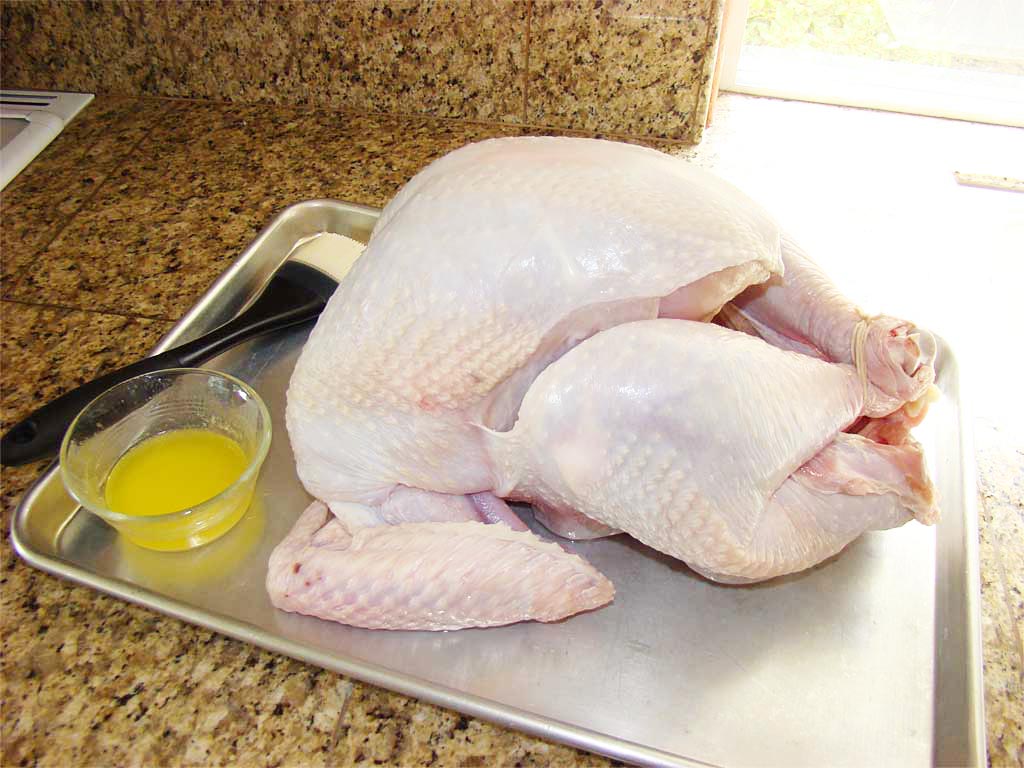
Pat the turkey dry inside and out with paper towels.
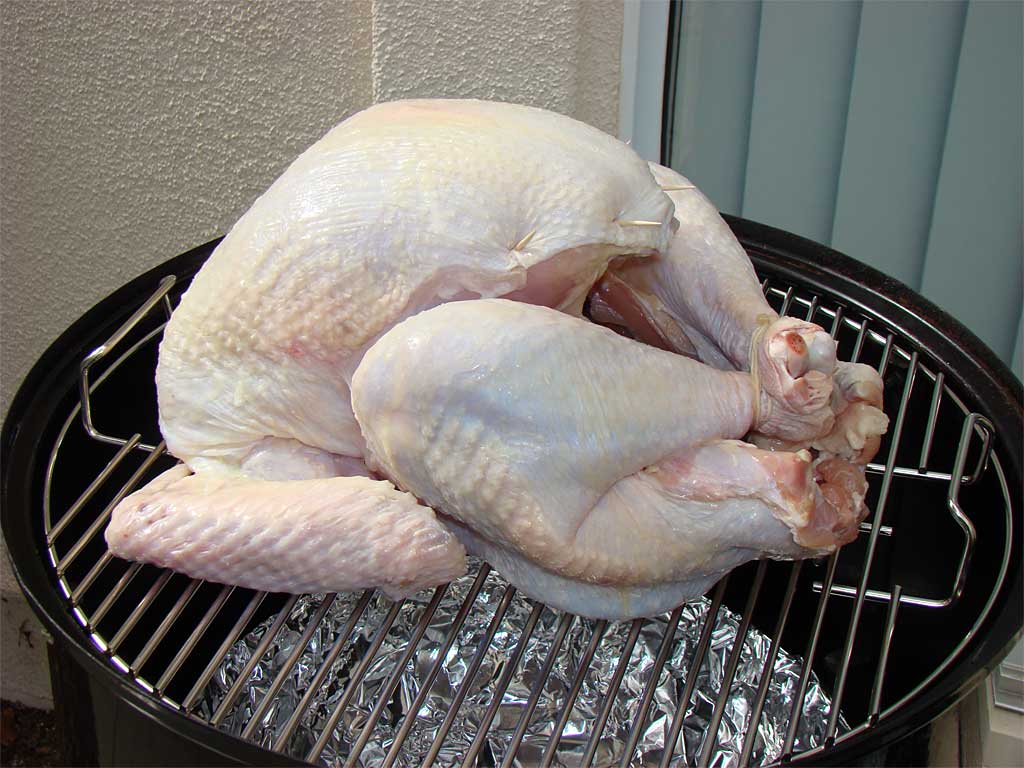
Fold the wings under the turkey so they won’t burn during cooking. Tie the legs together using kitchen twine so they don’t splay-out during cooking.
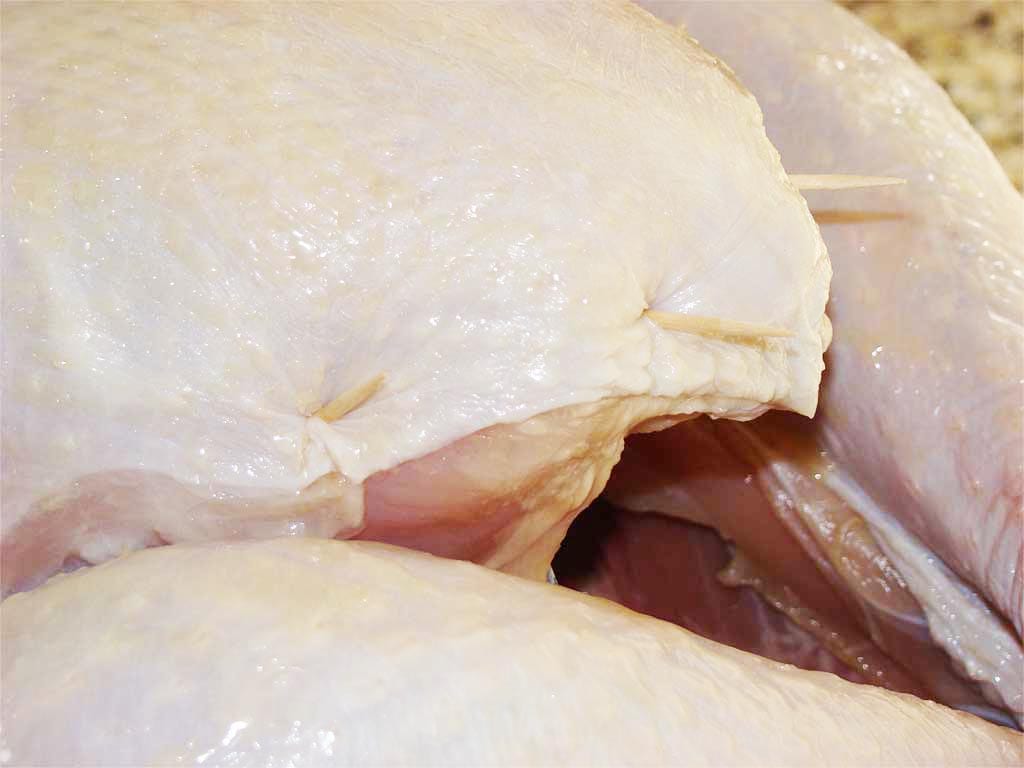
For a neat appearance, use toothpicks to pin down the loose skin around the cavity opening. This prevents the skin from shrinking away from the cavity during cooking.
Brush the turkey all over with 4 Tablespoons of melted butter.
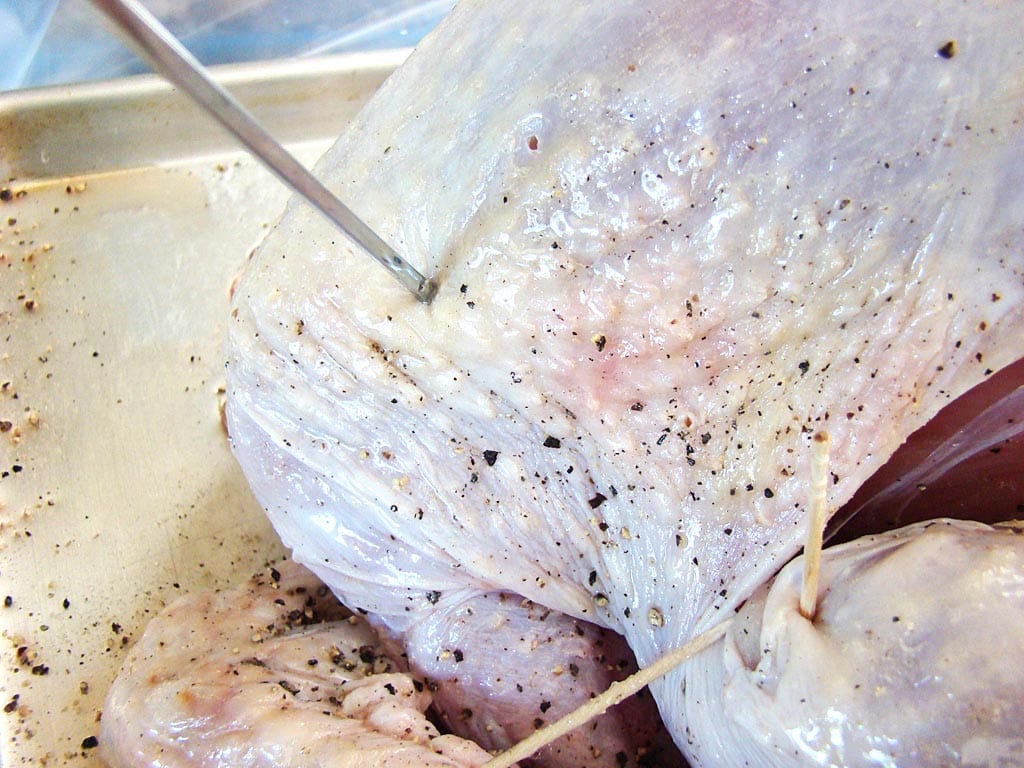
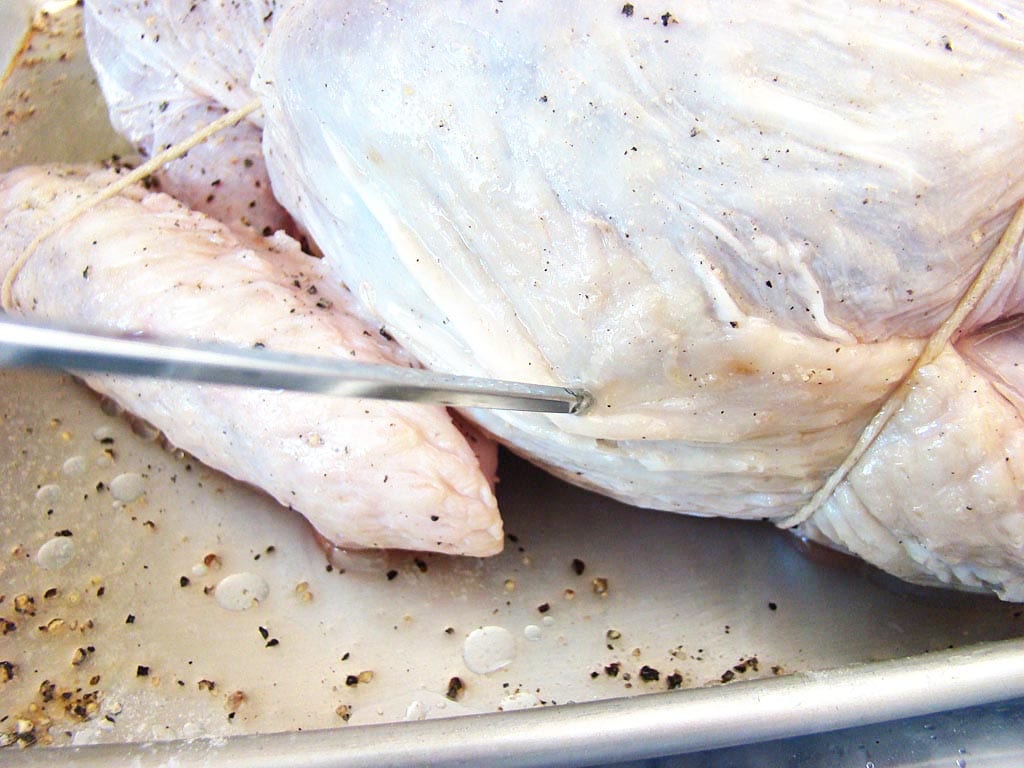
Use a skewer to poke 15-20 holes in the fat deposits of the breasts and thighs.
Let the turkey sit at room temperature until ready to go into the cooker.
Fire The WSM
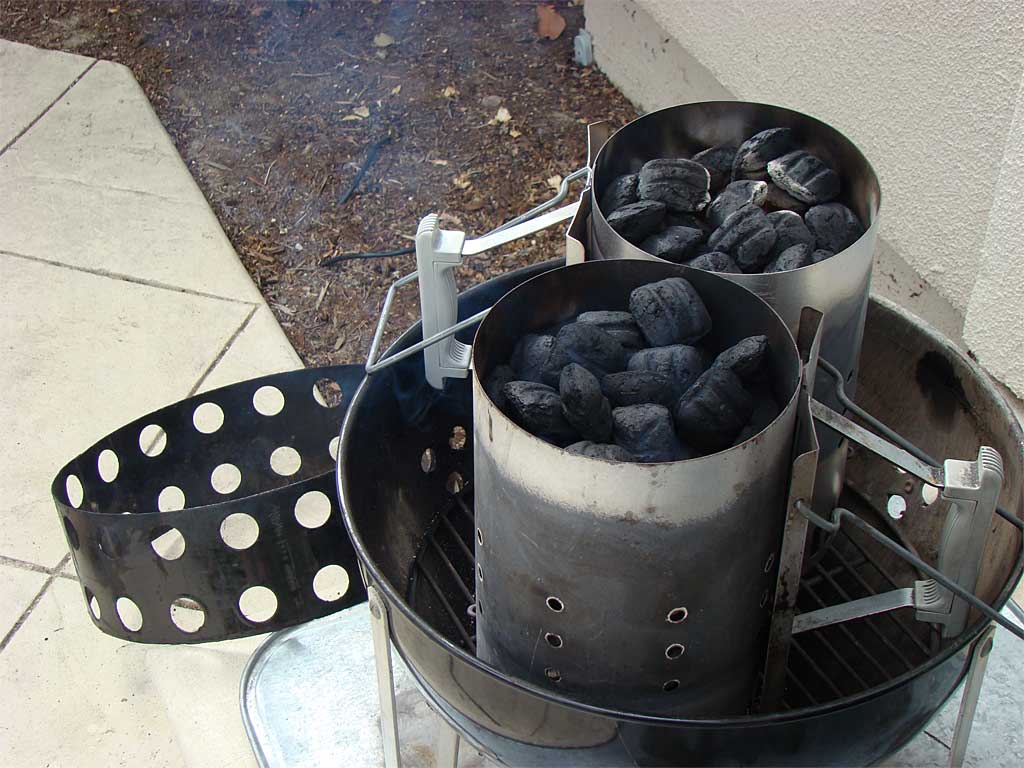
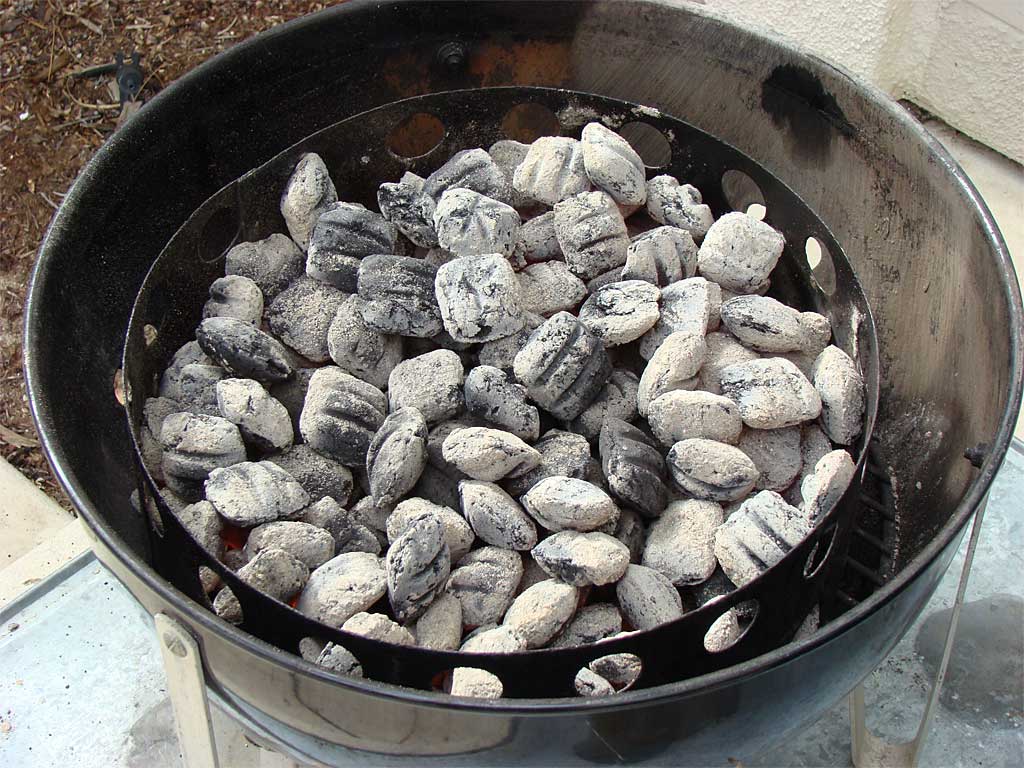
Fire-up the cooker using the Standard Method—one full Weber chimney starter of hot Kingsford Charcoal Briquets in the charcoal bowl, followed by another full chimney of unlit Kingsford, allowing all coals to become fully lit before cooking.
If you have two chimneys, you can fire all of the charcoal at once.
Foil The Water Pan
Cover the inside and outside of the water pan with wide, heavy duty aluminum foil. Place the pan inside the cooker, but leave it empty.
No Rub Required
There is no barbecue seasoning or rub applied to the turkey as part of this recipe. If you choose to use one, try a low-salt or no-salt rub.
Smoke The Turkey
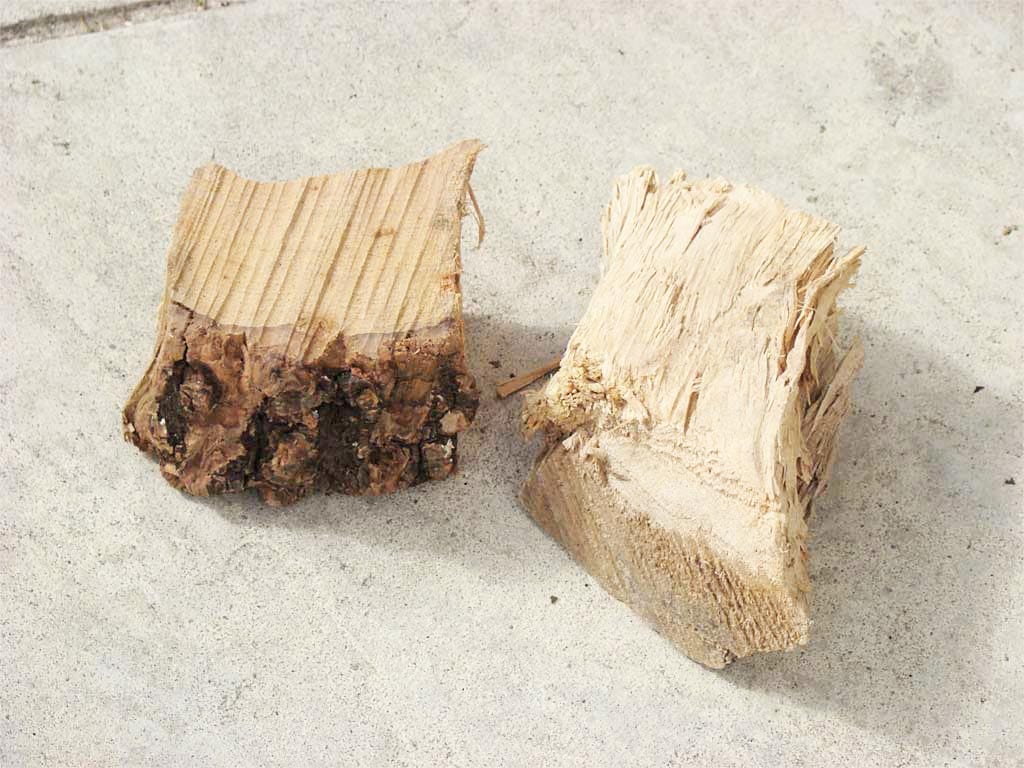
When all the coals are covered with gray ash, place 2-3 medium-sized chunks of dry cherry wood or other mild smoke wood on the coals. I used 2 chunks of cherry.
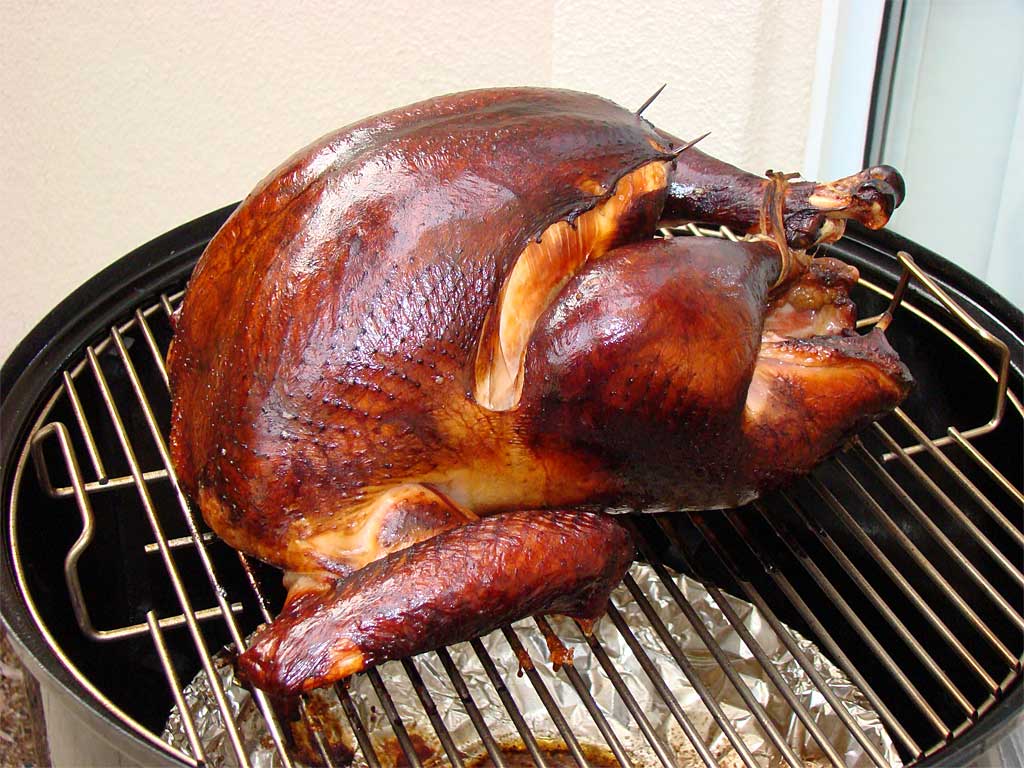
Assemble the cooker and place the turkey breast-side up on the top grate. Set the three bottom vents to 100% open. Open the top vent fully and leave it that way throughout the entire cook.
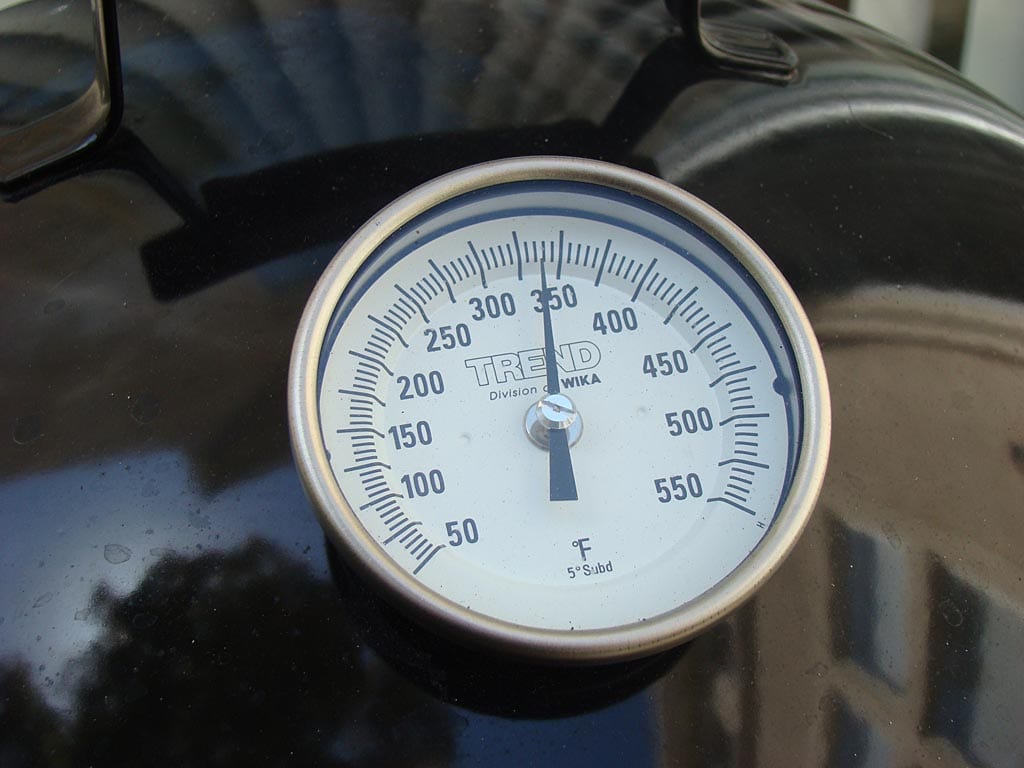
Adjust the bottom vents as necessary throughout the cooking process to maintain a temperature of 325-350°F measured at the lid.
Cook the turkey until it measures 160-165°F in the breast, 170-175°F in the thigh, using an instant-read thermometer. Cooking time is approximately 2-1/2 to 3 hours.
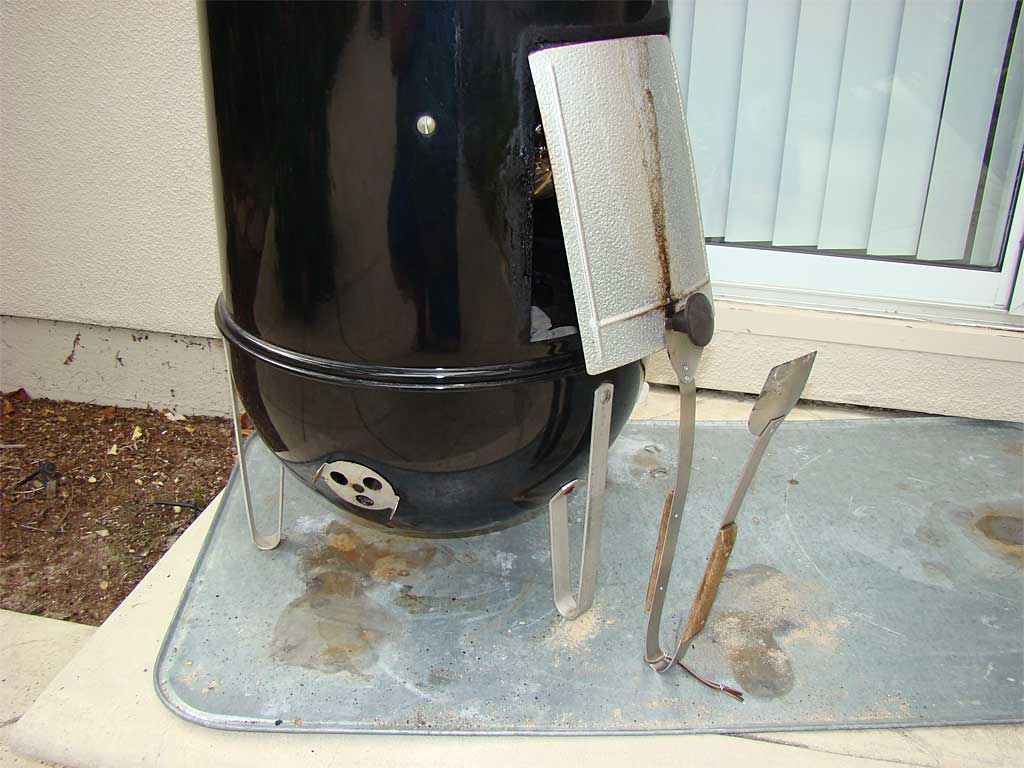
If the cooker drops below 325°F with all three bottom vents fully open, try turning the access door upside down and propping it open. This allows more air into the cooker, causing the fire to burn hotter.
There’s no need to baste or rotate the turkey during the cooking process.
Here’s how the cooker temperatures and vent settings went during my cook:
| Time | Lid Temp | Meat Temp | Vent 1 % | Vent 2 % | Vent 3 % |
| 4:37 pm | – | – | 100 | 100 | 100 |
| 4:45 pm | 326 | – | 100 | 100 | 100 |
| 5:00 pm | 301 | – | 100 | 100 | 100 |
| 5:30 pm | 312 | – | 100 | 100 | 100 |
| 5:45 pm (o) | 312 | – | 100 | 100 | 100 |
| 5:57 pm (c) | 360 | – | 100 | 100 | 100 |
| 6:15 pm | 337 | – | 100 | 100 | 100 |
| 6:30 pm | 325 | – | 100 | 100 | 100 |
| 6:45 pm (o) | 315 | – | 100 | 100 | 100 |
| 7:00 pm | 349 | – | 100 | 100 | 100 |
| 7:07 pm | 362 | 165 | 100 | 100 | 100 |
(o) propped access door open
(c) closed access door
Note that the vent percentages represent the way I set the vents at the time indicated.
Rest Then Carve The Turkey
Remove the turkey from the cooker and let rest for 20 minutes before carving. Do not cover with foil, as this will cause the skin to go soft.
Alternatively, wrap the turkey tightly in several layers of wide, heavy duty aluminum foil, place breast-side down in an empty cooler, and hold for 90-120 minutes before carving.
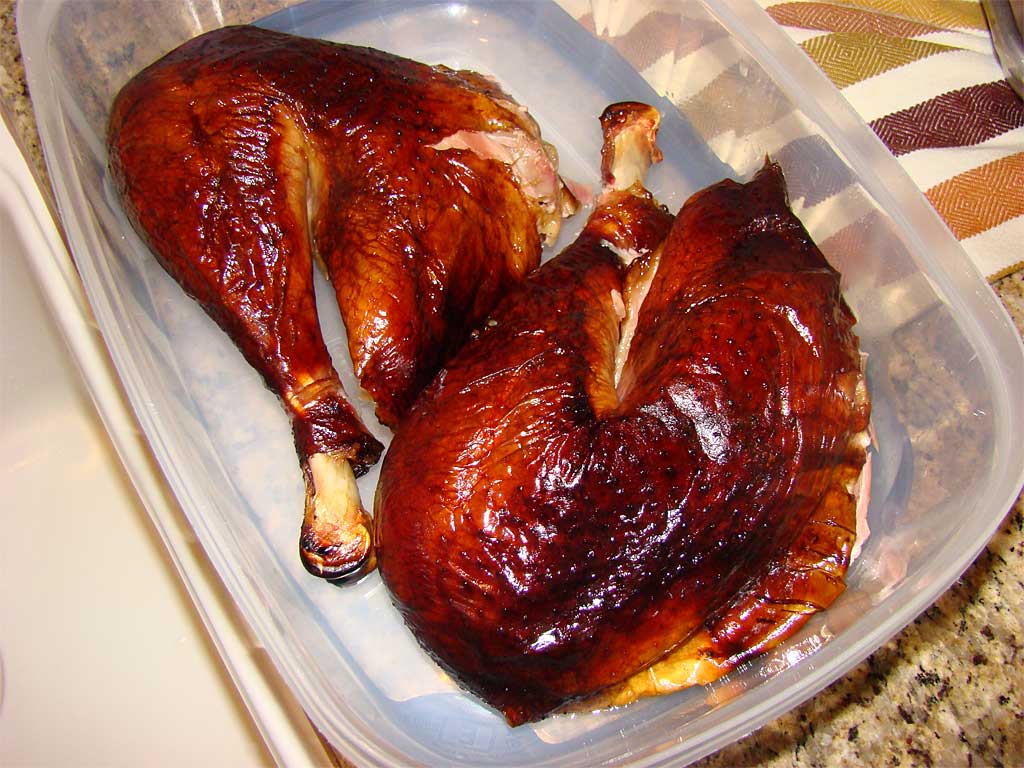
After the rest, carve the turkey to your liking. See the Turkey Selection & Preparation article for carving tips.
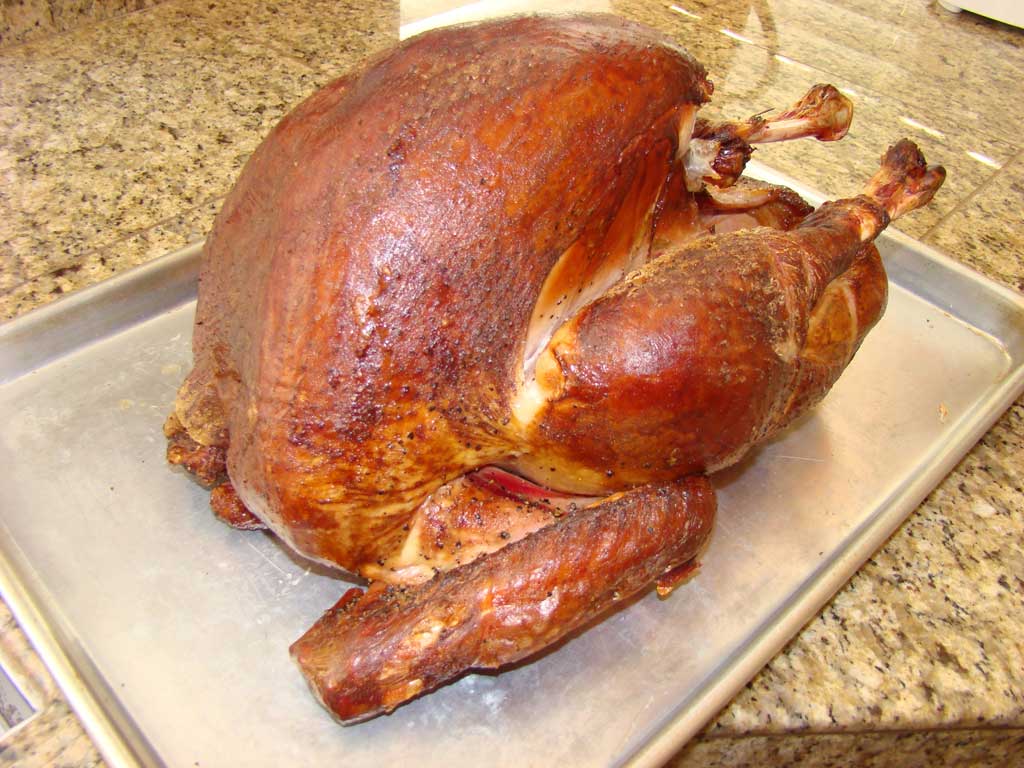
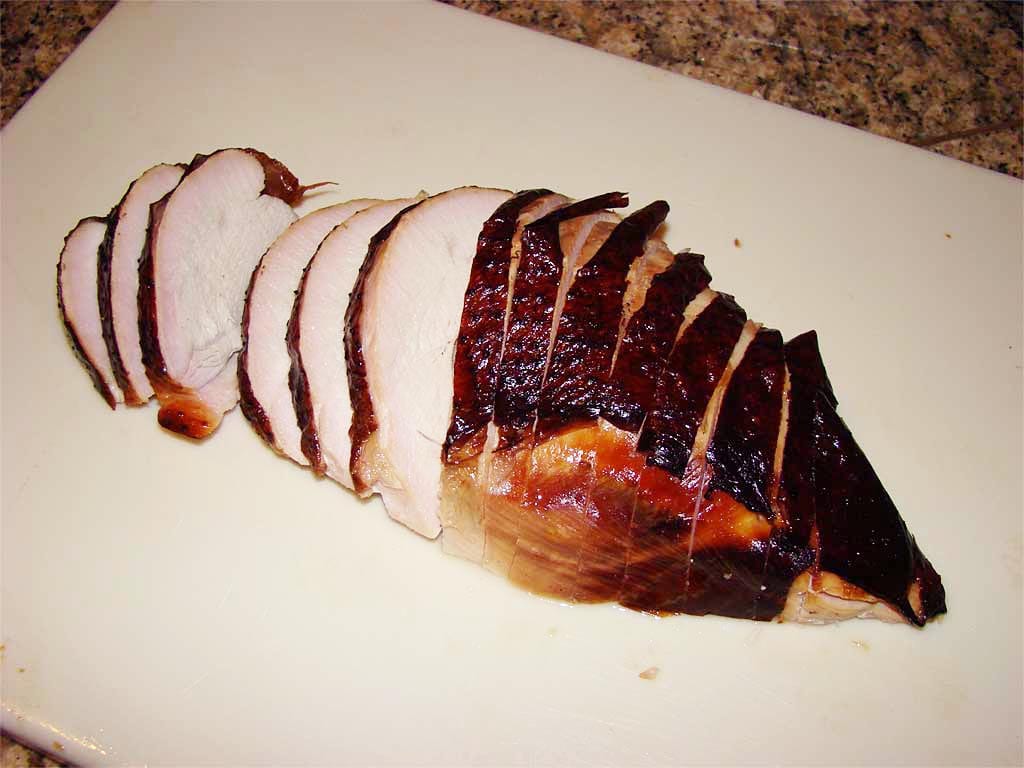 I like to remove the breast as a single piece and then cut into slices across the grain using an electric carving knife as shown in the photo above.
Collecting Pan Drippings For Gravy
There are three common ways to collect pan drippings when smoking a turkey:
- Cook the turkey in a shallow, disposable foil pan.
- Cook the turkey on the top cooking grate. Place an empty foil pan on the bottom grate to catch the drippings.
- Cook the turkey on the top cooking grate. Line the water pan with wide, heavy duty aluminum foil, but suspend the foil 1-1/2″ above the bottom of the pan so it does not touch. This prevents the drippings from burning.
Here’s an example of lining the water pan with foil and catching the drippings:
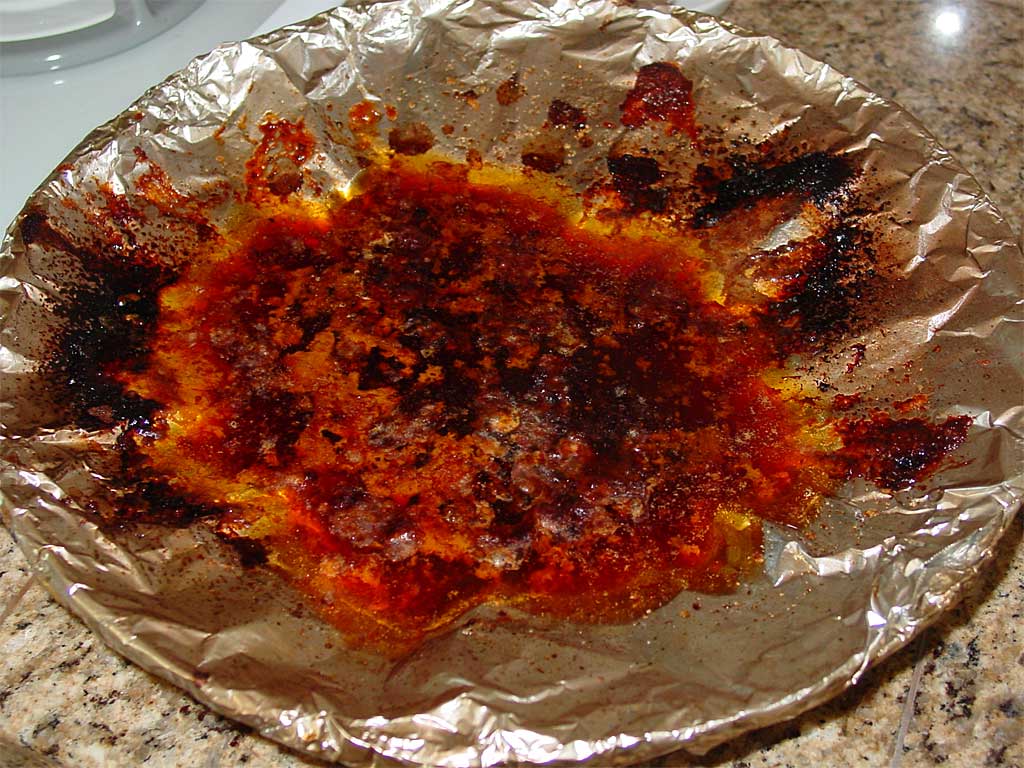 Assuming you don’t over-smoke the turkey, the drippings will be perfect for making gravy—in fact, they’re already seasoned by the salt applied to the turkey.
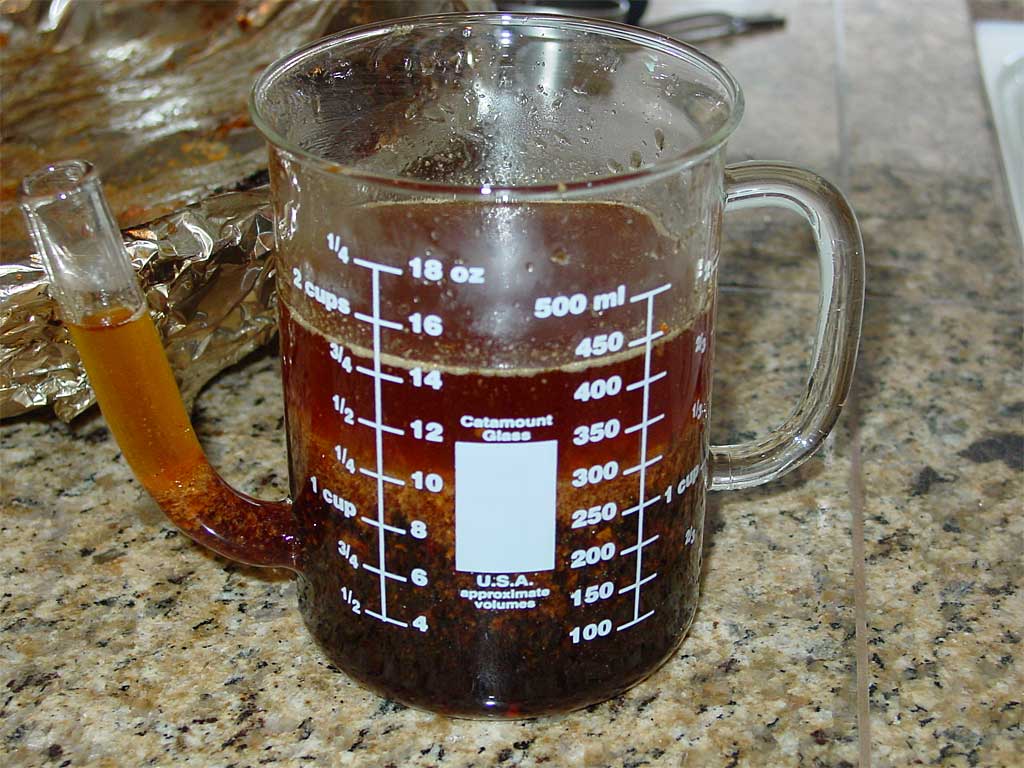
As you remove the turkey from the cooker, pour any accumulated juices inside the body cavity into the pan. You can also use the juices left in the bottom of a rimmed baking sheet pan after letting the turkey rest before carving.
You’ll typically end up with about 1-1/2 cups of drippings.
If you don’t have any drippings, make the delicious turkey giblet gravy described on The Virtual Weber Bulletin Board using the giblets, aromatic vegetables, chicken stock, white wine, and seasonings.
-
More Turkey Links On TVWB
- Whole Turkey – Self-Basting
- Whole Turkey – Basic Brine
- Whole Turkey – Brined Butterball Self-Basting
- Whole Turkey – Apple Brine
- Whole Turkey – Honey Brine
- Butterflied Turkey – Salted
- Turkey Breast – Bone-In
- Turkey Breast – Boneless & Skinless
- Turkey Breast – Central Texas Style
- Giant Texas Turkey Legs: The Easy Way
- Turkey Selection & Preparation
- All About Brining
- All About Dry Brining (Salting) Meat
- Video: Turkey Carving Demo
- Transcript: Turkey Chat With TVWB & Weber’s Kevin Kolman – November 2013
- Countdown to Thanksgiving: 30 Tips For Your Best Thanksgiving Ever
- Turkey Talk Forum At The Virtual Weber Bulletin Board
- Turkey Recipes At The Virtual Weber Bulletin Board
 Don’t Cook Your First Turkey On Thanksgiving Day
Don’t attempt to cook your first whole turkey on Thanksgiving Day. Who needs the pressure? Instead, cook a practice turkey a week or so before the big day. This way, you’ll be confident in your abilities and in your recipe, and you’ll look like a seasoned pro when you pull the perfect smoked turkey from the WSM and present it to your family and friends.


