Here are some tips from TVWB readers for improving the functionality of vent dampers on the Weber Smokey Mountain Cooker.
Adding A Second Lid Damper
Bob Hunter from Orange, CA, likes to cook chicken at high temperature in his Weber Smokey Mountain Cooker. In order to increase the airflow through the cooker, he added a second vent damper to the lid.
First, you’ll need to order a WSM vent damper replacement kit from Weber at 800-446-1071. Note that each size cooker has a different size damper kit.
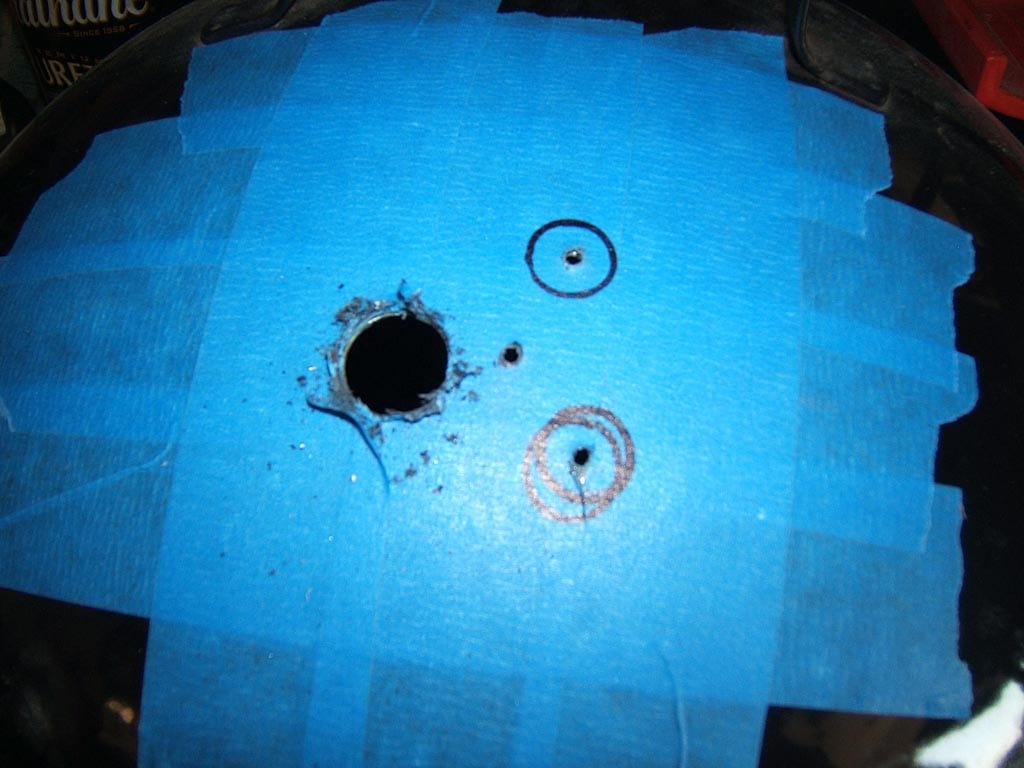
Cover the surface of the lid opposite the original vent damper with two layers of painter’s tape. Place a vent damper over the tape and mark the center hole and three vent holes with a pen.
Drill the center hole with a 1/4″ metal drill bit. Drill the three vent holes with a 3/4″ metal hole saw.
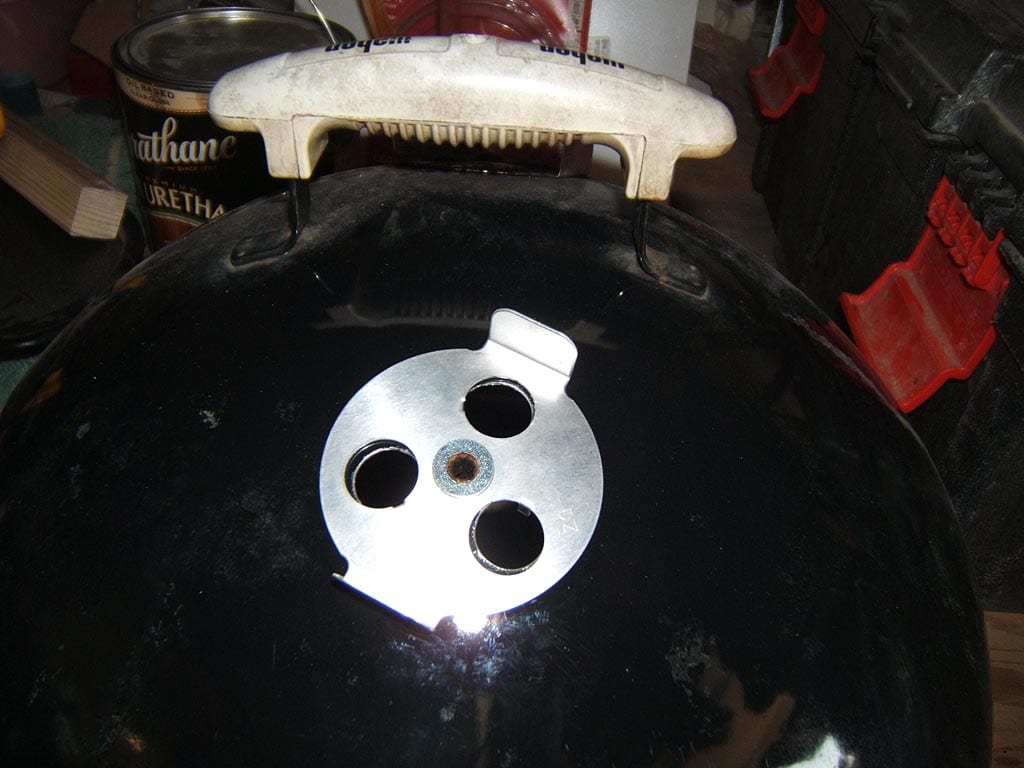
The WSM vent damper replacement kit includes fastening hardware: a 1/4-20 x 5/8″ truss head screw, a 1/4″ flat washer, and a 1/4-20 inch acorn nut. Use these to fasten the damper to the lid.
Bob used a BBQ Guru eyelet instead of the Weber fasteners. This allows him to insert a probe thermometer through the center of the damper to measure cooker temperature.
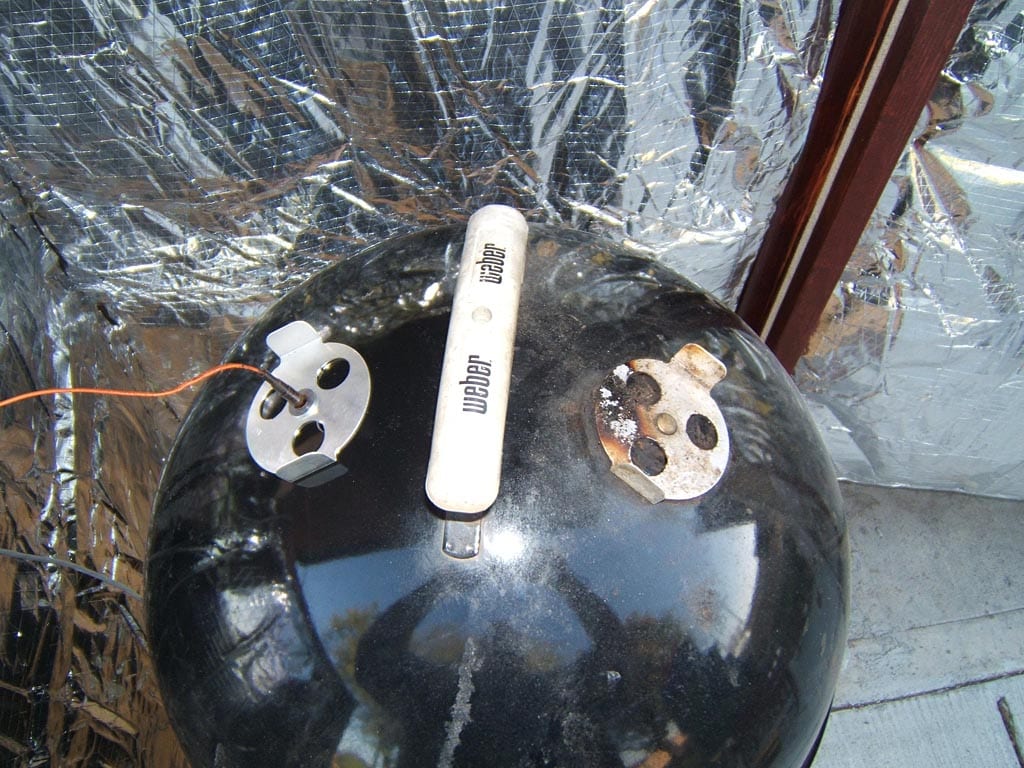
This photo shows the final installation with a probe thermometer cable running through the center of the new damper.
Marking The Vent Dampers
Gary Hill wanted an easy way to consistently set his vent dampers. He decided to mark the dampers using white auto pinstriping tape. Five marks on the cooker body indicate closed, 1/4 open, 1/2 open, 3/4 open, and fully open. A mark on the damper itself acts as a pointer.
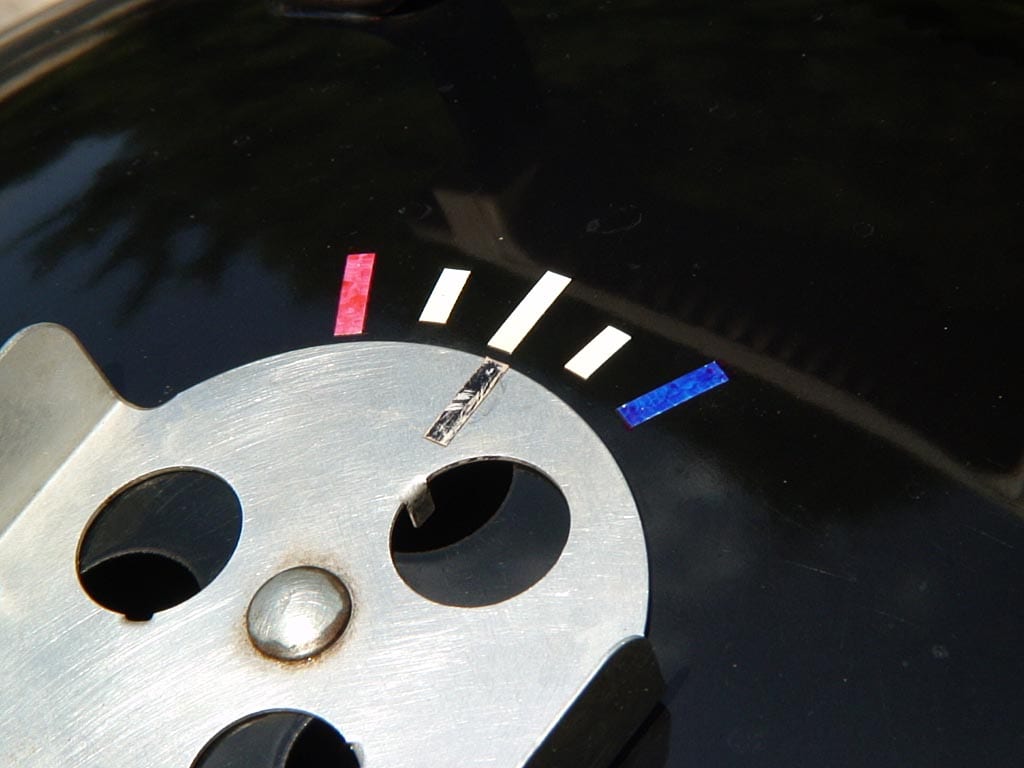
Gary used marking pens to color the tape, but says the colors faded over time and are difficult to distinguish. If he had it to do over again, Gary says he’d try using different length tape strips, long to short for opened to closed positions.
Adding Damper Handles
Vent dampers get very hot to the touch when operating the WSM, especially those on the charcoal bowl. To protect my fingers when adjusting dampers during a cook, I either wear grilling gloves or I use tongs to tap the damper more open or more closed.
Some have suggested using the molded plastic damper handles that Weber uses on some kettle grill lids. The problem is these don’t fit WSM damper tabs and would likely melt on the charcoal bowl dampers even if they did fit.
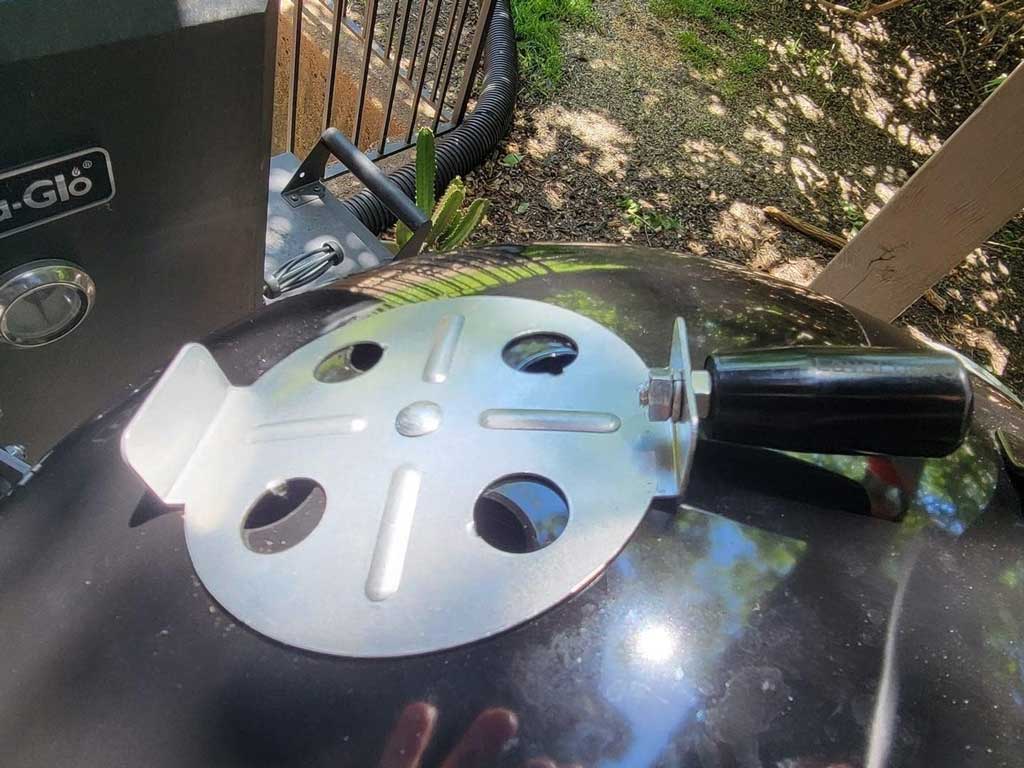
Amazon.com sells a cool-touch damper handle that is easily installed on WSM dampers, just drill a hole in one of the damper tabs, insert the handle, and fasten it with a nut.
Several WSM owners have addressed this issue by adding DIY handles to their vent dampers.
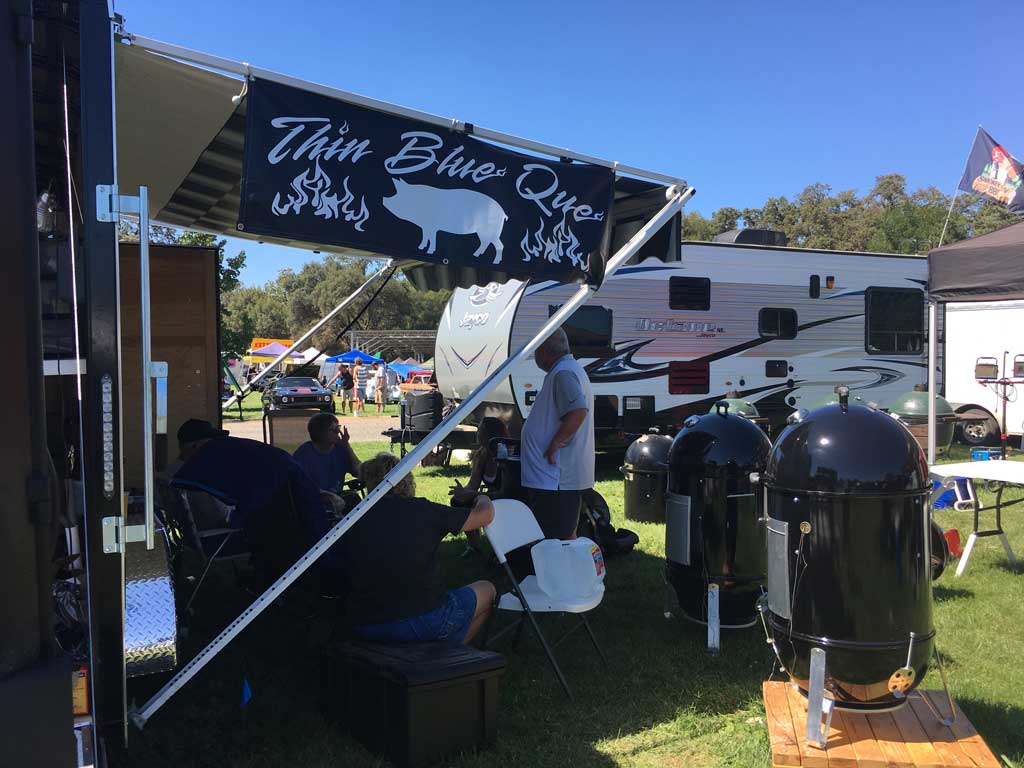
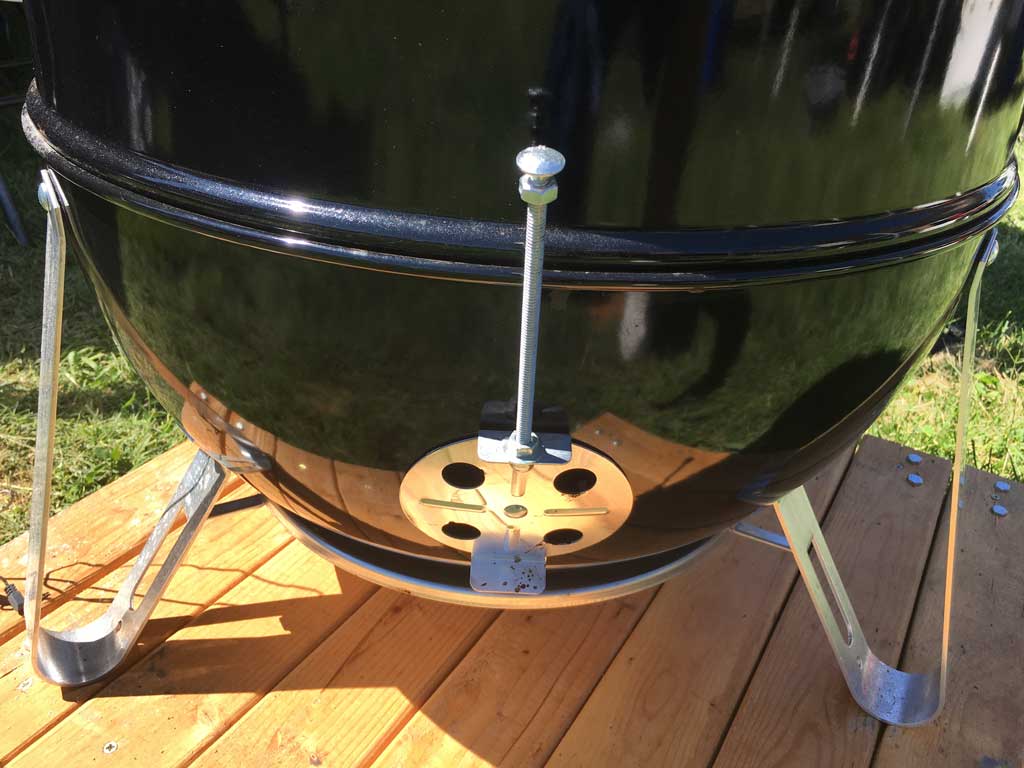
Competition barbecue team Thin Blue Que from Lodi, CA drilled a hole into the uppermost tabs on the charcoal bowl dampers and used long threaded bolts and nuts to fashion a handle on each of the three bottom damper vents.
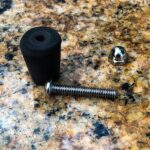
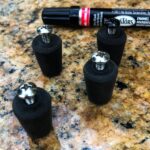

The Virtual Weber Bulletin Board member MichaelM used rubber test tube stoppers, stainless steel screws, and cap nuts to make knob handles for his WSM. He drilled holes through the center of each stopper and rounded the top edges, then used a Testors black enamel paint marker to color the screw heads. He used a heavy duty hole punch to make the holes in the damper tabs, but you could carefully drill these holes. Michael says the compressed rubber is enough to keep the cap nut tight, but you might consider adding a dab of thread lock if the cap nuts loosen over time.
More Thermometer & Temperature Links On TVWB
- Installing A Thermometer
- More Thermometer Installations
- Cutting A Probe Thermometer Slot
- Measuring Temperature In The Weber Bullet
- Temperature Control Problems: Too Hot, Too Cool
- Cooking In The Wind, Rain & Cold
- WSM Temperature Tests
- Testing Thermometers For Accuracy: Ice Bath Test & Boiling Water Test
- Boiling Point Calculator
- WSM Modifications Forum on The Virtual Weber Bulletin Board
Photos of adding a lid damper: 2008 by Bob Hunter
Photos of marking a lid damper: 2001 by Gary Hill
Photo of cool-touch damper handle: 2024 by Amazon.com
Photos of rubber test tube stopper knob handles: 2020 by MichaelM


