In This Topic
- What You’ll Need For This Project
- The Smokey Joe & The Steamer Pot
- Cut A Hole In The Bottom Of The Steamer Pot
- Install The Top Cooking Grate
- Install A Thermometer
- Make A Vent Cover
- Make A Charcoal Chamber
- Add A Damper Handle
- Add A Larger Ash Catcher
- Add A Heat Diffuser
- Add A Bottom Cooking Grate
- Assemble Your Smokey Joe Mini WSM
- Members Are Standing By To Help
The Smokey Joe Mini WSM project seems to have taken on a life of its own! It first appeared on The Virtual Weber Bulletin Board in a post by Larry Watkins in October 2008 and it’s grown in popularity ever since, becoming the single most popular topic on the discussion forum.
There are many variations on how to make your own Mini WSM using a Weber Smokey Joe grill. What I’ve illustrated here is not the only approach and it’s not necessarily the best approach, but it’s what I did based on what made sense to me. What’s really fun about this project is that there are so many ways to approach it and so many good ideas in the SJ Mini WSM discussion forum that you can really make this your own, special little cooker.
Surprisingly, it’s a highly functional cooker that is just right for barbecuing small quantities of food and it’s easy to transport for camping or RVing.
It should be noted that the popularity of this DIY smoker project was probably the driving force behind Weber’s decision to bring back the 14.5″ Weber Smokey Mountain Cooker in October 2014.
What You’ll Need For This Project
At a minimum, you’ll need the following hardware for this project:
- Weber Smokey Joe or Weber Smokey Joe Premium charcoal grill
- 32-quart steamer pot
- 3 short 1/4″ stainless steel screws, washers, and nuts
- A shallow metal pan or terra cotta clay saucer as a diffuser
There are a number of optional features you can add to your Mini WSM, and the materials needed for those are described throughout this article.
As far as tools go, I recommend:
- A jig saw with a fine metal cutting blade
- A drill with metal drill bits
- Screwdriver and adjustable wrench
- 150 grit sandpaper
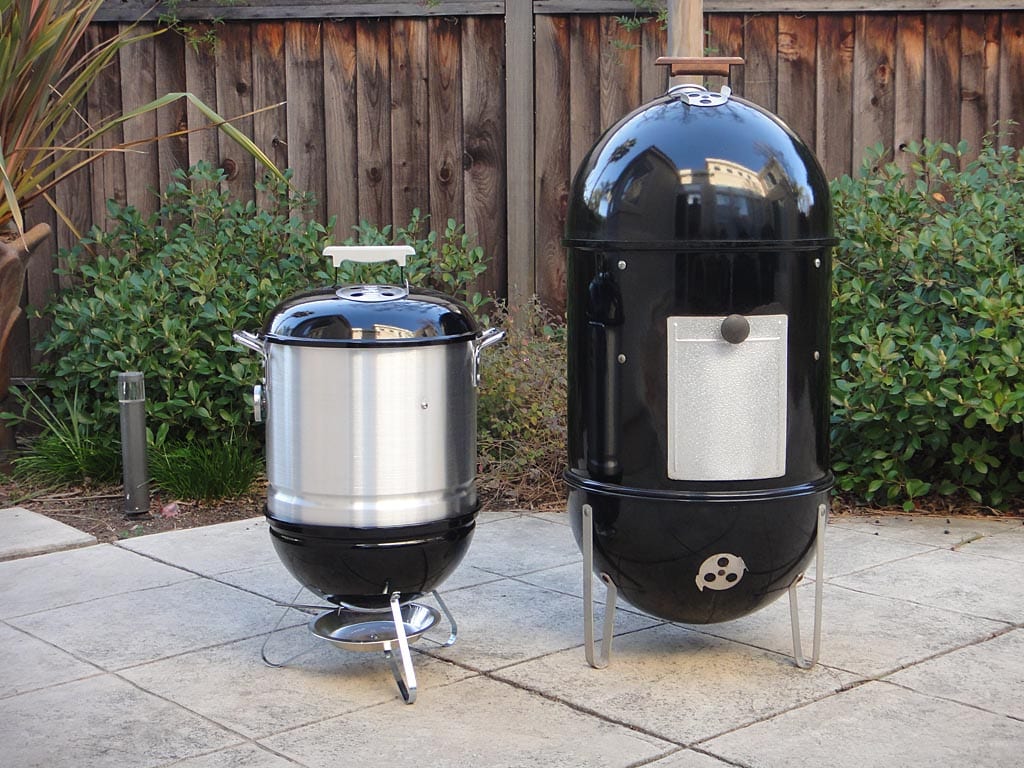
The Smokey Joe & The Steamer Pot
If you already own a Weber Smokey Joe or Weber Smokey Joe Premium charcoal grill, you’re well on your way toward making your own Mini WSM. What’s nice about this project is that you don’t have to make any modifications to the grill in order to make a Mini WSM. You end up with a functional grill and a functional smoker.
This photo shows the Smokey Joe that I used for this project. It has a single vent on the bottom of the charcoal bowl. Ashes from cooking sessions longer than 4 hours may clog this vent, which is why some people prefer using a Smokey Joe Premium for this project. It has two vents higher up on the sides of the charcoal bowl that won’t clog. However, some people say the Smokey Joe is actually the better grill because the airflow comes up from below the charcoal.

The consensus seems to be that if you’re building a dedicated smoker, go with the Smokey Joe Premium. If you want both a good grill and a good smoker, then go with the basic Smokey Joe. There’s a neat little trick shown later in this article that helps address the vent clogging issue in the basic Smokey Joe.
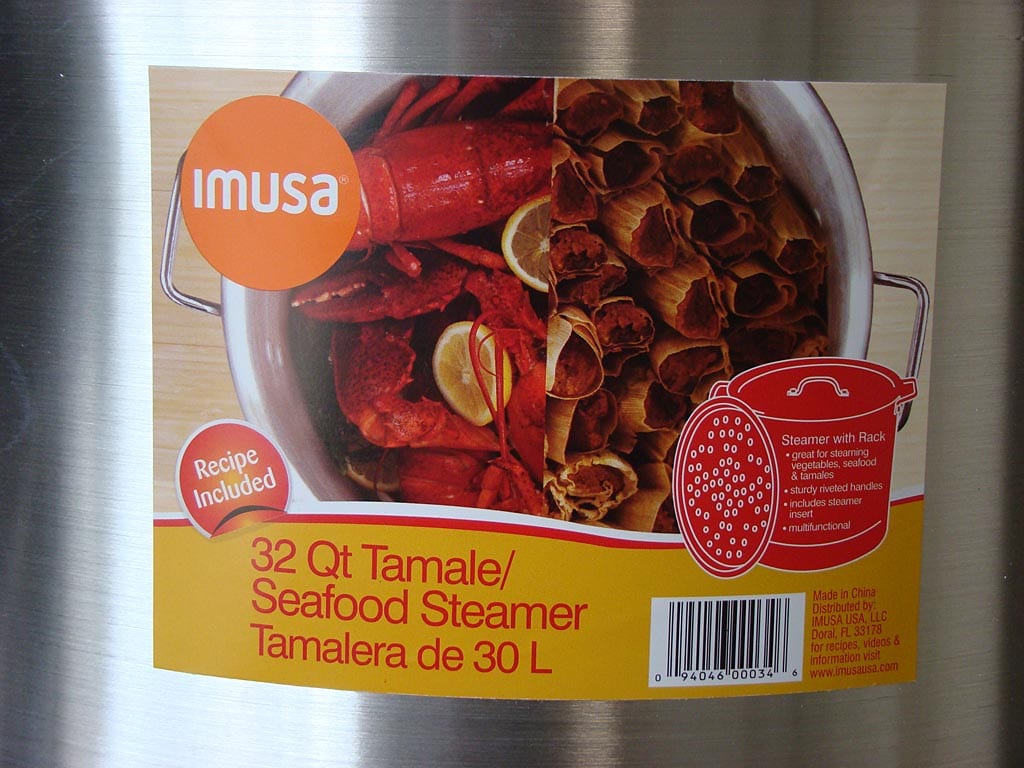
The real trick to this project is finding a steamer pot that fits properly. It’s strange but true that these 32-quart aluminum steamer pots are a very good fit with the Smokey Joe, both in terms of how it fits into the charcoal bowl and how the grill lid fits on top of the pot. However, the pots can vary slightly in size from batch to batch, even from the same manufacturer. Sometimes the variation seems to be based on country of manufacture. For example, at one point in time, people found that IMUSA pots made in China fit perfectly, but IMUSA pots made in Latin America did not.
This photo shows the IMUSA 32-quart tamale/seafood steamer pot I used for my Mini WSM. I bought it at Walmart for $24. I also found the same pot at Target, but the one from Walmart was the better fit, which illustrates my point about just how variable these pots can be from one to another.
At the time of this writing, the “hot pot” that people say has the best fit is the Vasconia 32-quart steamer from Amazon.com…but availability seems to come and go..
In terms of fit:
- The pot should be stable when placed into the charcoal bowl.
- There shouldn’t be much of a gap between the bowl and the pot. The tighter the fit, the better. If there’s a slight gap, you can fill it with a gasket made of aluminum foil.
- The grill lid should fit comfortably on top of the pot. A common problem is for the pot’s rim to be slightly larger than the lid, so the lid won’t fit. Some people try crimping the rim to make the diameter smaller (you can read about a variety of crimping methods in the discussion thread).
My recommendation is that you buy a pot that fits properly right off the store shelf. Don’t settle for a bad pot and try to force it to work somehow. Be patient and find the right pot. Put the Smokey Joe in your car and take it to the store. Take measurements of the diameter of the charcoal bowl and lid. Go into the store and measure the pot. When you find a good pot, purchase it and fit it to your Smokey Joe right there in the parking lot. If it doesn’t fit properly, return it to the store and continue your quest for the perfect pot.
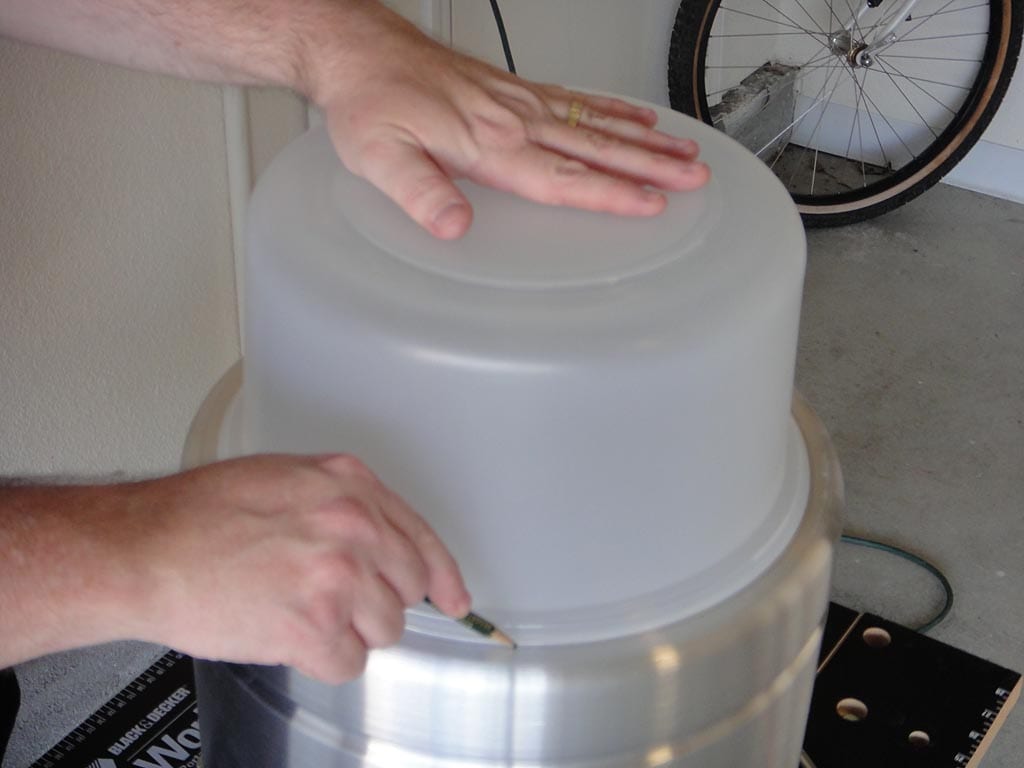
Cut A Hole In The Bottom Of The Steamer Pot
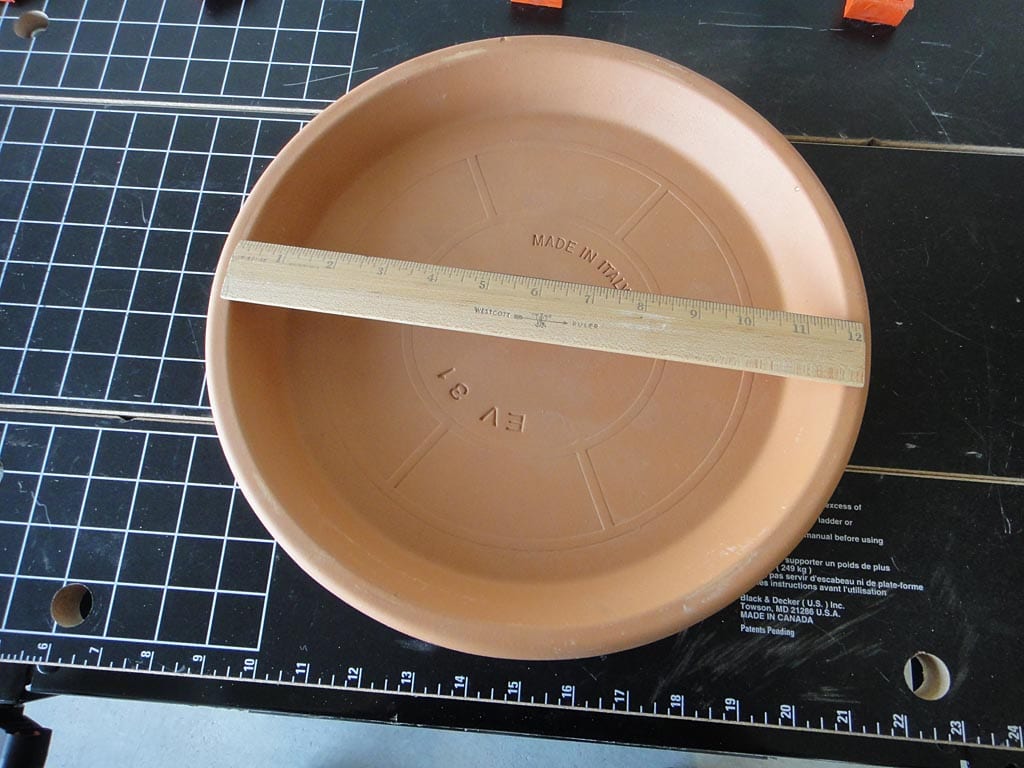
You need to open up the bottom of the steamer pot to create a middle cooking section for your Mini WSM. I drew a 12″ diameter circle on the bottom of the pot (using a cake plate lid as a template).
I drilled a starter hole and cut-out the 12″ circle using a jig saw fitted with a fine metal cutting blade. You can read about other methods for doing this in the discussion thread.
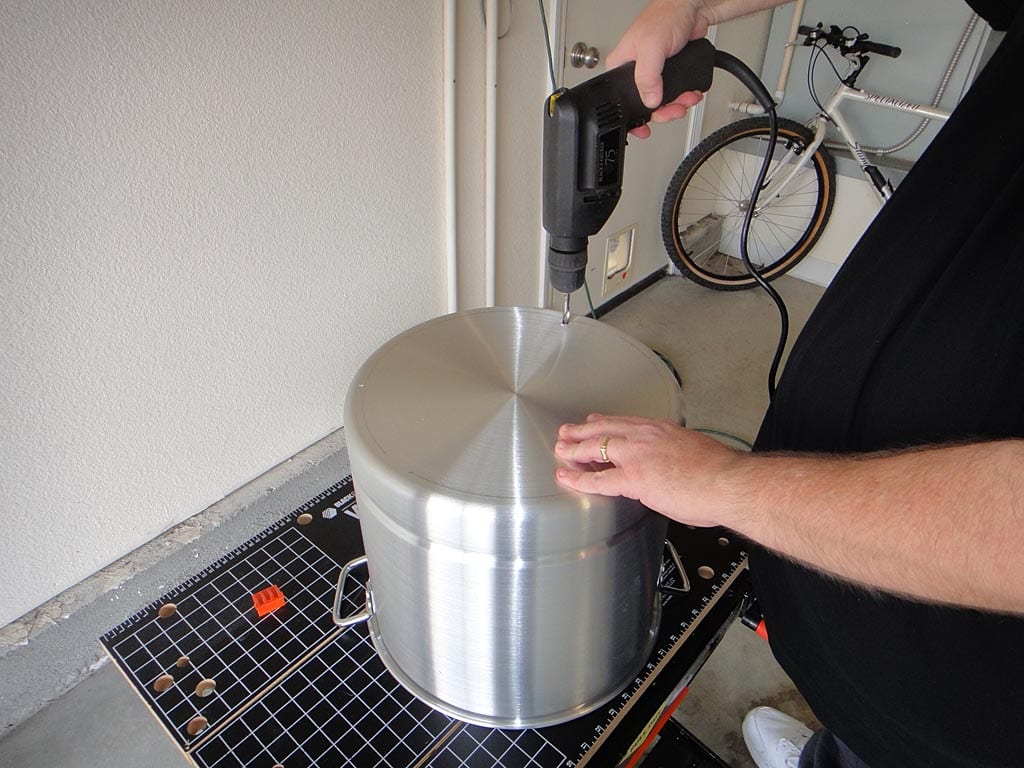
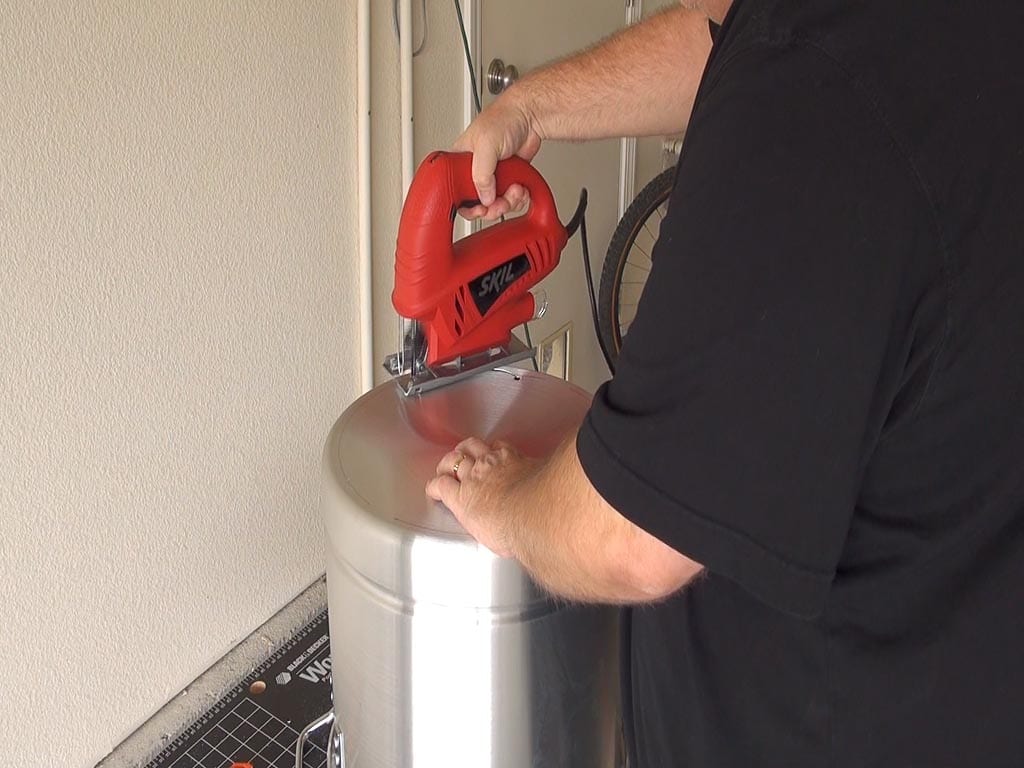
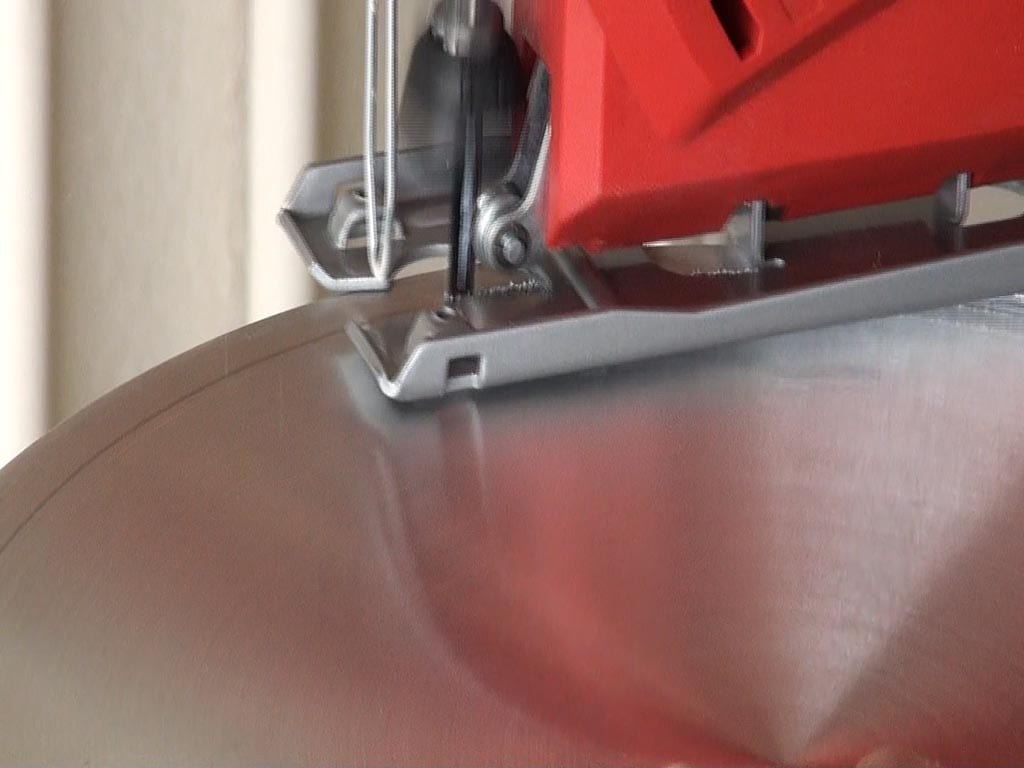
To retain structural integrity, do not remove the entire bottom of the pot. You want to remove a circle of material from the flat bottom of the pot without cutting into the curved corner that keeps the pot rigid.
Use 150 grit sandpaper to smooth any rough edges after the cut.
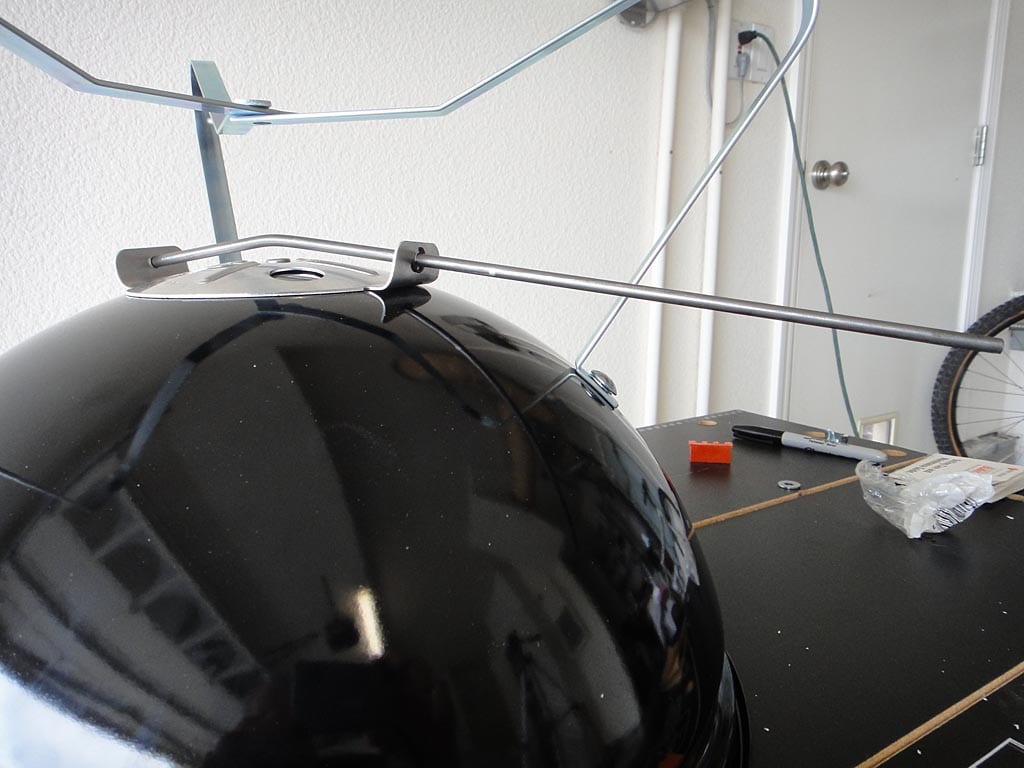
Install The Top Cooking Grate
The top cooking grate sits securely on 3 short screws fastened to the wall of the pot, each about 14-1/2″ apart. You can decide for yourself how deep or shallow you want to mount the top grate. I settled on 4″ down from the rim of the pot. This position allows for about 6-1/2″ of space between the grate and the center of the lid.
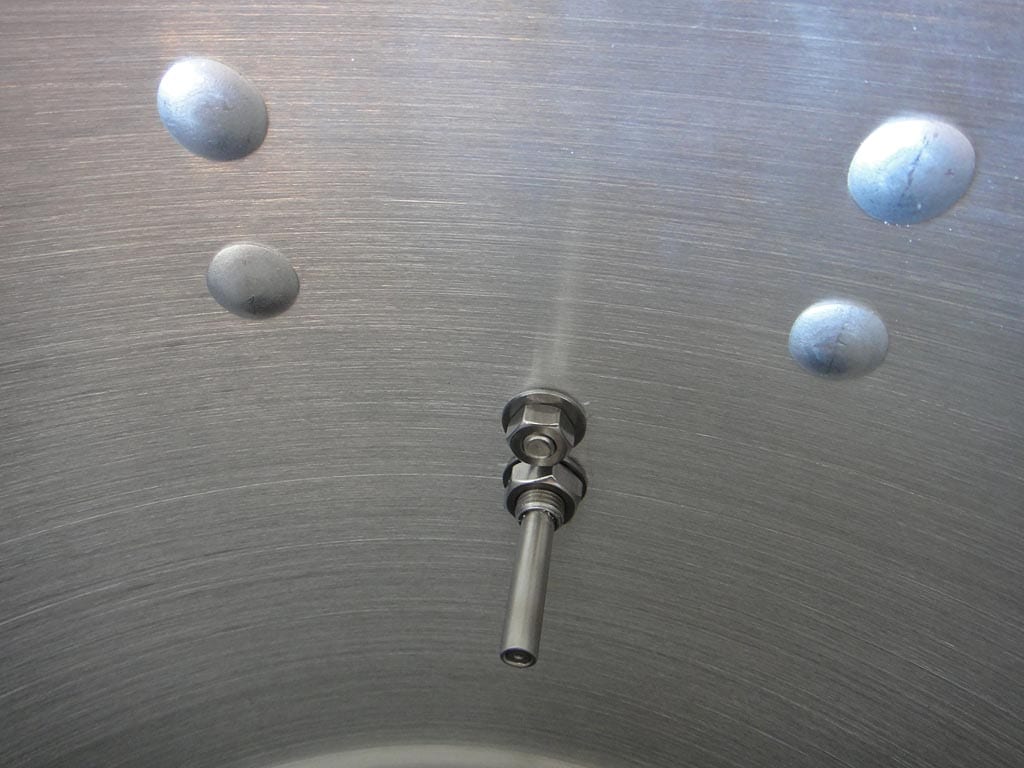
Measure 4″ down from the rim of the pot. Use a scratch awl or a punch starter to mark the spot and drill a 1/4″ hole. (The aluminum is soft enough that you can actually start the hole using an awl and then finish with the drill.)
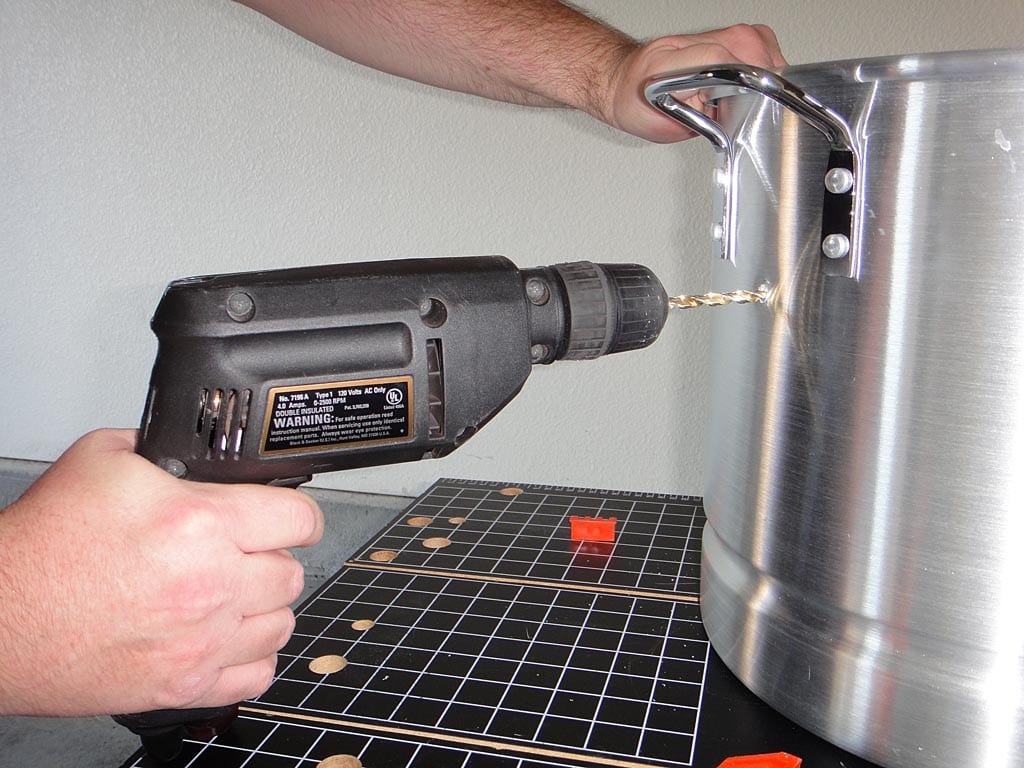
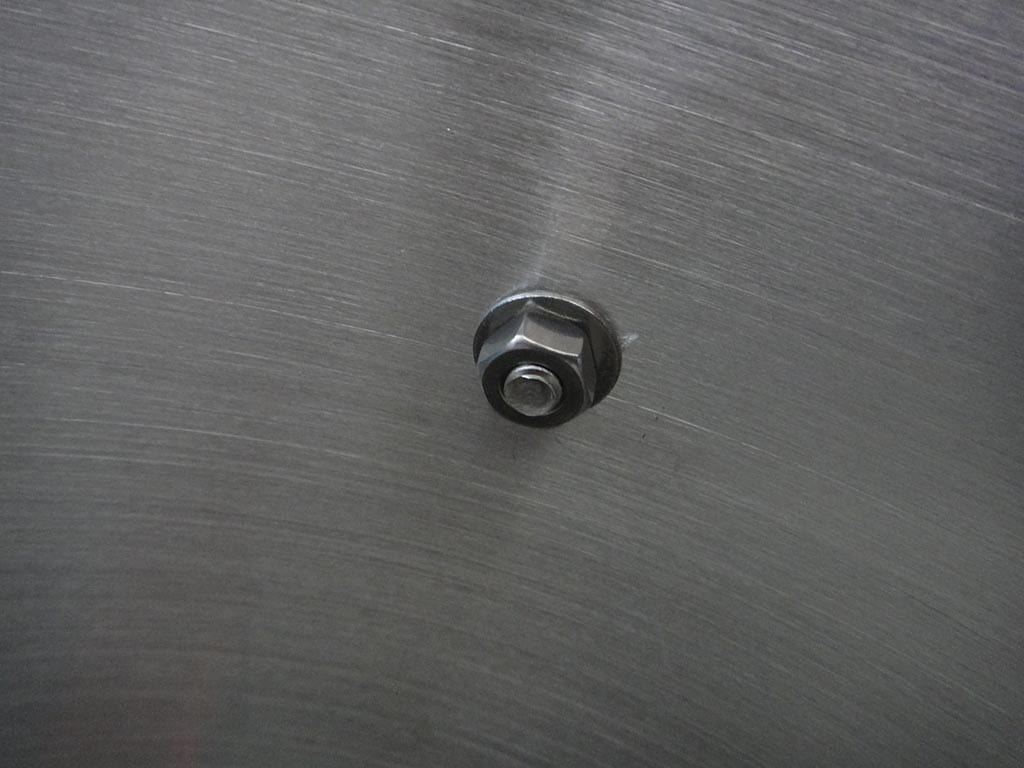
Insert a short 1/4″ stainless steel screw and fasten with a matching washer and nut.

Cut a piece of string 14-1/2″ long. Place one end of the string at the screw head and stretch it around the outside of the pot. Make a pencil mark where the string ends. Measure 4″ down from the rim to your pencil mark and mark the drilling spot. Repeat the drilling and screw installation process, then repeat the whole string thing and drilling process for the third screw.
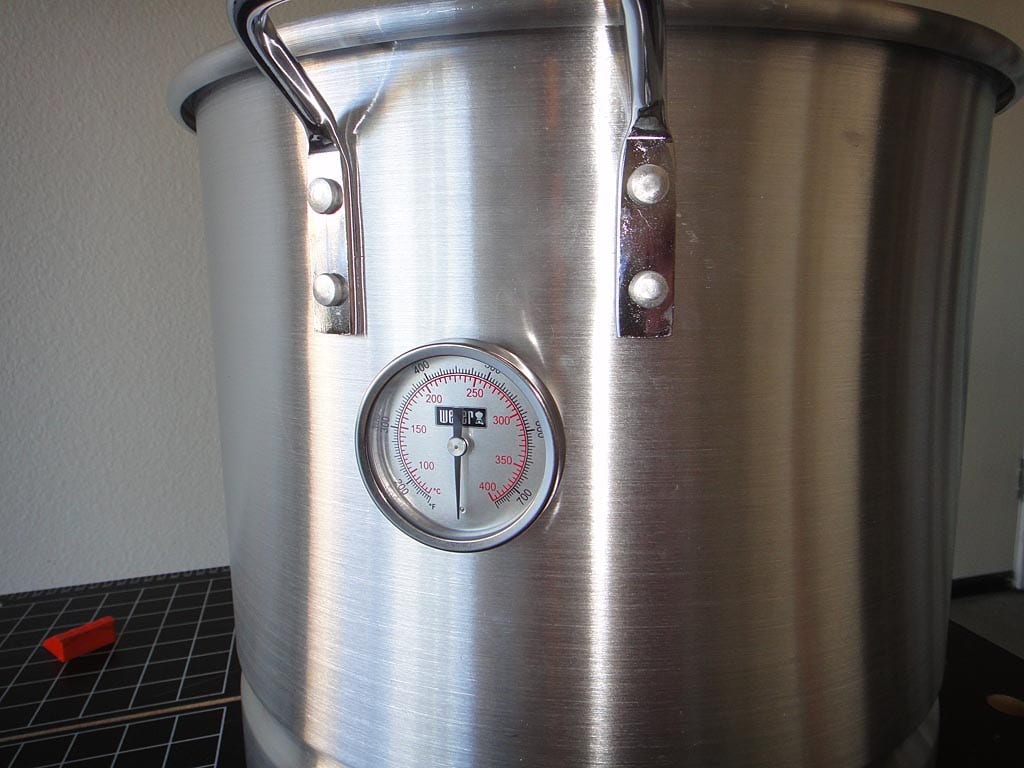
Install A Thermometer (Optional)
If you’re a probe thermometer kind of person, you may want to drop a probe through the lid vent or install a special port in the side of the pot through which to pass a probe. If you’re a mounted thermometer guy or gal, you can install one in the side of the pot.
I had a spare Weber gas grill thermometer laying around, so I mounted it just below one of the cooking grate screws so the stem would be positioned below the top grate. Not sure why I picked this location under the handle; in hindsight, mounting it equidistant between the handles might have made more sense.
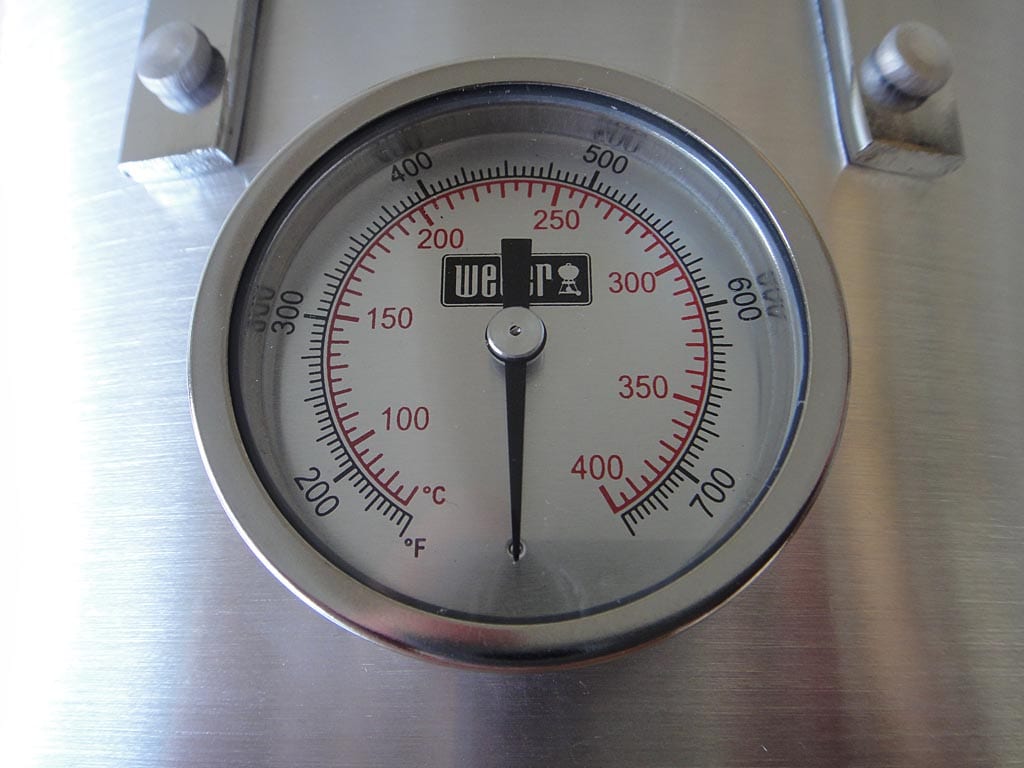
Another good choice for thermometer is the Weber 9815 thermometer.
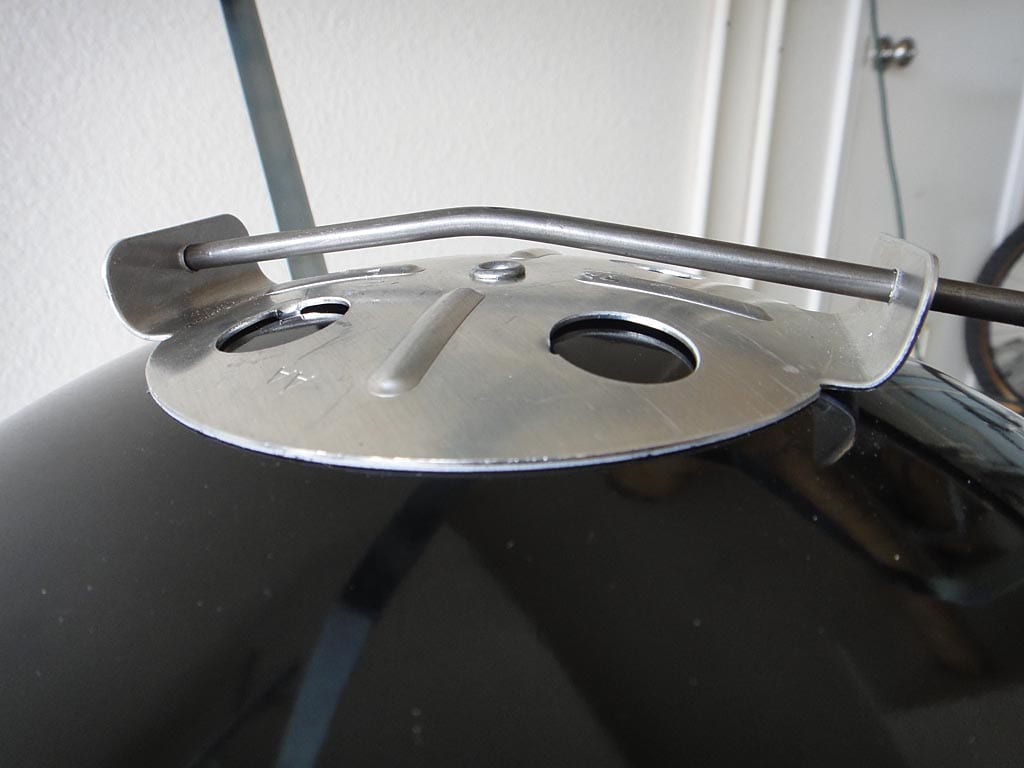
Make A Vent Cover (Optional)
If you’re using the basic Smokey Joe and you intend on cooking longer than 4 hours, you may want to make a cover to prevent ashes from clogging the vent.
One approach is to use a short steel can that is slightly larger in diameter than the vent. I found that this canned chicken can was just the right size.
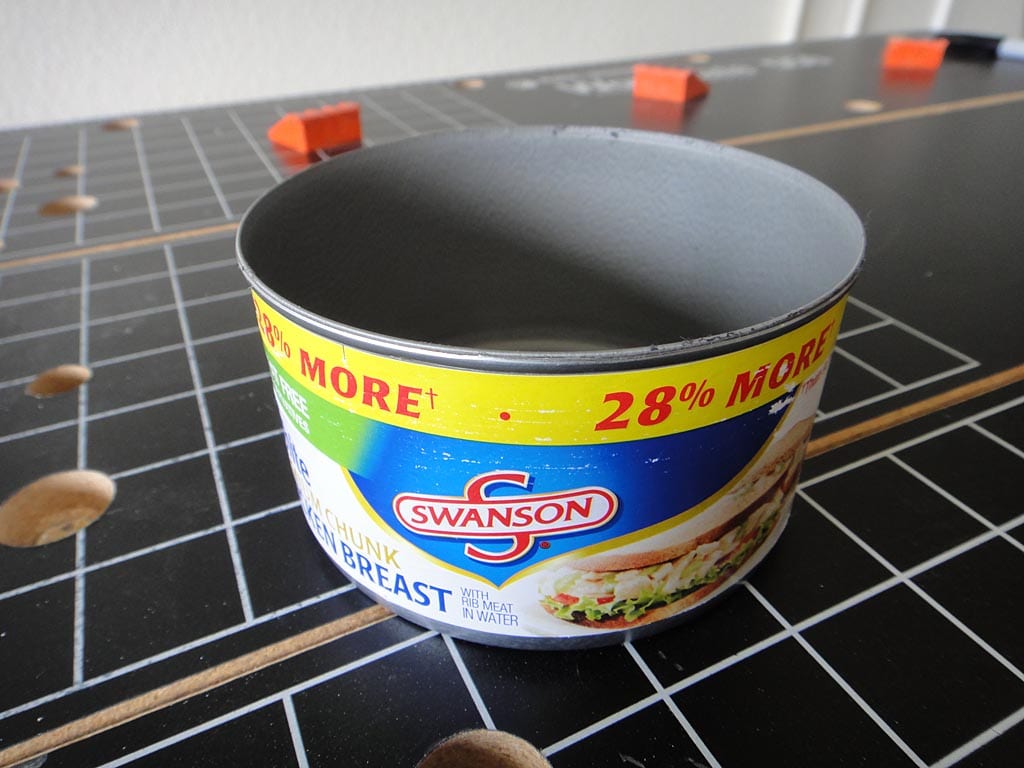
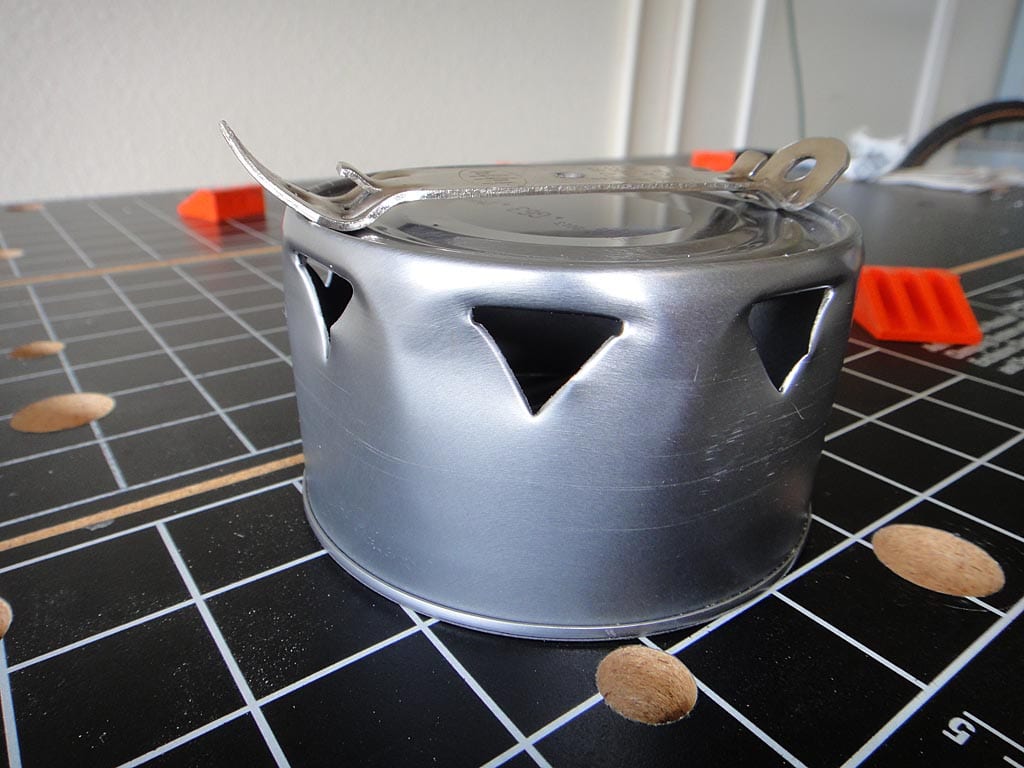
I used a church key can opener to poke 8 ventilation holes around the top edge of the can.
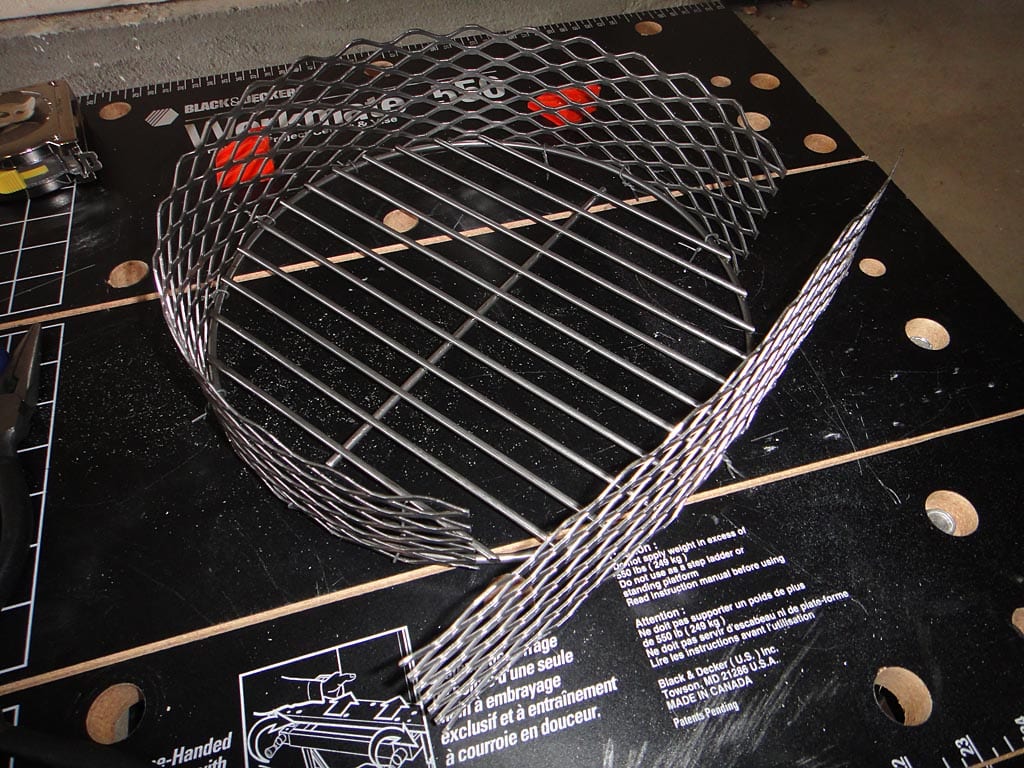
Make A Charcoal Chamber (Optional)
You don’t necessarily need a charcoal chamber for the Mini WSM, but it can help especially for longer cooking sessions.
To make a charcoal chamber, purchase a 12″ x 24″ piece of expanded steel at the hardware store. Use a jig saw fitted with a metal cutting blade to cut 2 strips measuring 3″ x 24″.

Starting at the center, fasten one piece of expanded metal to the edge of the charcoal grate using a short piece of wire twisted tight with pliers. Continue fastening every few inches until reaching one end of the strip, then go back and fasten in other direction. You end up with a semi-circle as shown below.
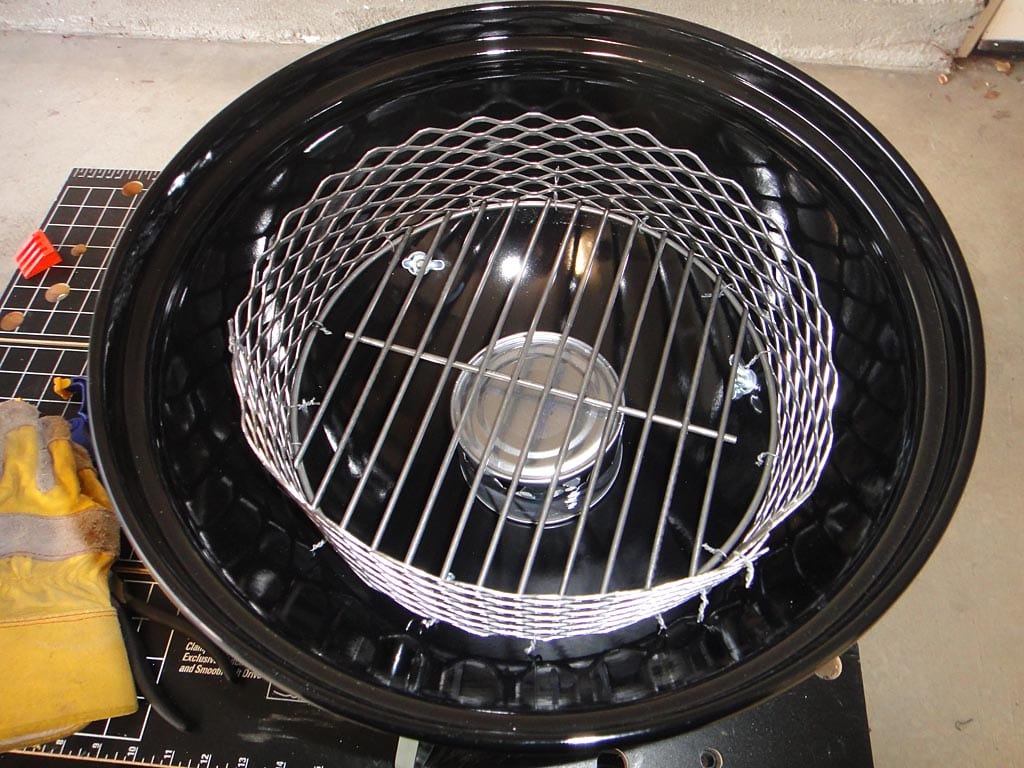
Now measure how much material you’ll need to close the remaining gap, allowing some excess for overlap at each end. Cut this piece from the second 3″ x 24″ piece you cut earlier.
Starting again from the center, fasten the expanded metal to the grate in both directions. Fasten both pieces together where they overlap, too.
The end result is a charcoal chamber attached to the charcoal grate, as shown here. This approach offers the convenience of being able to shake-out the ashes to reuse any leftover charcoal.
Add A Damper Handle (Optional)
If you’re using a basic Smokey Joe, you may find that adjusting the bottom vent when it’s hot is a good way to burn your fingers! An easy fix is to mount a handle to the damper.
Again, there are lots of approaches for doing this spelled-out in the discussion thread. Most involve bending up one or both of the damper tabs and attaching a bolt or metal rod as a handle.
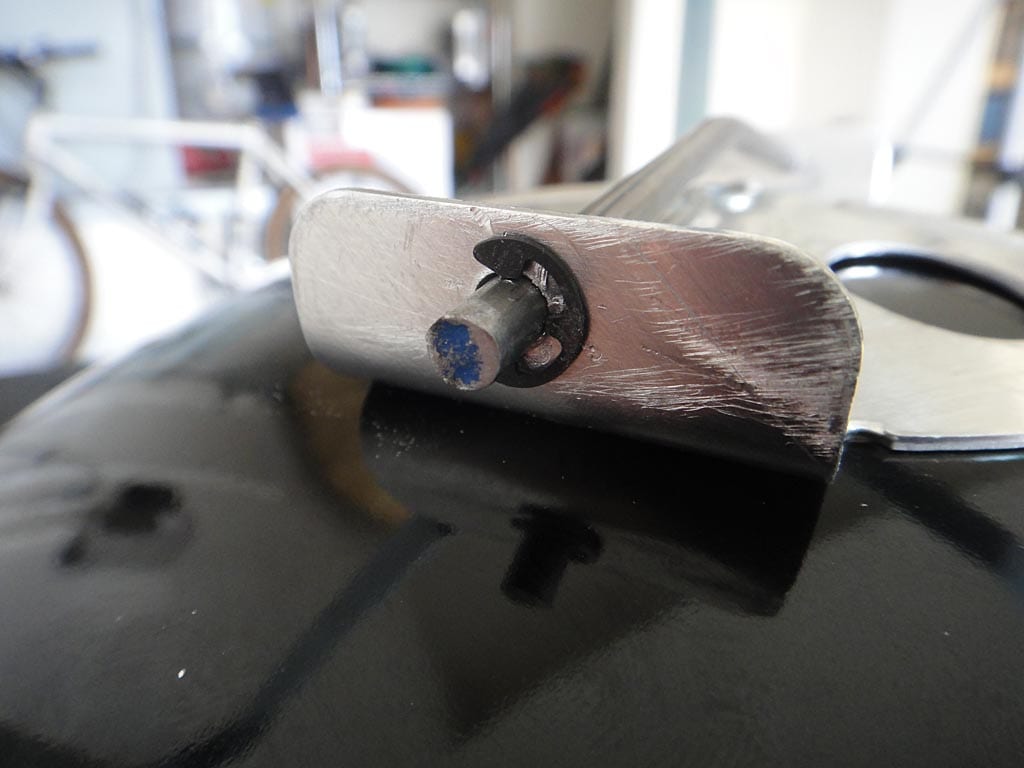
I bent up both tabs slightly and drilled a 3/16″ hole in each. I didn’t bend them up too much for fear I’d ruin the tight fit of the damper against the charcoal bowl. I inserted the end of a 12″ piece of 3/16″ metal rod through one hole and marked where it crossed the damper rivet. I put a slight bend in the rod at the mark and reinserted it through both holes, fastening with two 3/16″ e-clips on the outside surface of each tab. To shorten the handle, I cut off some of the excess rod using a Dremel cut-off wheel.
Add A Larger Ash Catcher (Optional)
If you’re using a basic Smokey Joe, you may have noticed it’s got a tiny ash catcher that sits under the charcoal bowl. That’s fine for a short grilling session, but it may overflow when barbecuing for longer periods of time.

The solution is to super-size that catcher by replacing it with an aluminum pie tin. Just drill a hole in the tin and fasten it in place of the original catcher.
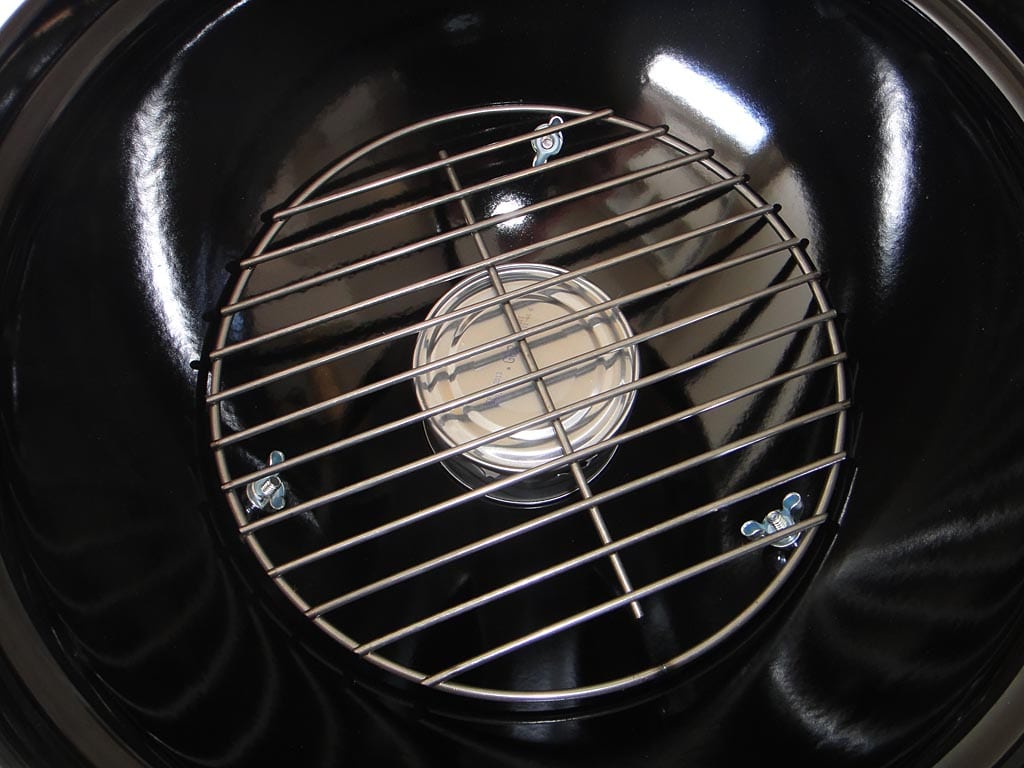
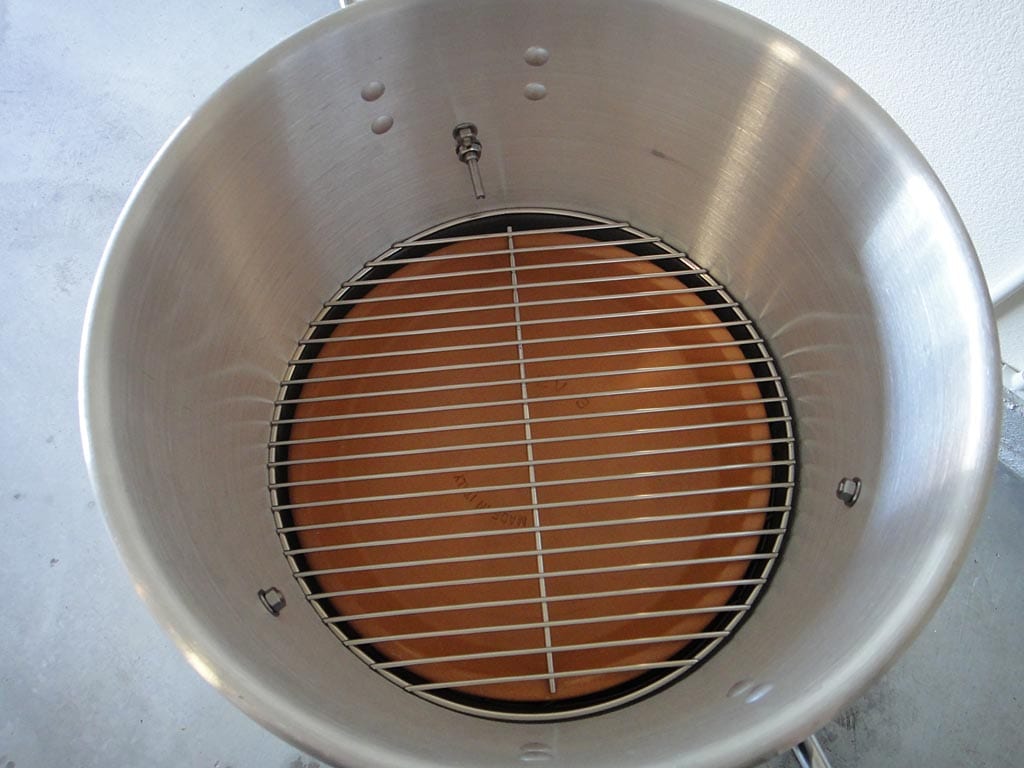
Add A Heat Diffuser
To create an indirect cooking environment, you need something to sit between the hot coals and the cooking grate to diffuse the heat. In the WSM, this is achieved using the water pan. For the Mini WSM, most people go without water, so there are any number of things you can use for this purpose, like a shallow metal pan or a terra cotta clay saucer. Both can be wrapped in aluminum foil for easy cleanup.
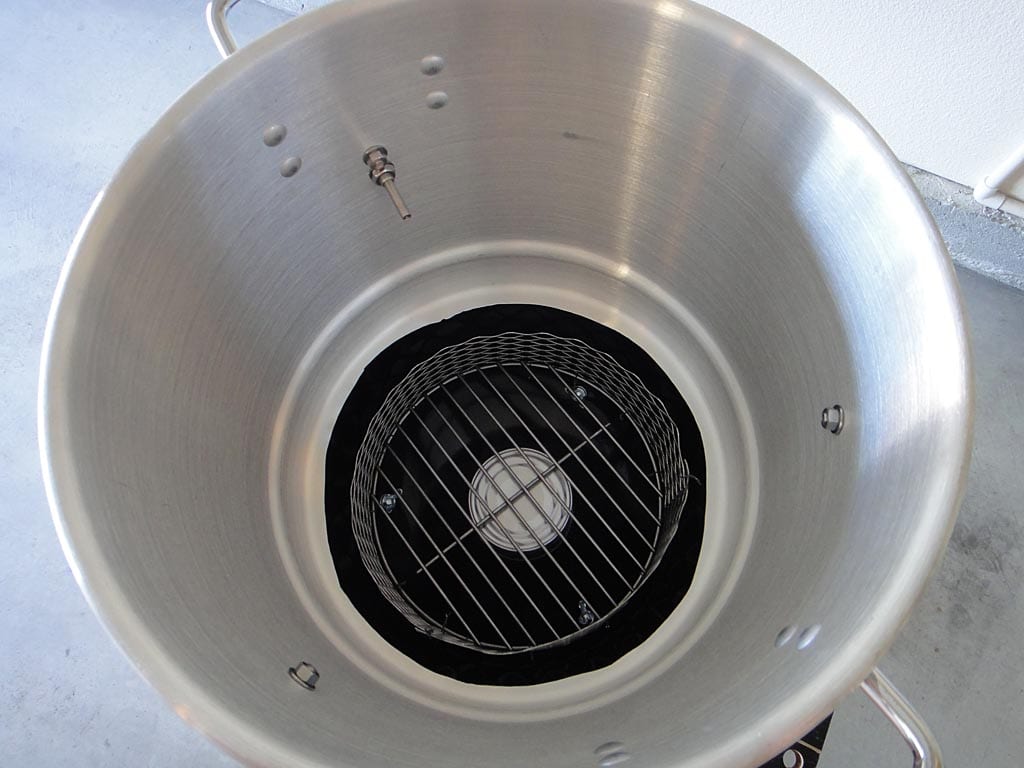
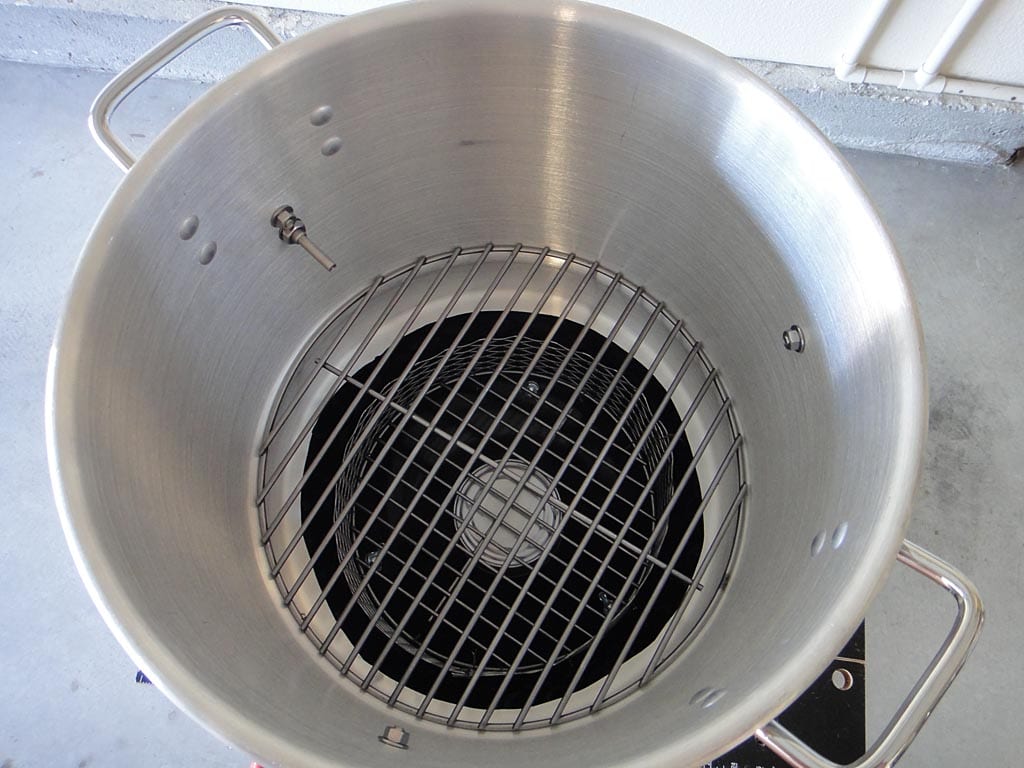
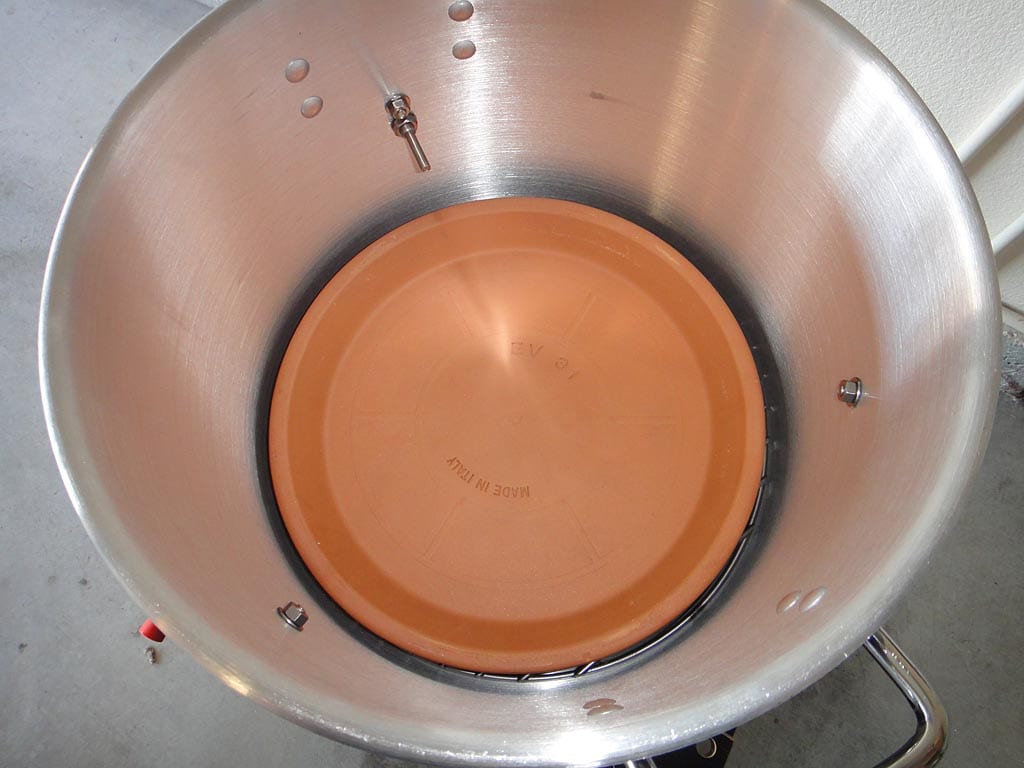
Some people place the aluminum steamer rack that comes with the pot in the bottom of the pot and place the diffuser on that. I used a Weber 7440 charcoal grate from an 18.5″ kettle grill, then put a 12″ terra cotta clay saucer on top of that.
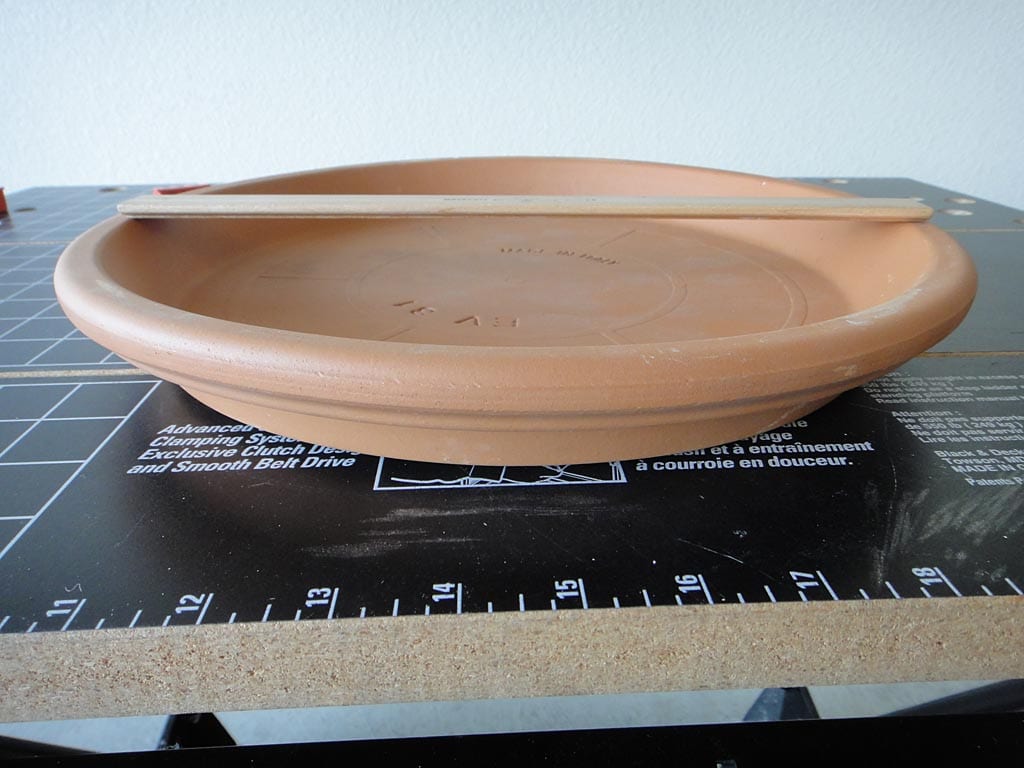
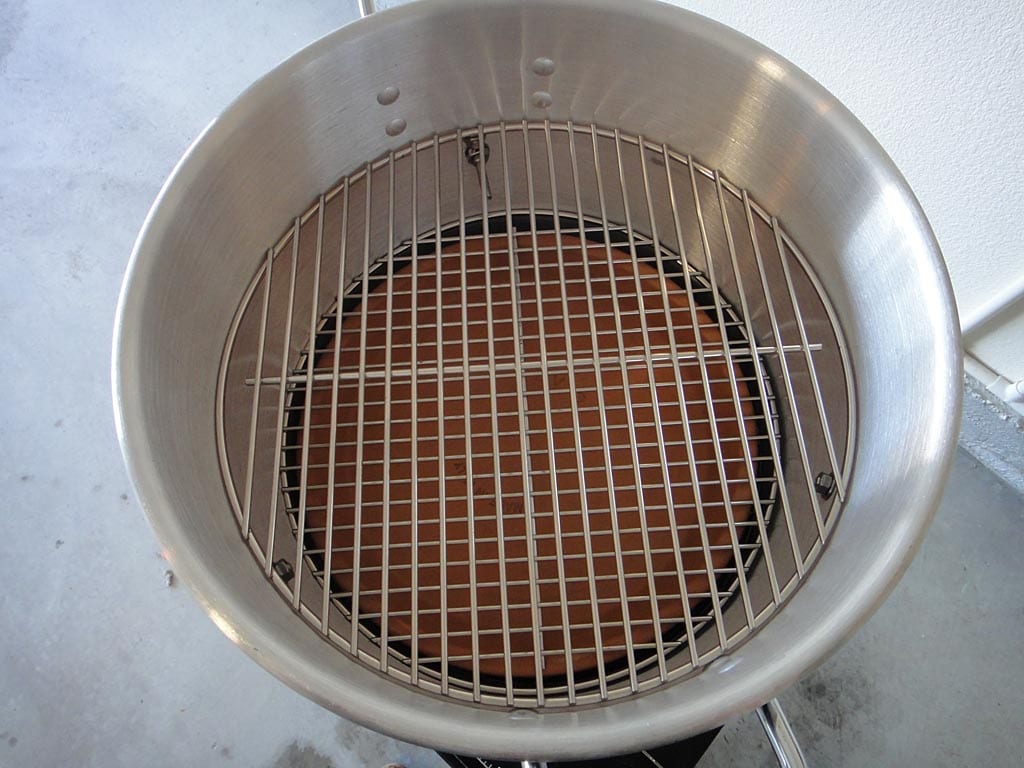
Add A Bottom Cooking Grate (Optional)
You can place an additional Weber 7431 cooking grate (same as the original Smokey Joe cooking grate) directly on top of the heat diffuser to create a bottom cooking grate. If you mount the top grate 4″ down from the rim of the pot and use a saucer similar to the one shown here, you end up with about 3-1/2″ of space between the top and bottom grates.
Assemble Your Smokey Joe Mini WSM
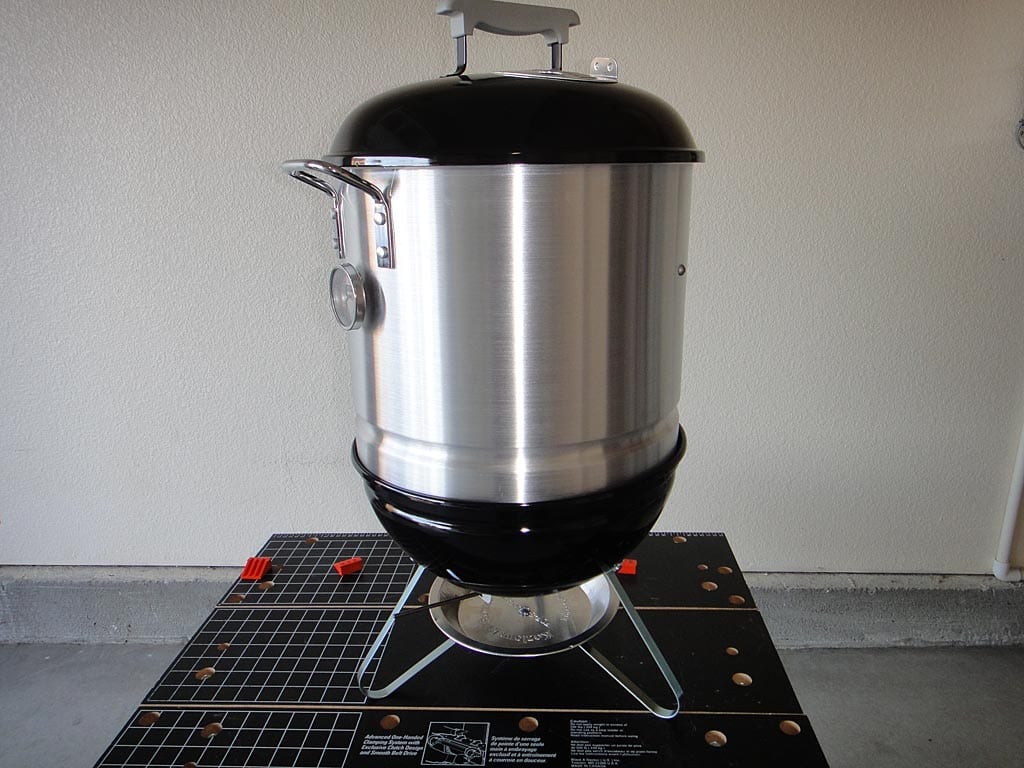
- Place the vent cover over the vent in the charcoal bowl. Place the Smokey Joe charcoal grate + charcoal chamber into the bowl. Place the steamer pot into the bowl.
- Insert the aluminum steamer rack or Weber 7440 charcoal grate into the bottom of the steamer pot.
- Place the heat diffuser on top of the charcoal grate. Wrap the diffuser in aluminum foil for easy cleanup.
- To create a bottom cooking grate, place a Weber 7431 cooking grate directly on top of the heat diffuser.
- Put the top cooking grate in place.
Members Are Standing By To Help
There are many friendly discussion forum members that have built their own Mini WSM and would be happy to help you do the same. Don’t hesitate to join the discussion and ask for their advice and assistance.


