In This Topic
- Adapting The Meat
- Using Rib Racks
- Stacking Grates
- Removable Middle Grate
- Stackers
- Stacking Middle Cooking Sections
- Monster WSMs
No matter how big your cooker, there are always times when you could use just a little bit more cooking space. This dilemma has motivated some creative folks to develop the ingenious methods for increasing WSM cooking capacity shown here.
Some of these modifications will require an additional cooking grate(s). The 17-1/2″ top grate can be purchased online or at most home centers and barbecue stores—it will be labeled as a replacement grate for the Weber 18-1/2″ charcoal grill. The 17″ lower grate must be ordered directly from Weber at 800-446-1071.
Remember that when you increase the capacity of your Weber Bullet, you also change the performance characteristics of the cooker. It will take longer to come up to 225-250°F when you first add cold meat to the cooker. It will also take longer to cook the meat than you’re used to, and your cooker will use more fuel and smoke wood.
Video: Increasing Cooking Capacity of Weber Smokers
This video discusses many of the methods described in this article for increasing the cooking capacity of the Weber Smokey Mountain Cooker.
Adapting The Meat
One of the easiest ways to increase the cooking capacity of your smoker is to, for lack of a better term, adapt the meat to your smoker. What do I mean by this? Well, perhaps you can fit more ribs into your smoker if you cut them in half. I know some people don’t like to do this, they don’t want more end ribs that can get a little dried out. But if cutting ribs in half allows you to fit more ribs onto the cooking grate or into a rib rack, then maybe it’s worth it.
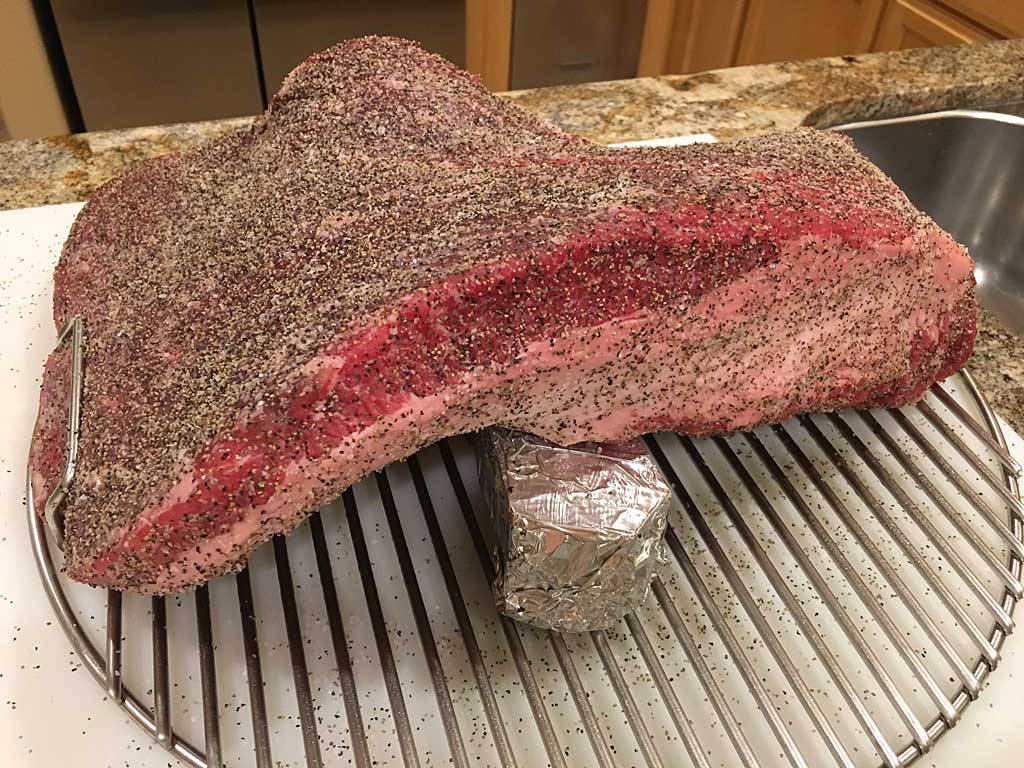
Brisket is another example of a meat that you can adapt to your smoker. Some briskets are too long to lay flat on the cooking grate. But you can shoehorn a long brisket between the handles of the WSM top cooking grate and the brisket will shrink to fit during cooking. I sometimes place a foil-wrapped piece of smoke wood under a large brisket to give it some support while shoehorned. There’s almost no trimmed brisket that can’t fit on the top cooking grate of the 18.5″ WSM through some combination of shoehorning and supporting with a piece of smoke wood or even a small metal or ceramic bowl. And of course, there’s always the option of cutting a brisket in half or separating point from flat and cooking using the top and bottom grates.
How about chicken? You can fit more chicken thighs or drumsticks or boneless, skinless breasts onto the cooking grate than you can fit butterflied chickens. Using chicken pieces is a good way to adapt the meat to the cooker for greater cooking capacity.

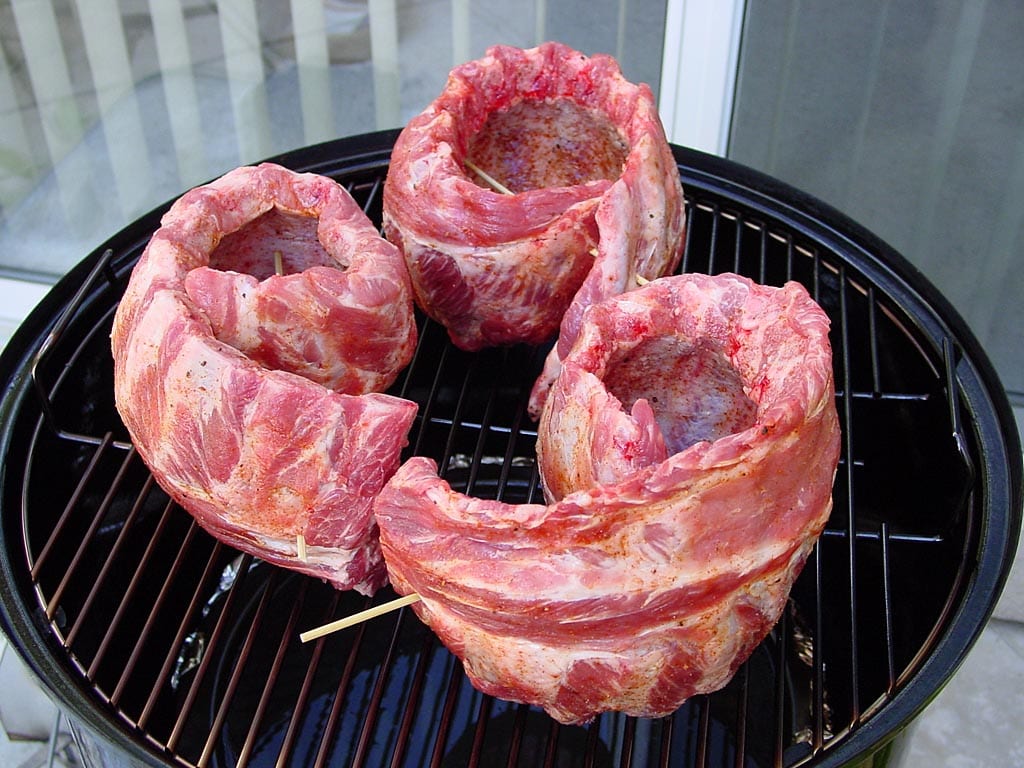
Finally, you can roll ribs and tie them with kitchen twine or pin them with skewers to fit more of them onto your cooking grate. You can learn more about rolling ribs in the Pork Ribs Selection article.
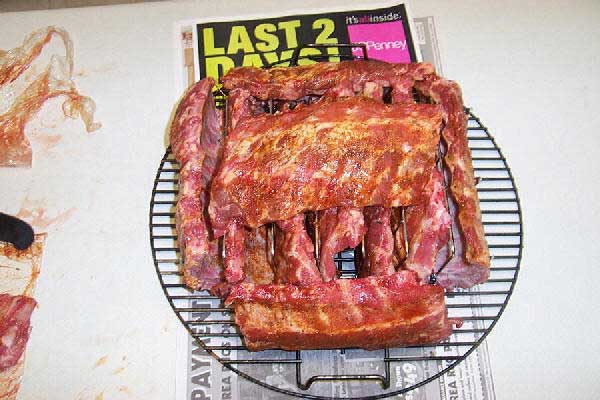
Using Rib Racks
Rib racks are a great way to increase the cooking capacity of your WSM because you can cook ribs on edge rather than laying flat.
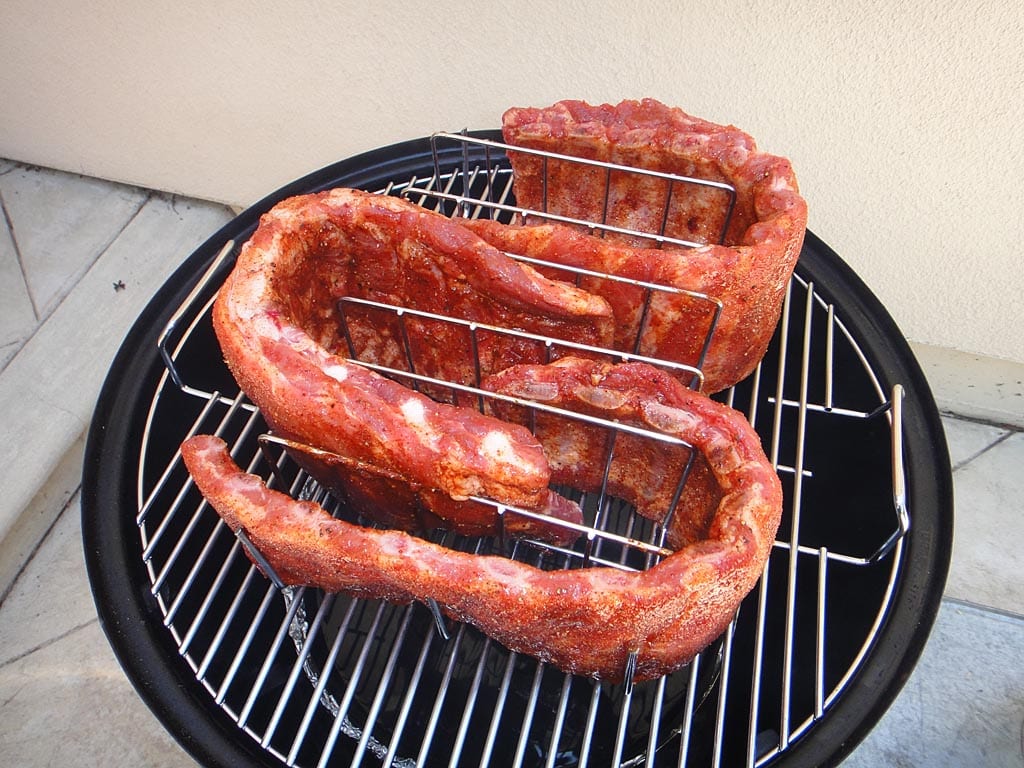
You can bend whole slabs so they start in one slot and end in another, as in this photo.
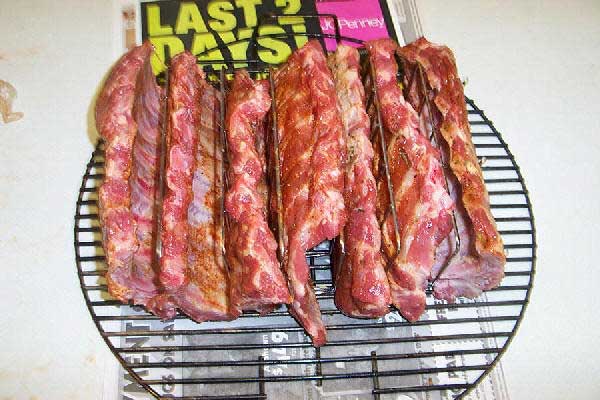
You can cut slabs in half, as shown in this photo from TVWBB member Kevin “Stogie” Taylor.
You can even lean half slabs against the sides of the rib rack and place some on top, as shown in this photo from TVWBB member Kevin “Stogie” Taylor.
For the most part, it’s easy to spritz ribs with a flavorful liquid using a spray bottle when they’re in a rib rack, but saucing them at the end of cooking in a rack is almost impossible. But I get good results by giving ribs a quick brush with sauce as they come hot out of the cooker, then again right before serving. It’s a similar story with rolled ribs. I can spritz them just fine during cooking, but I flatten them and sauce them as they come hot out of the smoker.
By the way, the rib rack shown above is a neat little rack that at the time of writing is no longer sold. It’s the Char-Broil 4740 Potato-and-Rib Rack and if you ever see one for sale on eBay or at a garage sale, snag it! As for new rib racks, the Weber 6605 Original Rib Rack is a quality rib rack that works well on the WSM. Another innovative rib rack is the BBQ Guru Rib Rings. It holds 5 slabs of ribs and a chicken on the 18.5″ WSM cooking grate. I’ve used one to cook 6 slabs of ribs (without a chicken) and it worked well. You can watch my video review below.
Stacking Grates
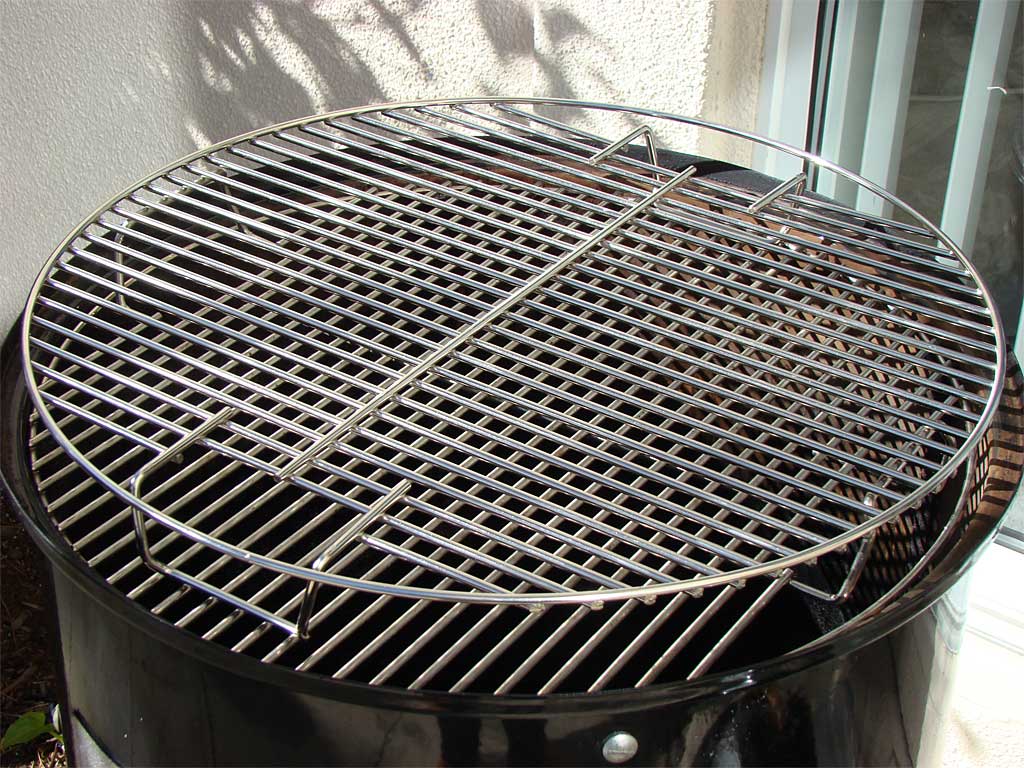
For thin items like chicken pieces or ribs, an additional top cooking grate can be turned 90° and placed upside down over the existing top cooking grate. Thanks to Brad Perkins for this suggestion.
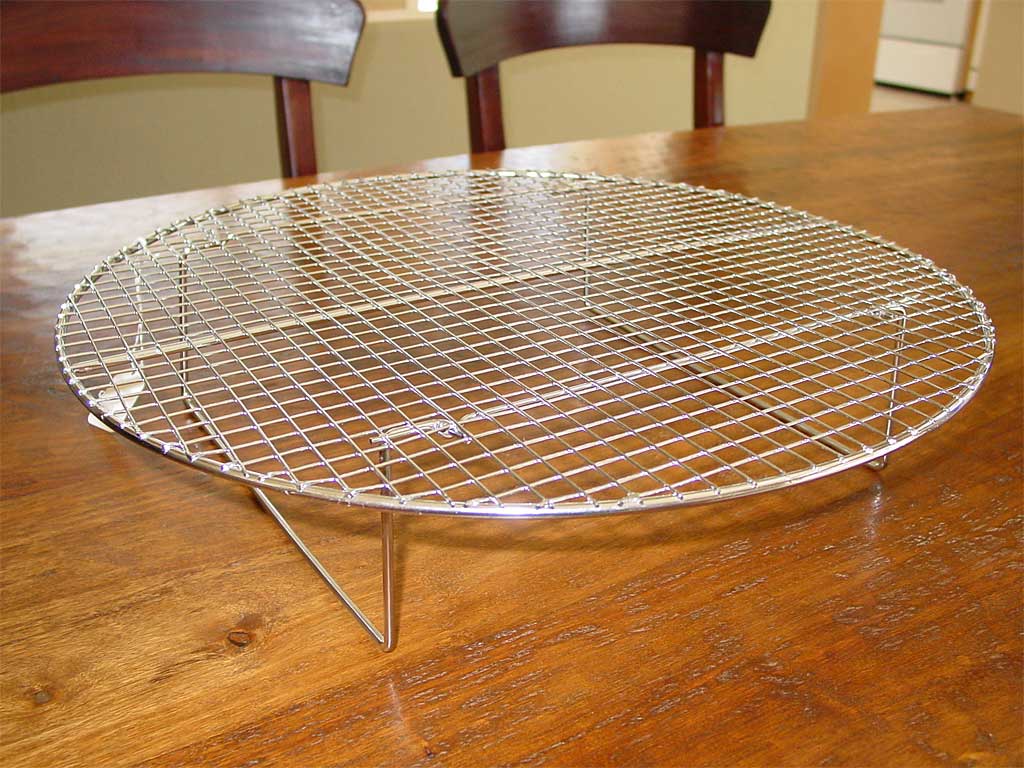
A steam rack with collapsible legs can be used to support an additional cooking grate. Available in a variety of sizes, steam racks can be purchased online or from restaurant supply stores for around $12.
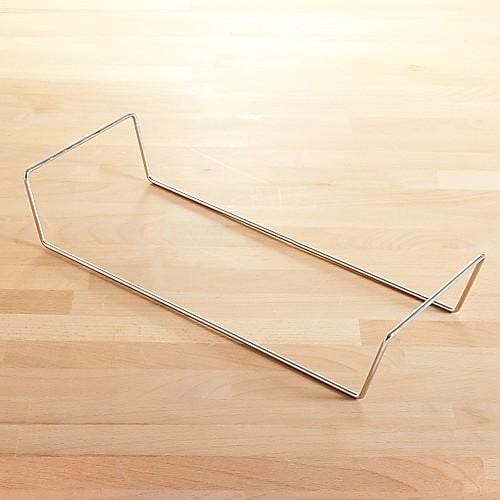
A pizza stone rack can be flipped upside down and used to support an additional cooking grate. Thanks to Jim Kelley for this suggestion.
Weber offers the 7647 22″ x 12″ Expansion Grilling Rack which fits the 22.5″ WSM. It’s has folding legs for storage, is made of stainless steel, and should last for a long time.
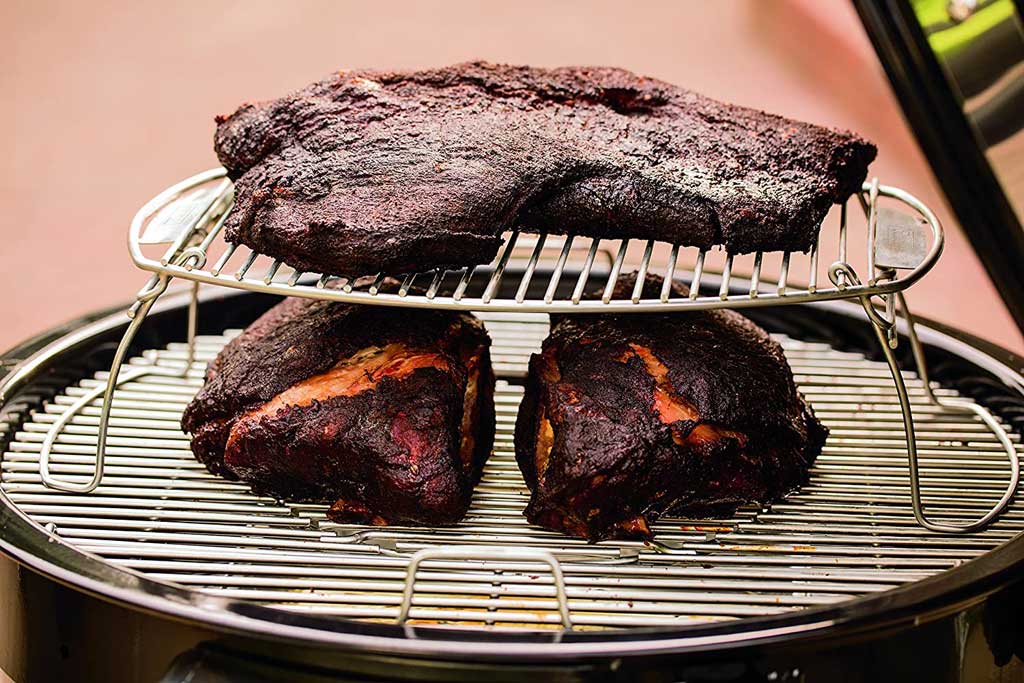
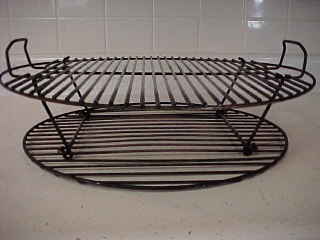
To the best of my knowledge, Big Green Egg no longer sells this 15.5″ grill extender with legs that attach to the 18.5″ WSM grate. The grill extender sits 3.75″ above the WSM grate and swings up on both sides to access the grate below. Back in the day, it sold for $25 plus shipping.
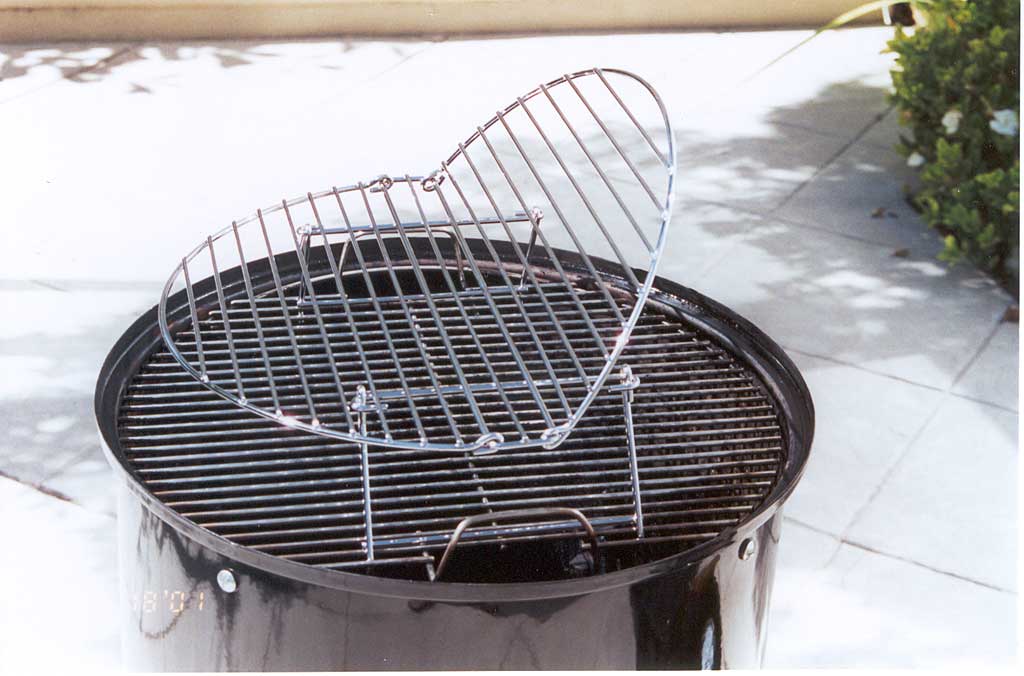
If you fasten down the swing-up portions with wire, you can hang the BGE grill extender from the top WSM cooking grate.
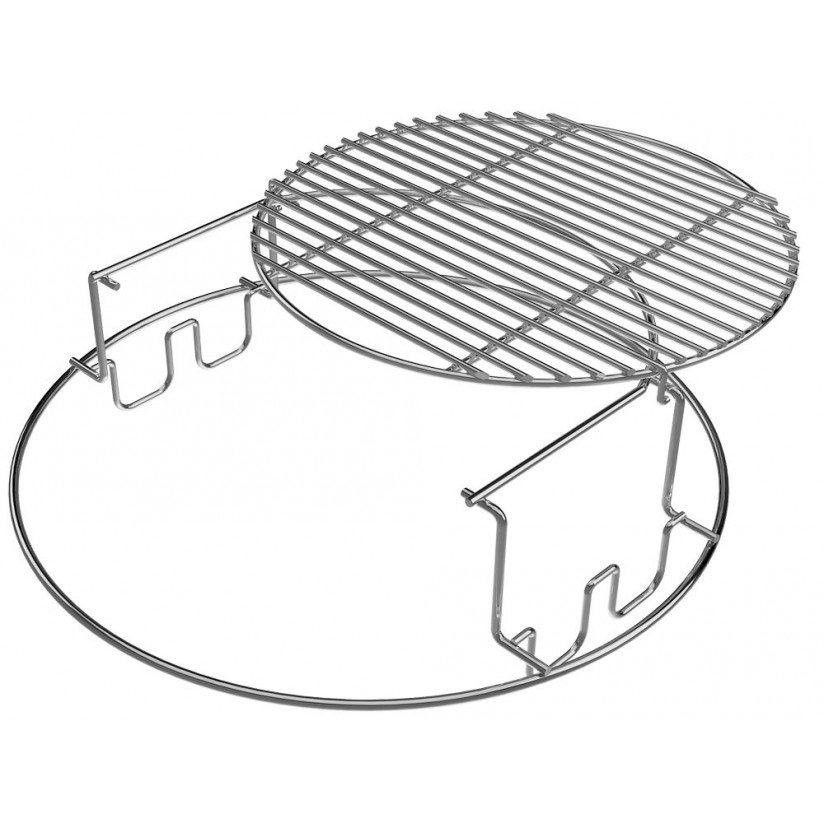
Today, Big Green Egg sells the EGGspander Multi-Level Rack for large and extra-large eggs. The large version, shown below, is made of stainless steel and sells for $89.95. It should fit both the 18.5″ and 22.5″ WSM, but you’ll want to double-check the measurements before buying.
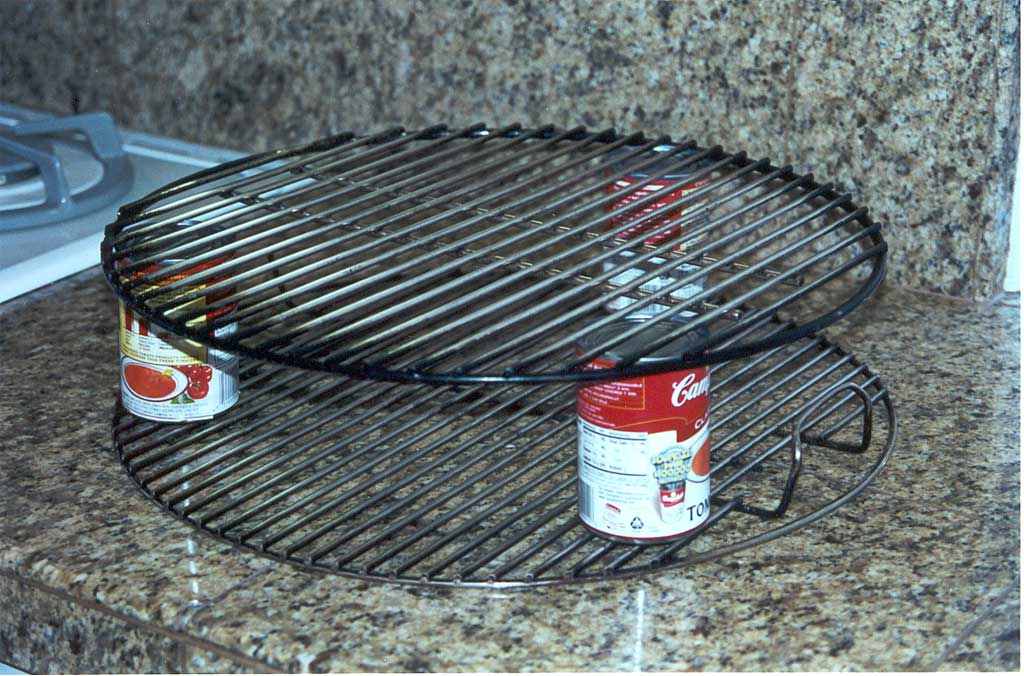
For a cheaper option, empty soup cans can be used to hold another grate above the standard grate. You can also use pieces of fireplace brick.
Two grates can be fastened together using electrical conduit, bolts, and washers. Cut three spacers of equal length from electrical conduit. Choose three bolts that are about 1/2″ longer than the length of the spacers, three matching nuts, and six matching washers large enough to prevent the bolts and nuts from passing through the grate. Place a washer on a bolt and pass it through the top side of the top grate. Slide a spacer over the bolt from below, then pass the bolt through the bottom grate. Fasten with a washer and a nut on the bottom side of the bottom grate. Repeat this process for the remaining spacers. Thanks to Hi-Tech Smokers of Blue Springs, MO for sharing this idea.
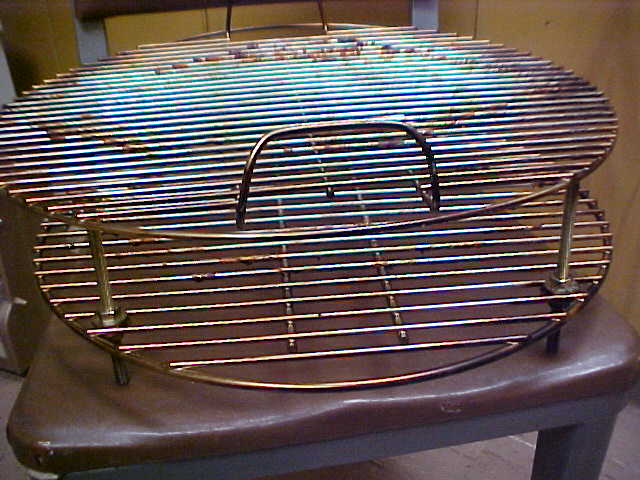
Three grates can be fastened together using threaded rods, washers and nuts. This modification comes from Rob B of Winter Haven, FL. Rob used four 12″ threaded rods, 24 fender washers, and 24 nuts to connect a generic cooking grate between the standard WSM top and bottom grates. “When it’s time to baste, rotate, etc. it’s a quick and easy process. Just grab the top grate handles and the rest follows.”
Inspired by the three grate setup shown above, Duncan W created “The Warhead” featuring one Weber 7432 cooking grate and six Weber 7431 cooking grates and the additional height of a Cajun Bandit stacker kit. Duncan says, “I love bone-in, skin-on chicken thighs…and nothing is better than BISO thighs on the WSM! Biggest problem is there isn’t enough space to cook a ton of them. After a couple of hours of measuring, cutting, leveling, and tightening I arrived at my finished product. Gets good air flow top to bottom, and puts out some damn fine BISO things. Problem solved! 7 racks of WSM goodness!”

Spacers can be attached to the bottom cooking grate. Fasten four 4″ x 5/16″ bolts with nuts and washers to the bottom grate and place a second cooking grate on top of the bolt heads. This modification comes from Ken Johnson of Topeka, KS.
 There are several things to consider when attempting any of these grate stacking methods:
- When stacking a grate on the top grate, use a smaller diameter grate and short spacers. A grate that’s too large or tall may hit the inside of the lid.
- Consider the thickness of the meat you will be putting on the grates when choosing the height of spacers. Thick cuts like pork butt will require taller spacers than a brisket flat or butterflied chicken.
Removable Middle Grate
You can increase cooking capacity by mounting a removable grate halfway between the top and bottom grates.
Cajun Bandit sells an Extended Rack Support Kit consisting of four replacement grill straps that lets you to use three cooking grates in the Weber Bullet.
Dan Cannon of Coyote Road Kill Barbecue Team created the modification shown here. This mod requires that you drill holes in the middle cooking section of the cooker.
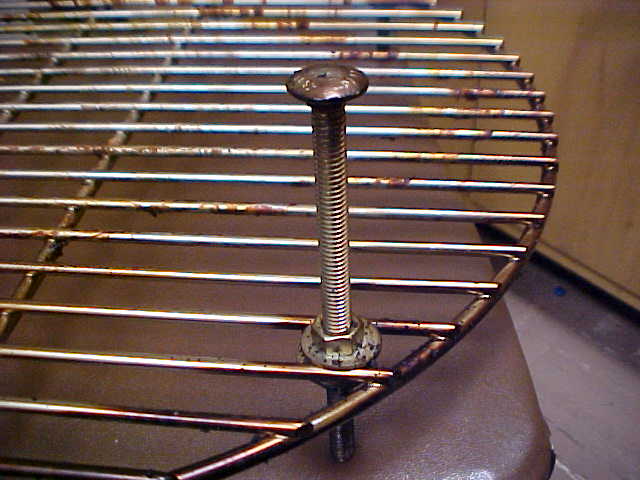
Determine the halfway point between the top and bottom grates and make four equally spaced marks around the perimeter of the cooking section. Drill a small hole at each of the four marks, then fashion two support rods that pass through each pair of holes.
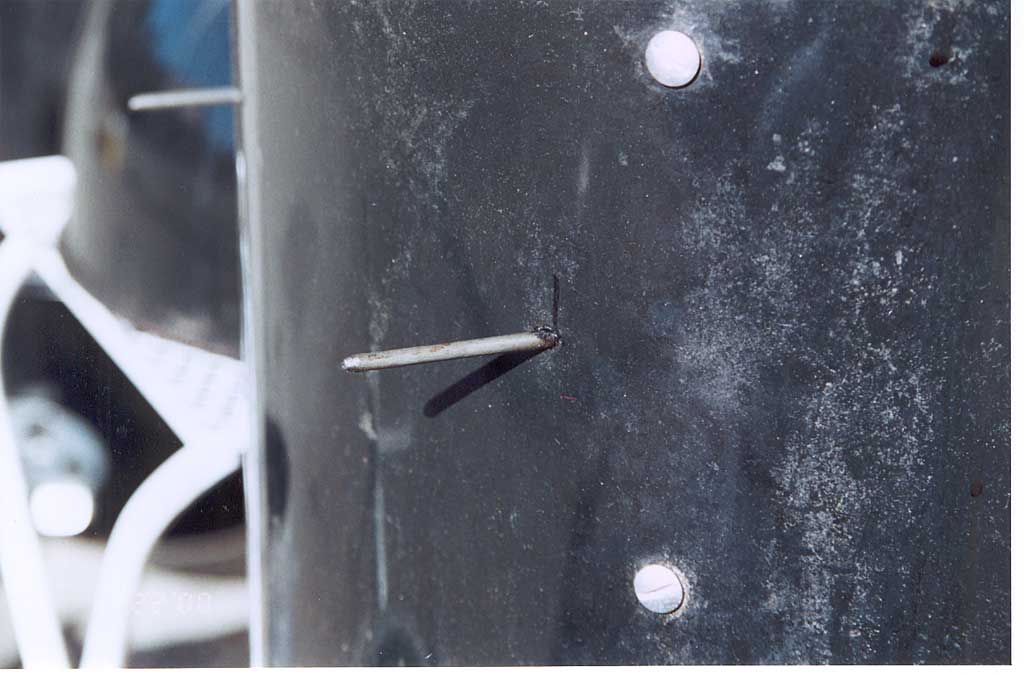
Place a 17″ cooking grate on the support rods when you want a middle grate, or remove the grate and rods when not in use.
Dan says not to worry about smoke leakage or heat loss from the tiny holes—they don’t affect the performance of the cooker in any significant way.
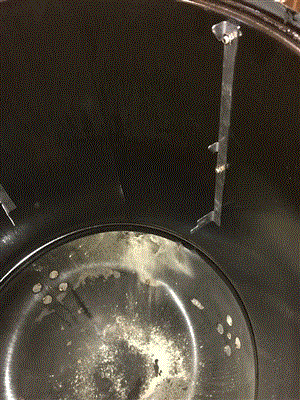
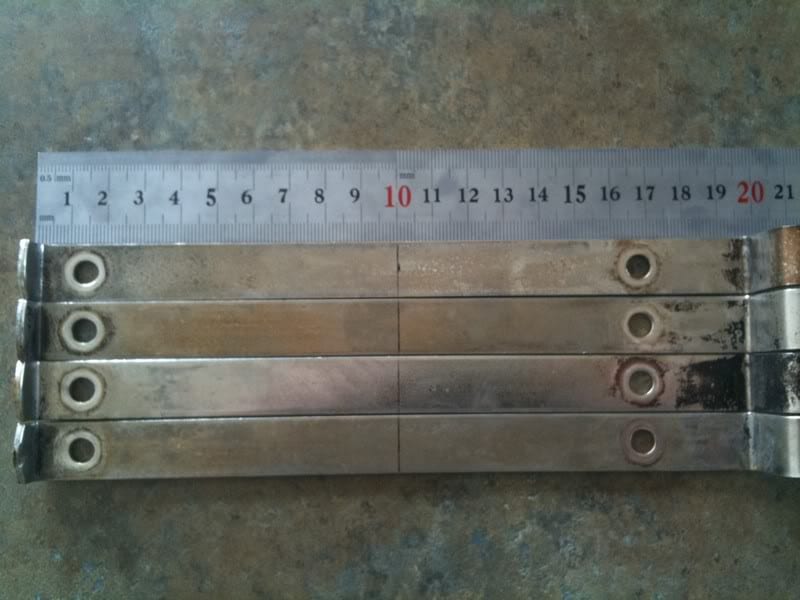
Jonas Klint from Kansas City, MO modified the grill straps inside the middle cooking section to hold a third grate.
Remove the 4 grill straps and drill a counter-sunk hole in the back side of each strap halfway between where the top and bottom grates rest, making the hole large enough to accommodate a 5mm machine screw.
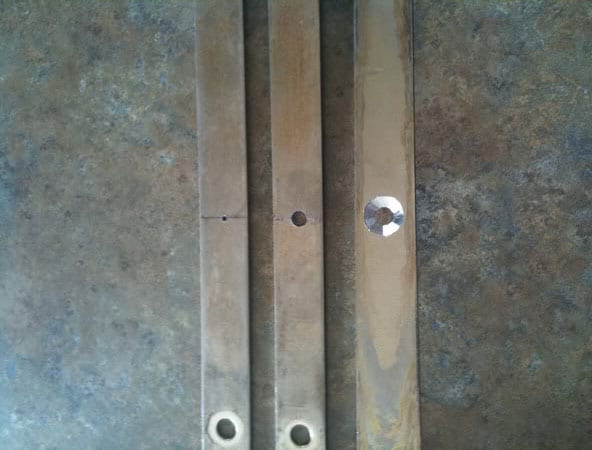
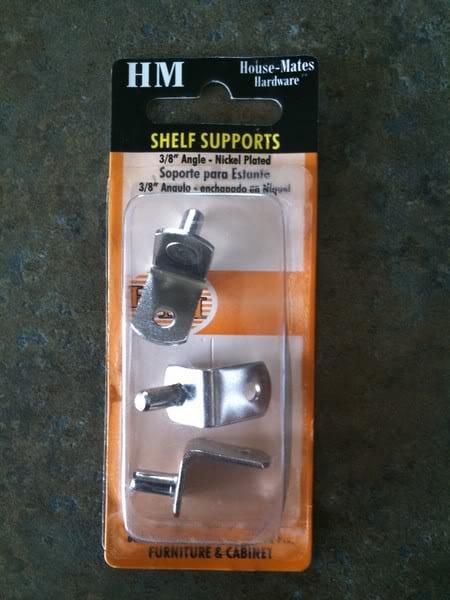
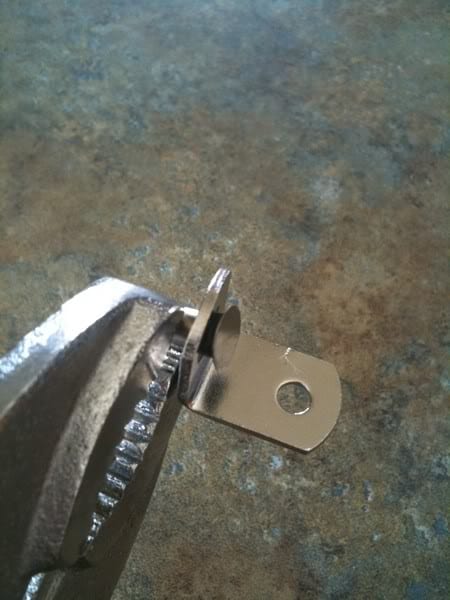
Remove the pins from 4 shelf support brackets by using 2 pairs of pliers to grasp the pin and bracket and twisting gently until the pin comes out.
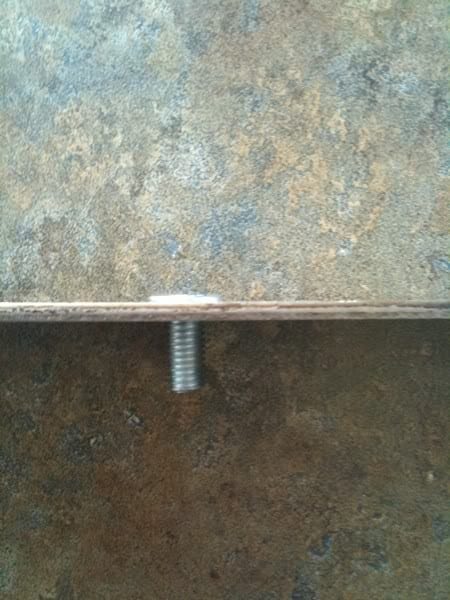
Insert a machine screw through the counter sunk hole, place a shelf support bracket over the screw, and fasten with a nut. Make sure the screw and nut are positioned below the shelf bracket. Repeat with the remaining grill straps and then reinstall them into the middle cooking section.
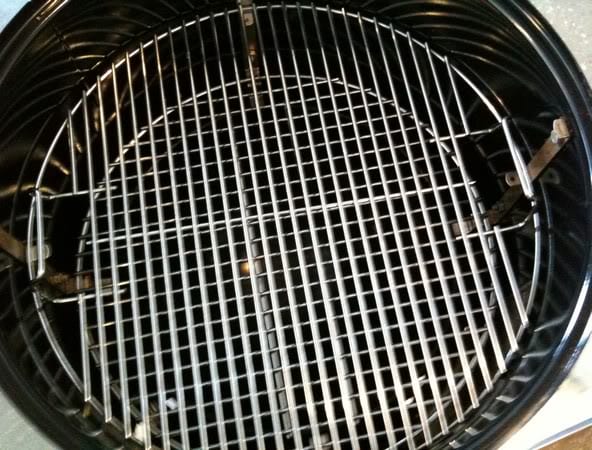
This photo shows how Jonas uses a second top cooking grate on the new support brackets.
In order to have enough clearance for this grate to fit, he used a hacksaw to cut the screws flush to the nuts at the top of each grill strap—click on the photo below to see this detail.
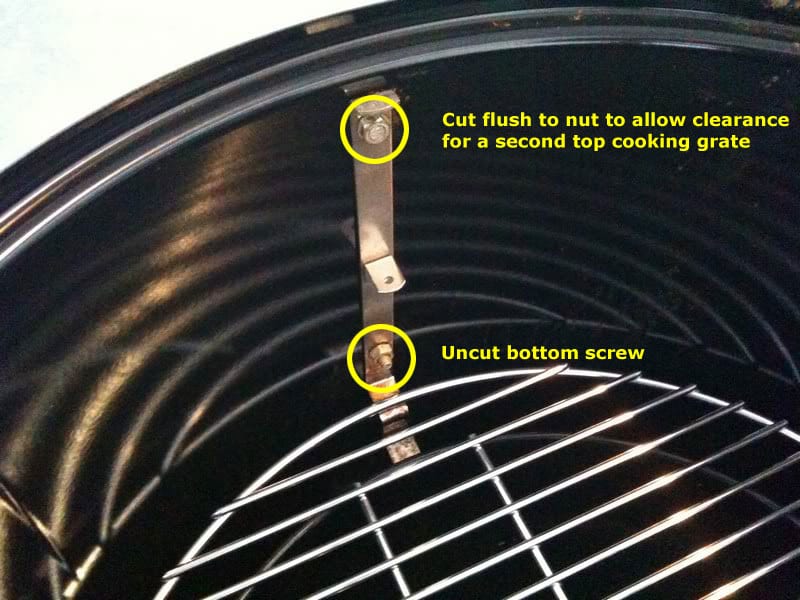
Using a second bottom cooking grate (ordered direct from Weber) eliminates the need to trim the top screws.
Stackers
Cajun Bandit makes a WSM Stacker Kit that sits on top of the middle cooking section that adds an additional cooking grate.
If you’re handy, you can make your own custom stacker for the WSM. This post on The Virtual Weber Bulletin Board shows the process of making a stacker for the 14.5″ Weber smoker.
Stacking Middle Cooking Sections
By stacking two middle cooking sections, your WSM can have four cooking grates, or you can try hanging ribs, whole fish, and other meats vertically.
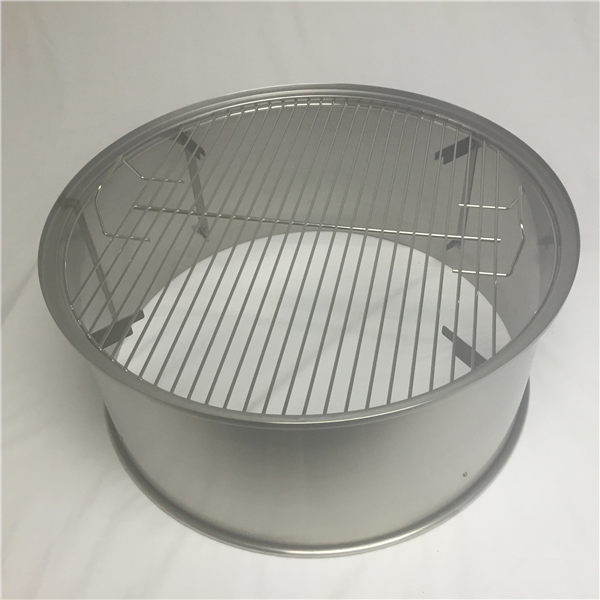
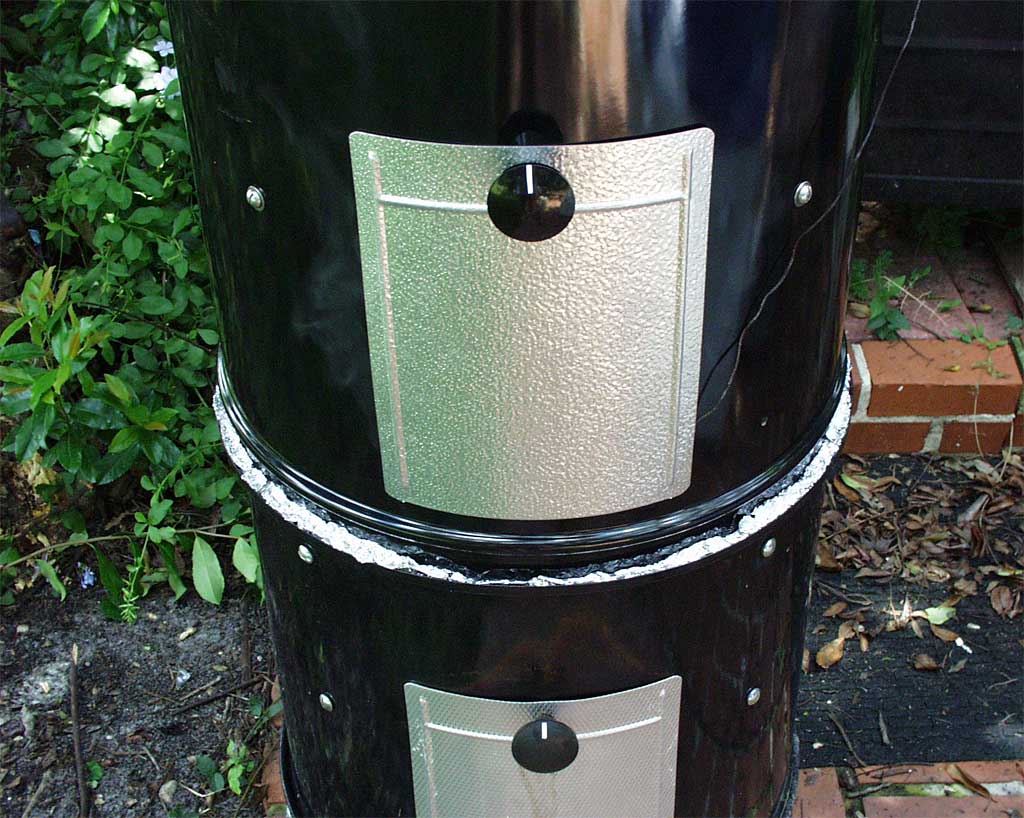
Take a 2-1/2′ length of heavy duty aluminum foil and cut it in half lengthwise. Gather each piece of foil loosely across its width to form a gasket. Place the two pieces end-to-end around the top edge of the middle cooking section, then insert the second middle section into the gasket. Crumple the foil into the void between the two sections to achieve a good seal.
The easiest way to hang meat in the Weber Bullet is to purchase the Weber expandable smoking rack, an accessory designed specifically for this purpose. Alternatively, to hang meat from the top cooking grate, buy meat hooks from suppliers like Allied Kenco or fashion hooks from stainless steel nails or rods. Perhaps a better setup is to remove two opposite support flange screws from the top cooking section and run a sturdy rod between the two screw holes. Hang the meat from the rod, similar to what’s shown in the Monster WSM section.
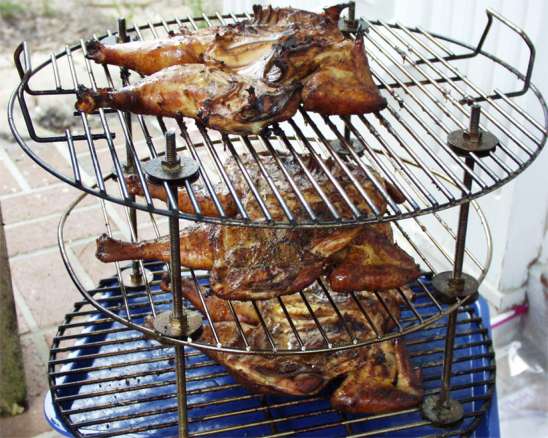
Rob B from Winter Haven, FL sent in these photos of his stacked WSM in action.
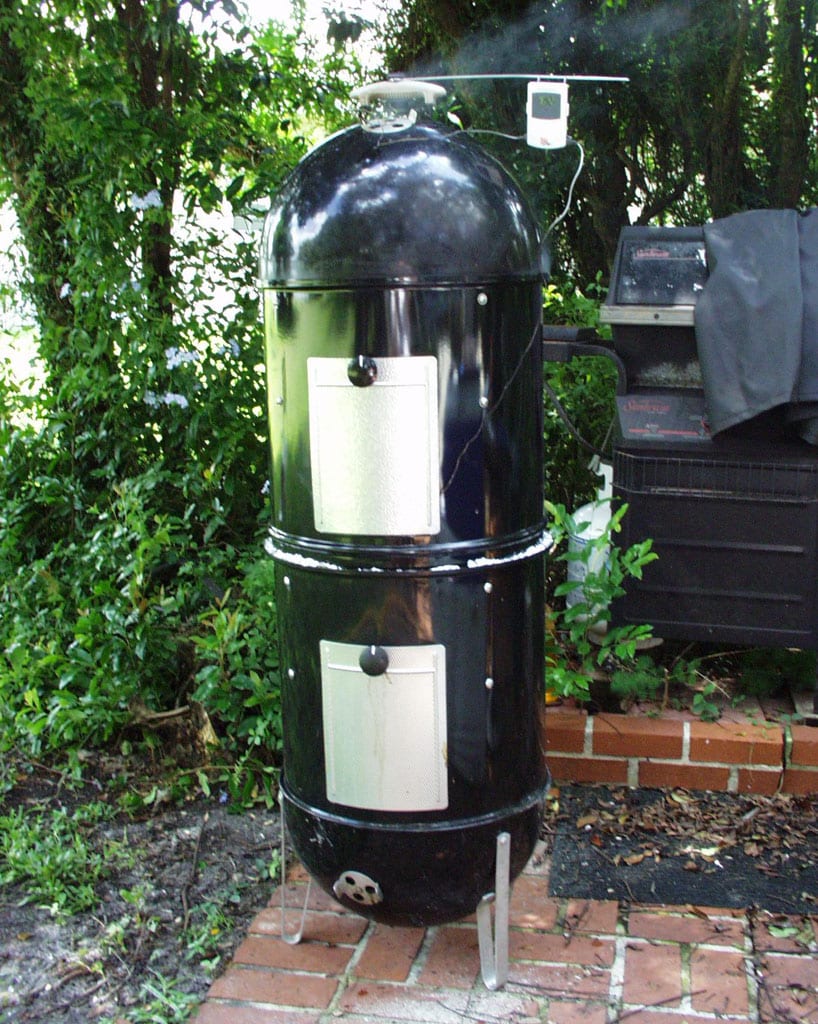
This photo shows a close-up of how Rob fashioned the foil gasket.
Using this configuration with the Minion Method and sand in the water pan, Rob cooked 3 slabs of spareribs on the top two grates, two chickens on the third grate, and a beef roast on the fourth grate. On another occasion, he cooked nine chickens. Rob says the cooker runs just fine at 240°F, it just takes a little bit longer to come up to temperature.
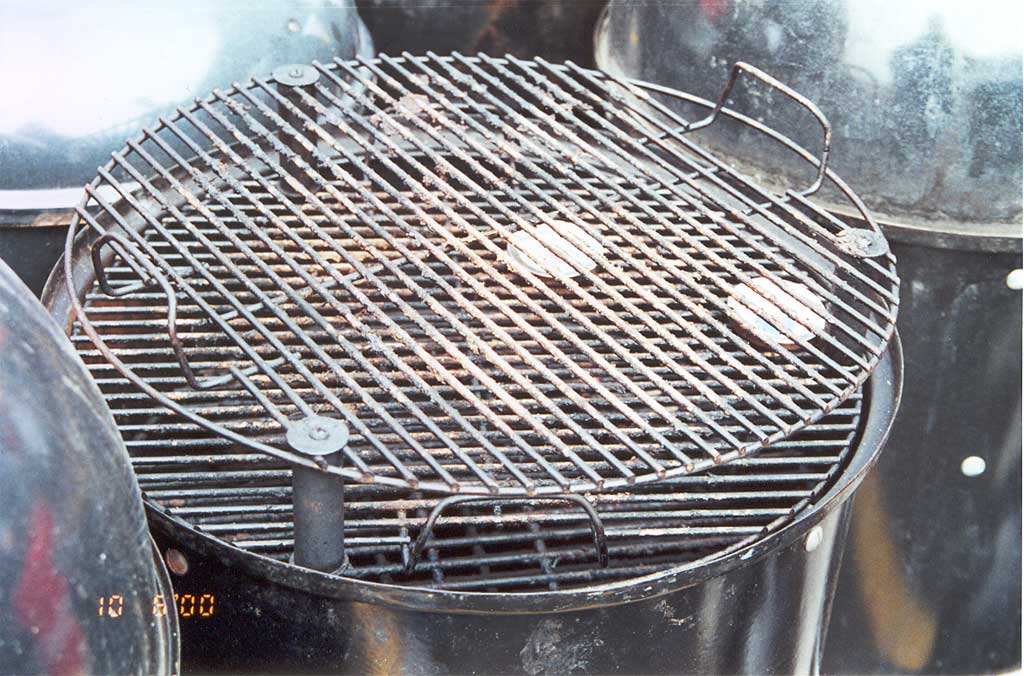
Monster WSMs
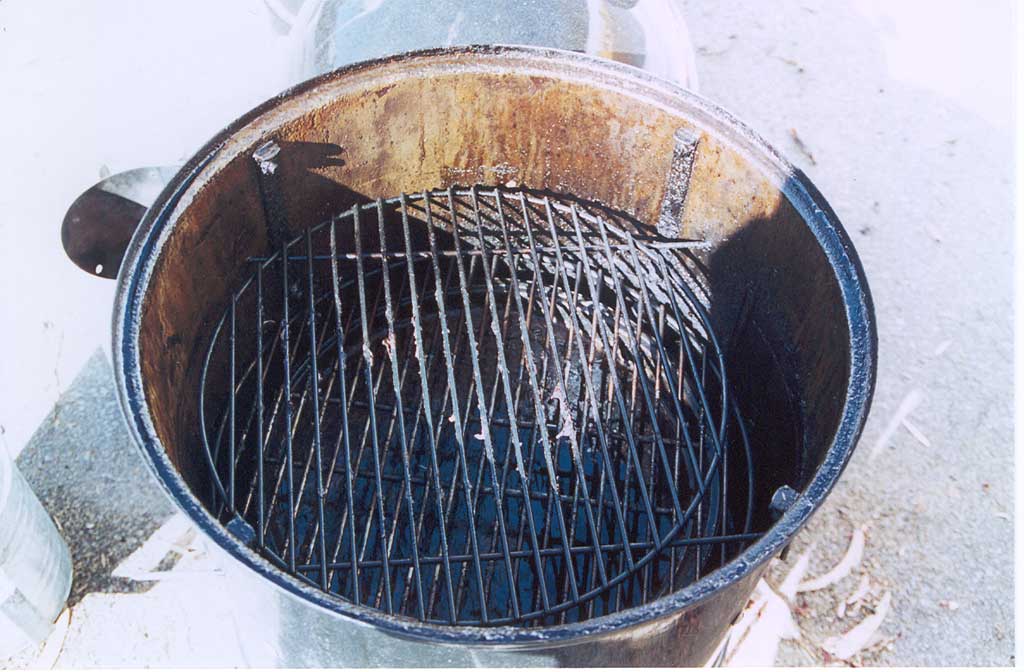
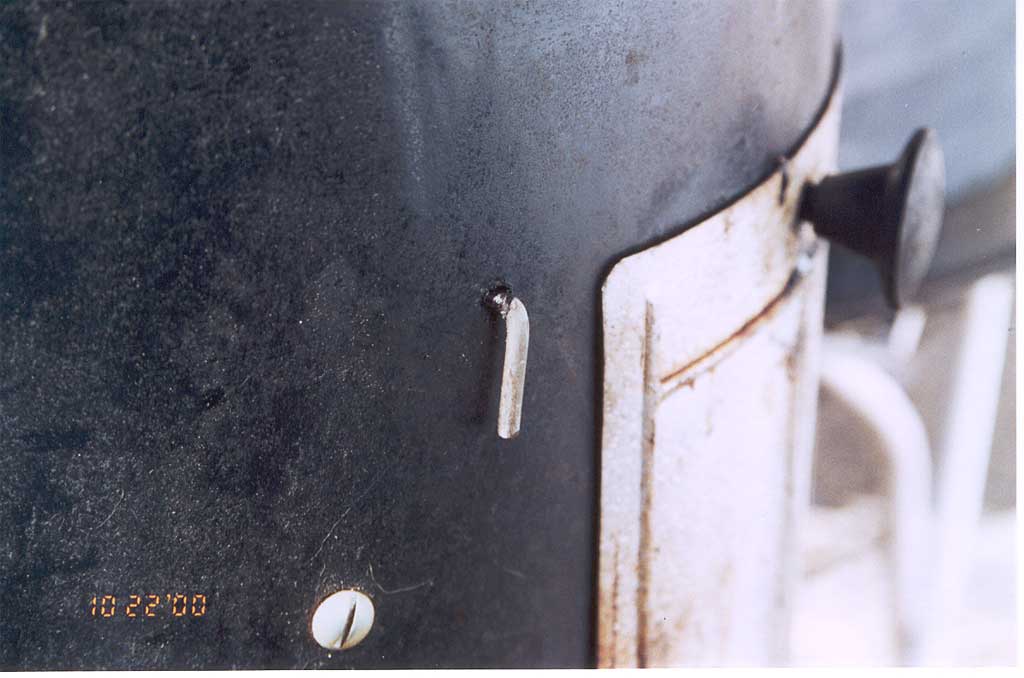
I’ve included these pictures sent in by Jerry Fear to show the lengths to which some people will go to increase the capacity of their WSM! Jerry combined the charcoal bowl from a WSM and the lid from a Weber kettle with a middle cooking section fashioned from a 55-gallon barrel. These pictures show his project at various stages in the construction process.
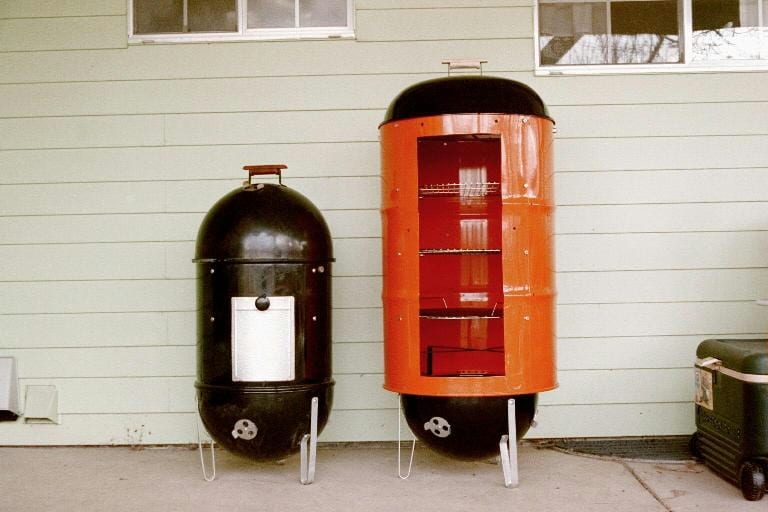

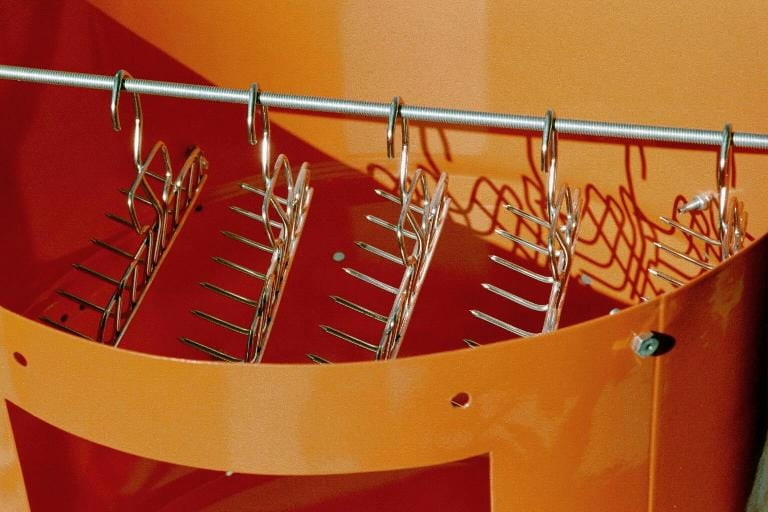
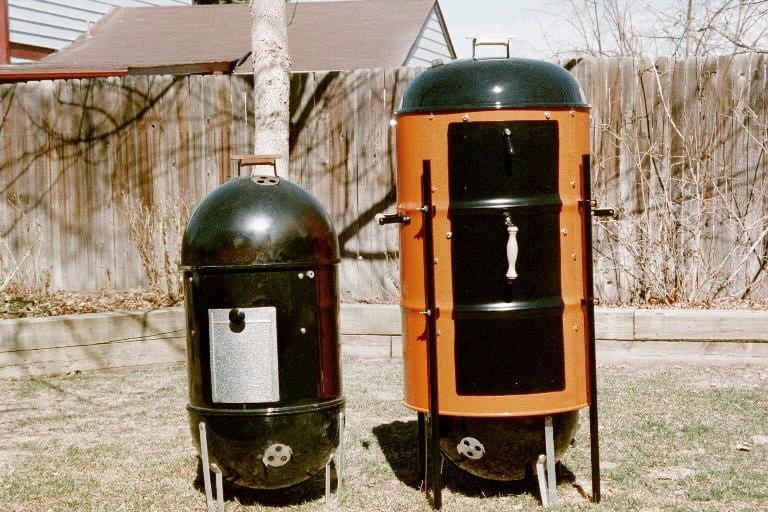
For most of us, it would be easier to just buy a second 18.5″ WSM or a 22.5″ WSM…but if you’ve got the time, money, skill, tools, and inclination, this might be the project for you!
Photos of half slabs in rib rack: 2021 by Kevin Taylor
Photo of pizza stone rack: 2010 by Pampered Chef
Photo of Weber 7647 Expansion Grilling Rack: 2021 by Weber-Stephen Products LLC
Photo of EGGspander Multi-Level Rack: 2021 by Big Green Egg
Photo of three connected cooking grates: 2003 by Rob B
Photo of seven connected cooking grates: 2020 by Duncan W
Photos of bottom grate spacers: 2004 by Ken Johnson
Photos of grill strap mod: 2010 by Jonas Klint
Photos of stacked WSM: 2003 by Rob B
Photos of Monster WSM: 2000 by Jerry Fear


