In This Topic
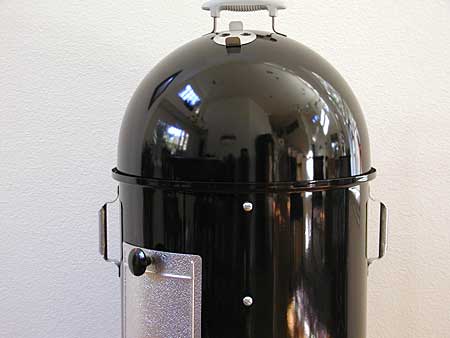
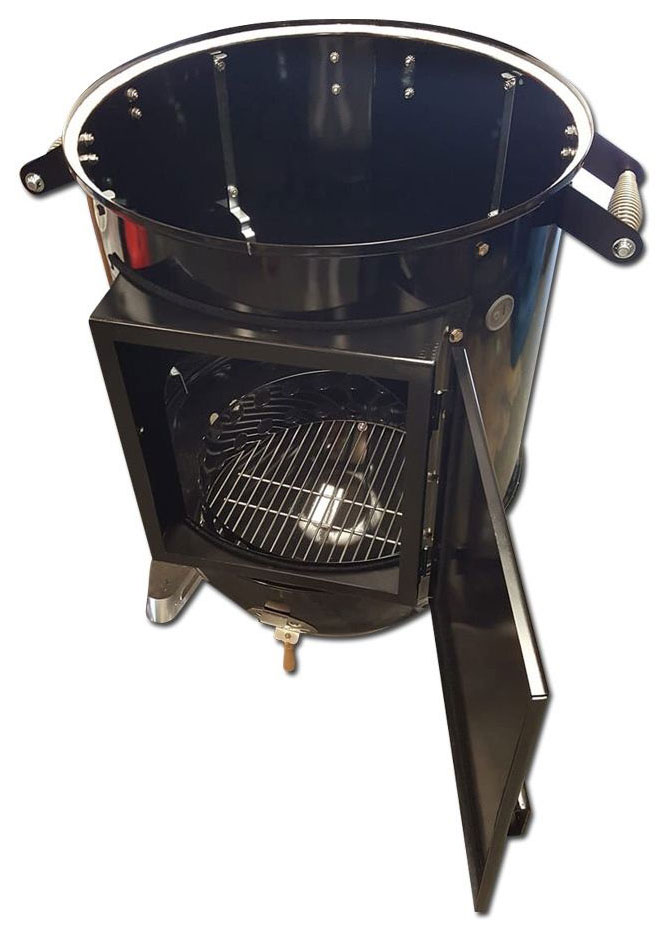
Some people like to remove the middle section during the cooking process with the lid, meat, and water pan in place in order to stir the coals to rejuvenate them. Of course, the coals can be stirred gently through the access door, but if you’re not careful, you’ll launching a cloud of ash toward the meat.
You can remove the cooking section without any modification by wearing heat-resistant gloves, grasping the cooking section where it meets the lid, gently lifting it straight up and out of the charcoal bowl, and carefully setting the whole thing aside. This is sometimes referred to as the WSM hot squat.
Some people have added handles to the cooking section so it can be removed more easily during use. This process is described below.
Mounting Handles
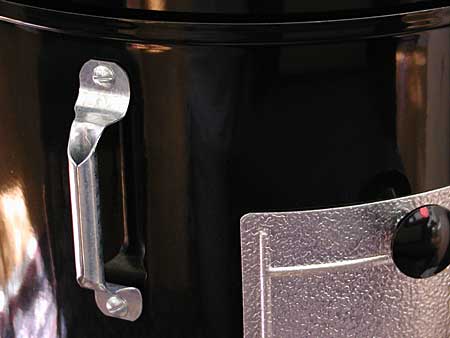
Steve Kalousek mounted handles on his 18.5″ Weber Bullet by using the holes that attach the grill straps to the inside of the cooking section.
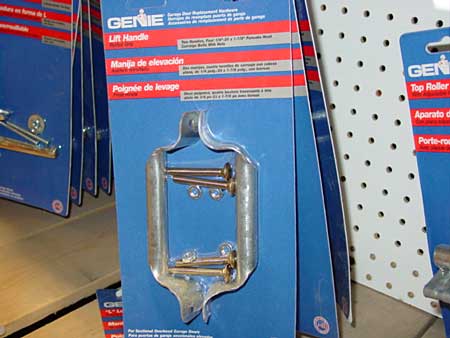
“Went to Lowe’s and found a pair of Genie garage door replacement lift handles that work perfectly on the WSM. I did have to bend them slightly, but even I could install them in less than 5 minutes. They only cost $2.37 for the pair.”
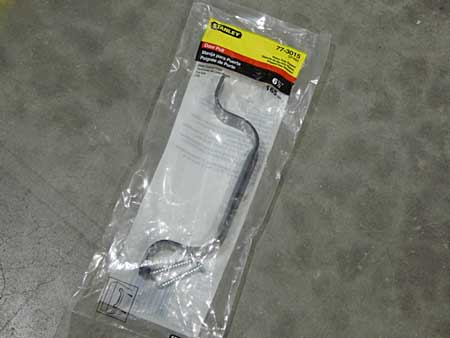
Another choice is the Stanley 77-3015 Door Pull. These shed/barn door handles are made of heavy duty steel and have a black finish. I found the one pictured here at The Home Depot.
The holes in the Stanley handle must be drilled-out to accommodate the Weber screws, and you’ll need a bench vise and a hand sledge to “persuade” the 6.5″ on-center handle to match the 6″ on-center holes in the 18.5″ cooker.
When mounting any kind of handle using the grill strap holes in the cooking section, make sure to replace the original fiber washers between the handle and the body of the cooker.
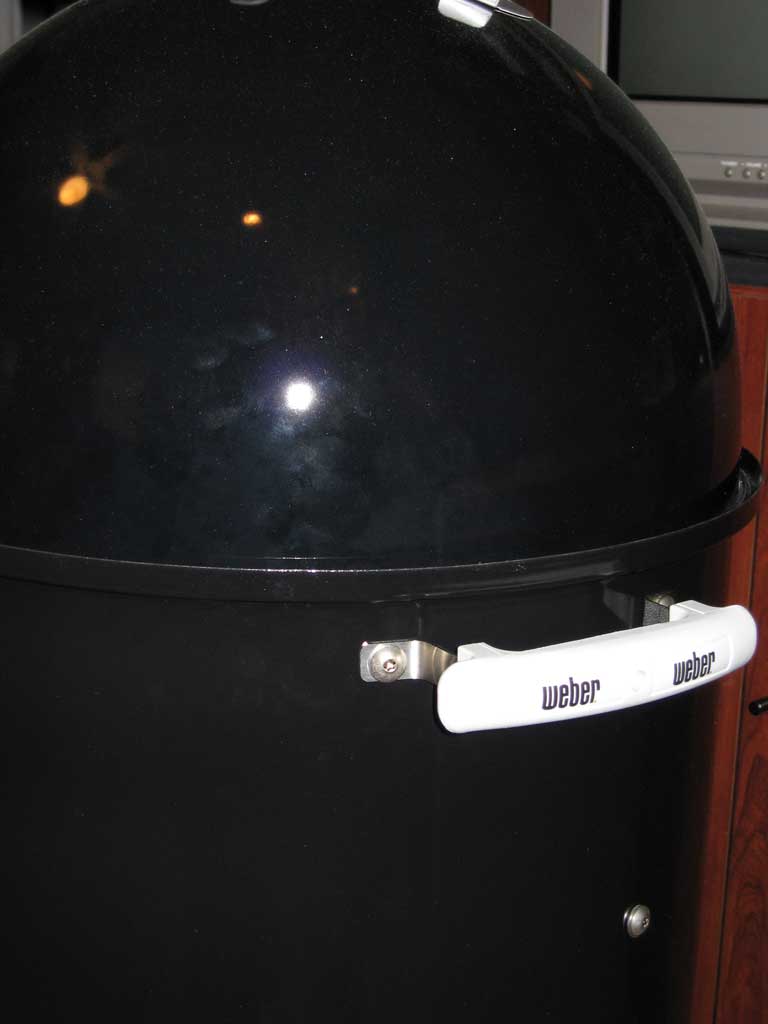
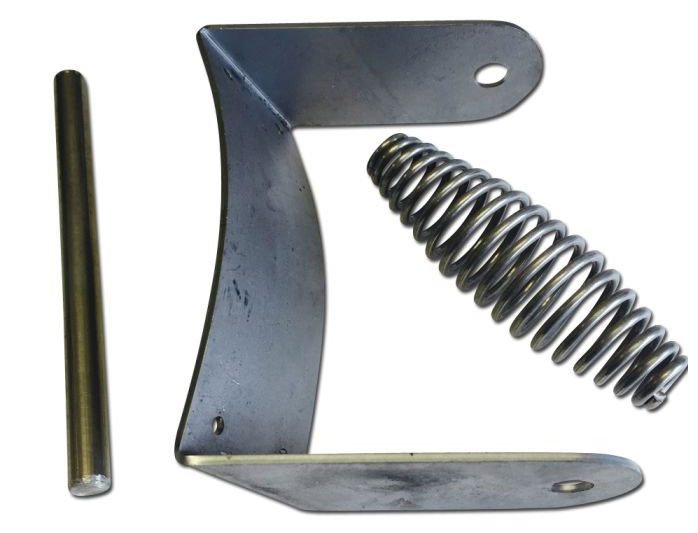
Chris Finney ordered two Weber replacement handles, fabricated stainless steel brackets that mimic the one on the lid, drilled some holes, and used stainless steel screws and nuts to fasten his handiwork to the cooking section. These handles almost look like original equipment!
Mike Leiter used the existing grill strap holes in the middle cooking section of his 22.5″ WSM to mount replacement Weber handles in a vertical orientation. Mike fashioned the metal part of the handle using flat stock aluminum. More details and photos are available in this thread on The Virtual Weber Bulletin Board.
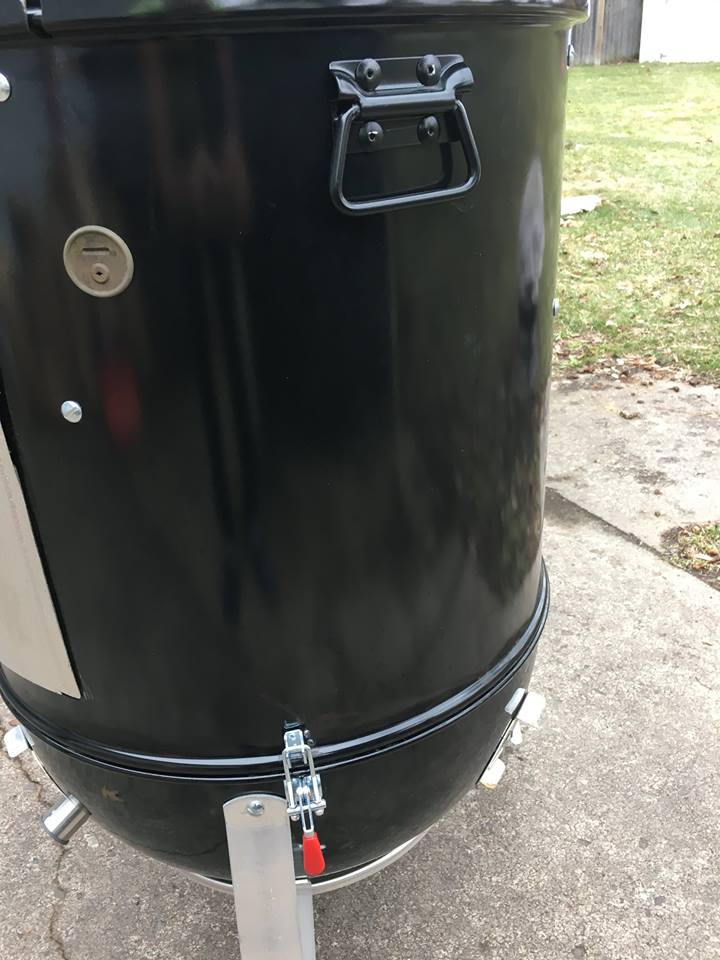
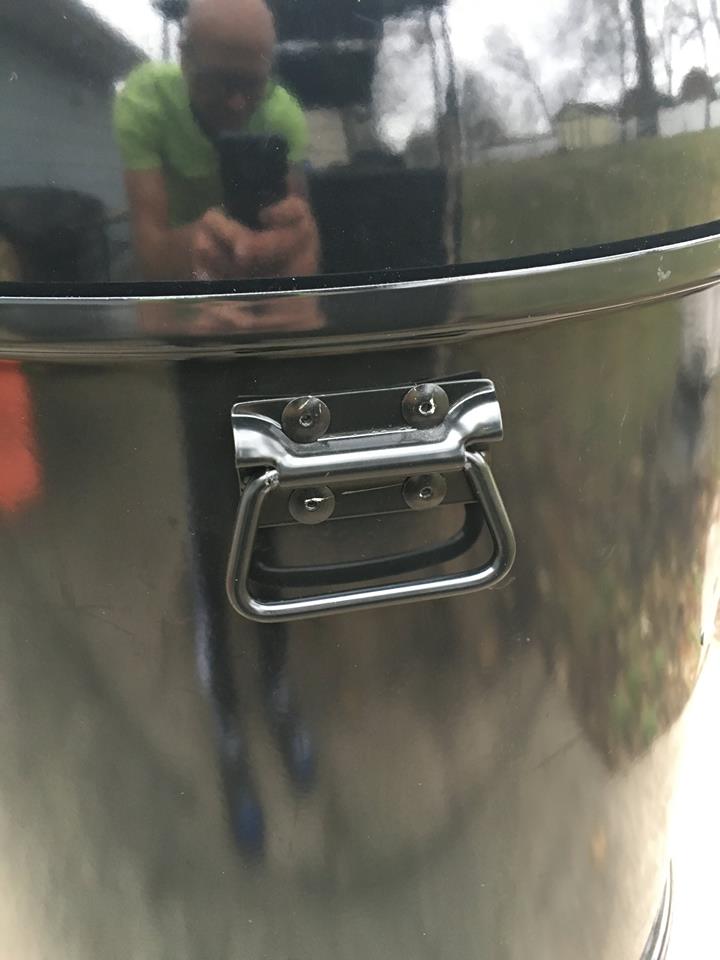
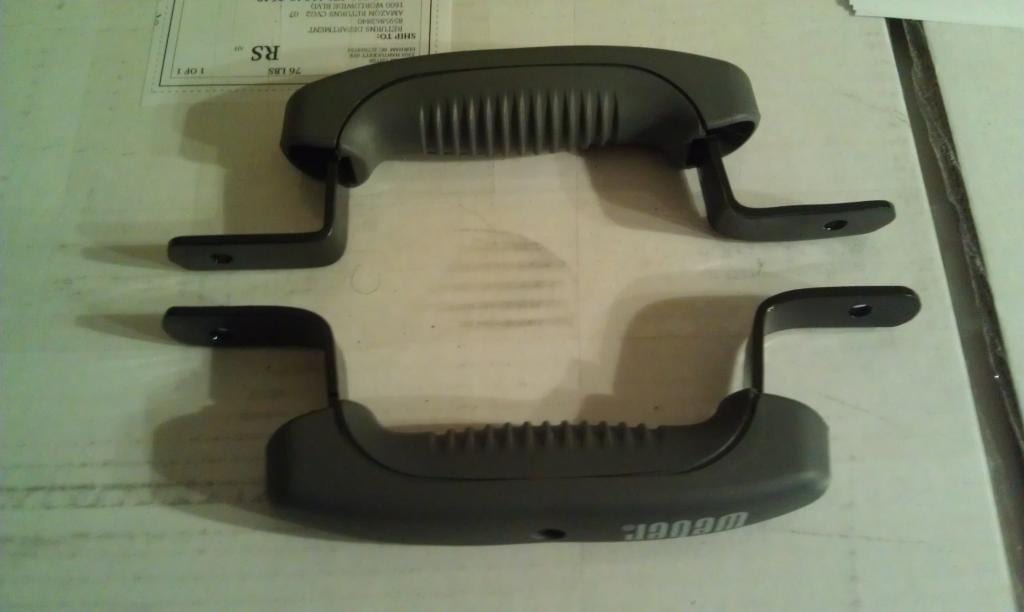
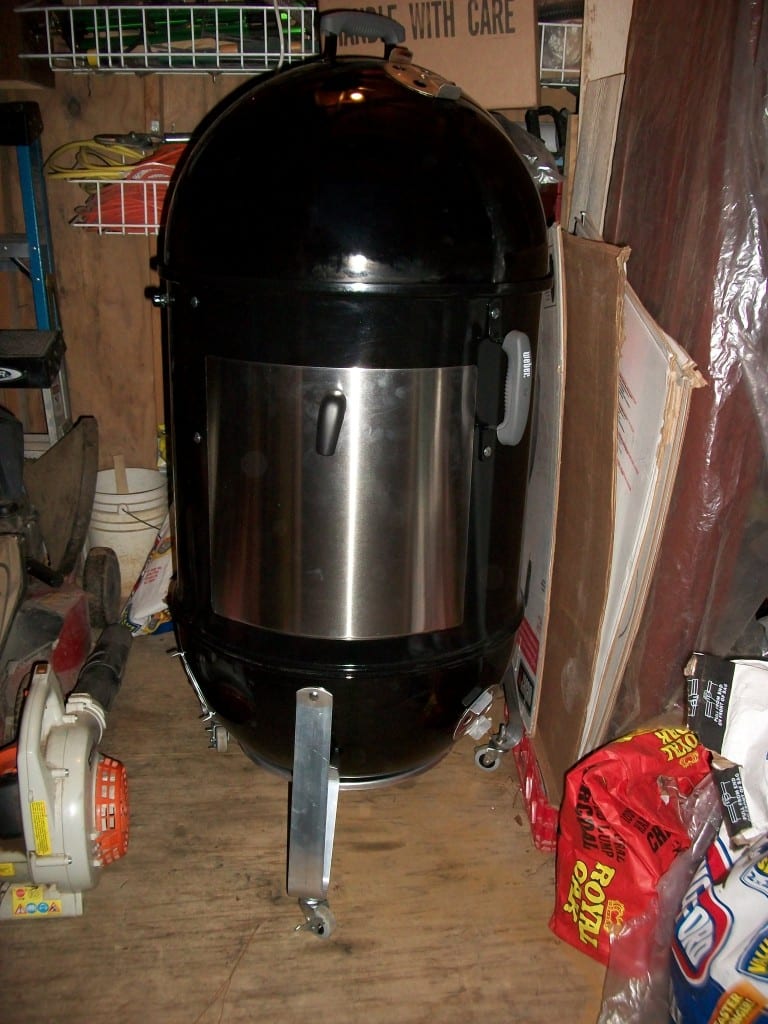
Scott Tomaier from Eau Claire, WI added a pair of metal chest handles to the middle cooking section of his 22.5″ WSM. “I have a lid hinge installed, which makes lifting off the upper two sections together more difficult, so I added a couple of steel handles,” says Tomaier. “They are pretty cheap and are great quality.”
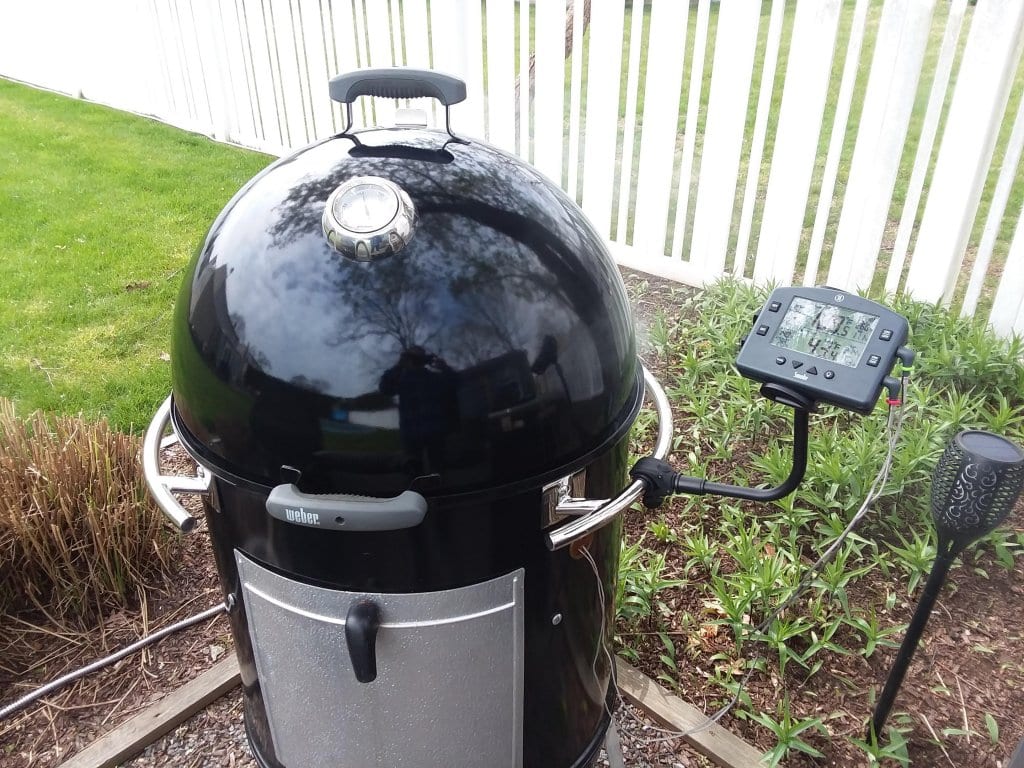
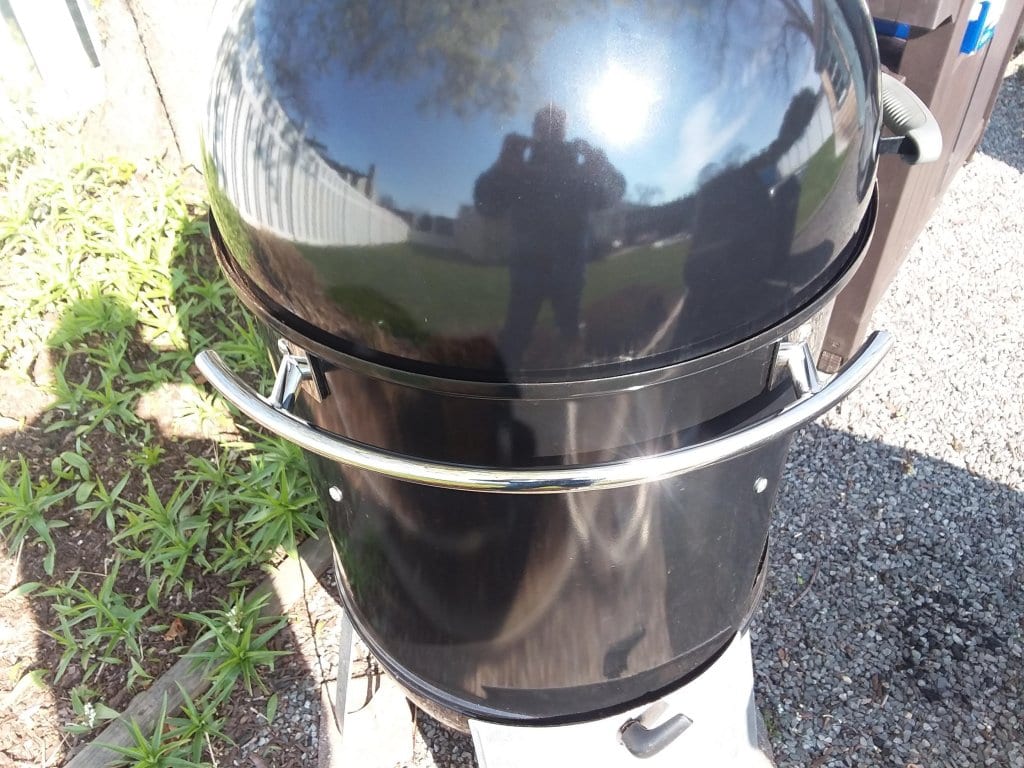
John Sully from Bayshore, NY had a friend fabricate these beautiful stainless steel handles for his 22.5″ WSM that fasten using the existing top grill strap holes. “My wife came up with the idea to hold the ThermoWorks Smoke thermometer using a cell phone holder designed for a stroller.” The design layout, measurements, etc. are available for download in this post on The Virtual Weber Bulletin Board.
Another Virtual Weber Bulletin Board member named EricV mounted these beefy curved drop handles on his highly modified 22.5″ WSM.
Mounting Knobs
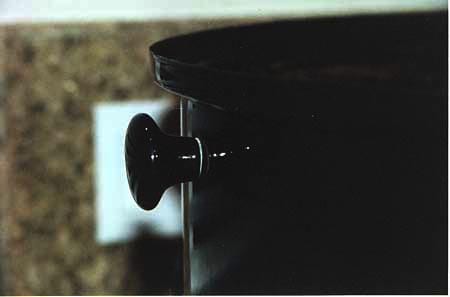
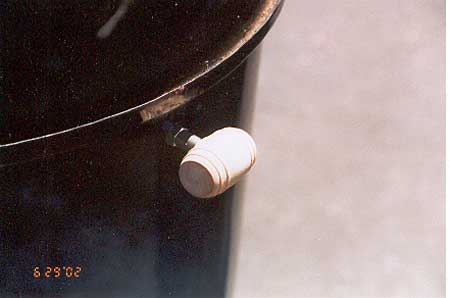
Here are some photos of knobs mounted on the cooking section using the top grill strap holes. You can use wooden, ceramic, or metal knobs and two stainless steel panhead screws. Make sure the screws match the size of the grill strap hole, are long enough to screw into the knob, but short enough that they fasten tight against the grill straps inside the cooking section. Note that the screws provided by the knob manufacturer may not be appropriate for the task.
The first photo shows a ceramic knob; the second photos shows a wooden knob shaped like a wine barrel. Cool!
Drilling Holes For Handles
If you’re feeling industrious, you can drill holes in the cooking section at any height or position to mount knobs or handles. When drilling a hole in your WSM, make sure to wear eye protection since bits of porcelain enamel and steel will fly in all directions.
Photos of Genie handles on WSM: 2002 by Steve Kalousek
Photos of Weber handles on WSM: 2007 by Chris Finney
Photos of vertical Weber handles on WSM: 2012 by Mike Leiter
Photos of stainless steel handles on WSM: 2020 by John Sully


