A number of people have asked, “Can the Weber Smokey Mountain Cooker be used as a grill?” The answer is yes! It has the same cooking capacity as the Weber 18.5″ kettle grill and can turn out a good grilled steak or burger.
If you need greater grilling capacity, you’ll want to purchase a Weber 22.5″ kettle grill or a Weber 26.75″ kettle grill or even a Ranch kettle in addition to a WSM.
Grill Conversion According To The Owner’s Manual
Prior to 2009, the WSM Owner’s Manual provided these instructions for converting the smoker into a charcoal grill:
- Place the charcoal grate and charcoal chamber on the flanges in the middle cooking section, where the water pan normally sits.
- Place the top cooking grate in its normal position.
- Set aside the water pan and bottom cooking grate. You won’t be needing these.
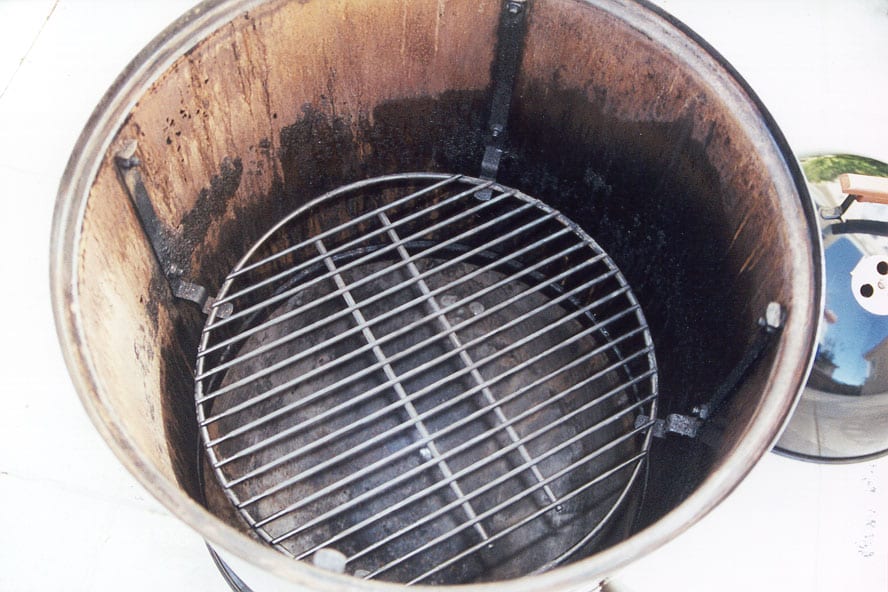
The distance between the charcoal grate and cooking grate is 8.5″. That’s pretty good…but not close enough if you really want to get a good sear on your steak.
Turning Up The Heat!
Here’s a simple addition that will really fire things up! Thanks to Sarah Scott for sharing this idea with The Virtual Weber Bullet.
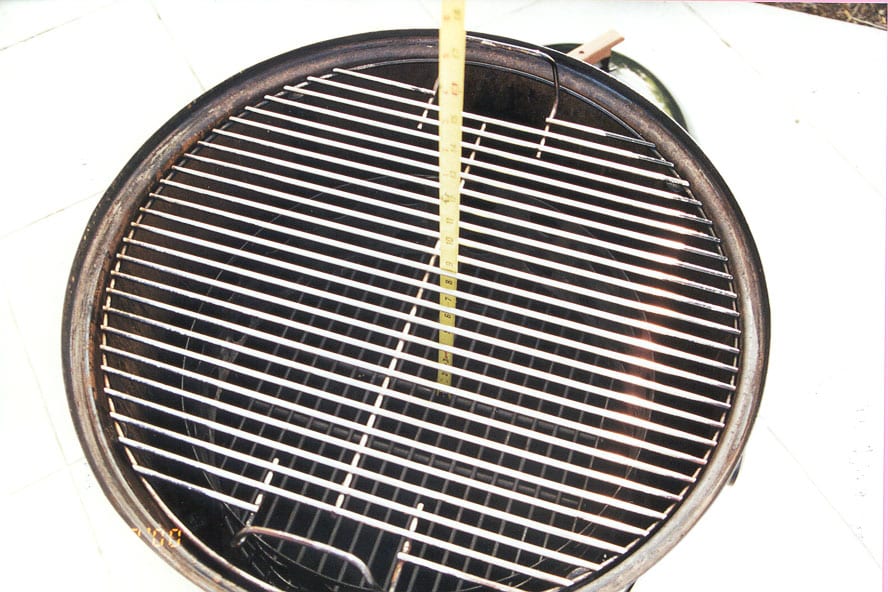
Buy a replacement charcoal grate for the Weber 22.5″ kettle grill. It’s 17″ in diameter, the same size as the lower cooking grate in the 18.5″ WSM.
Place the charcoal chamber on top of the WSM charcoal grate.
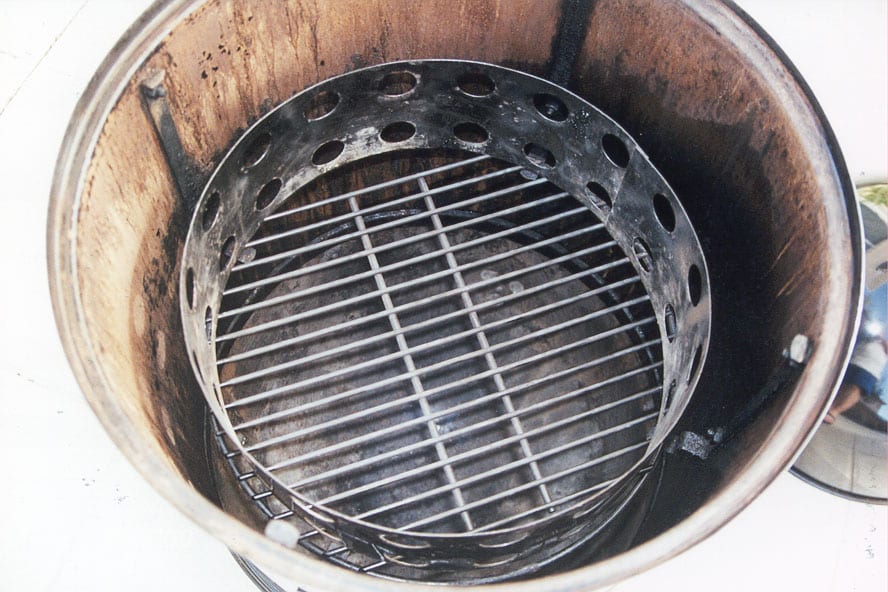
Place the kettle charcoal grate on top of the charcoal chamber. The kettle charcoal grate fits almost wall-to-wall inside the middle cooking section, with the two cross pieces on the bottom of the grate snapping into the charcoal chamber.
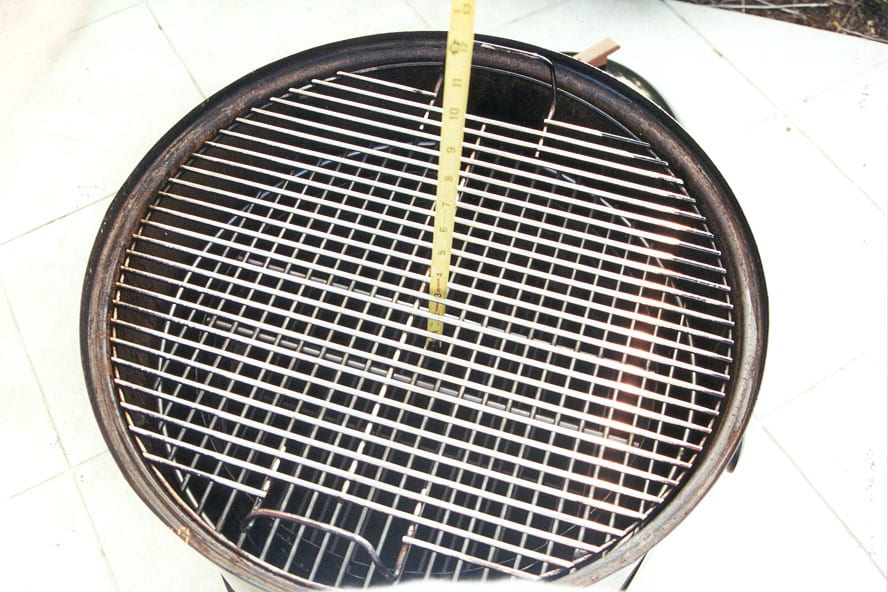
The distance between this second charcoal grate and the cooking grate is just 3.5″…hot enough to “sear the chaps off a steak,” as Sarah says.
Grilling In Action
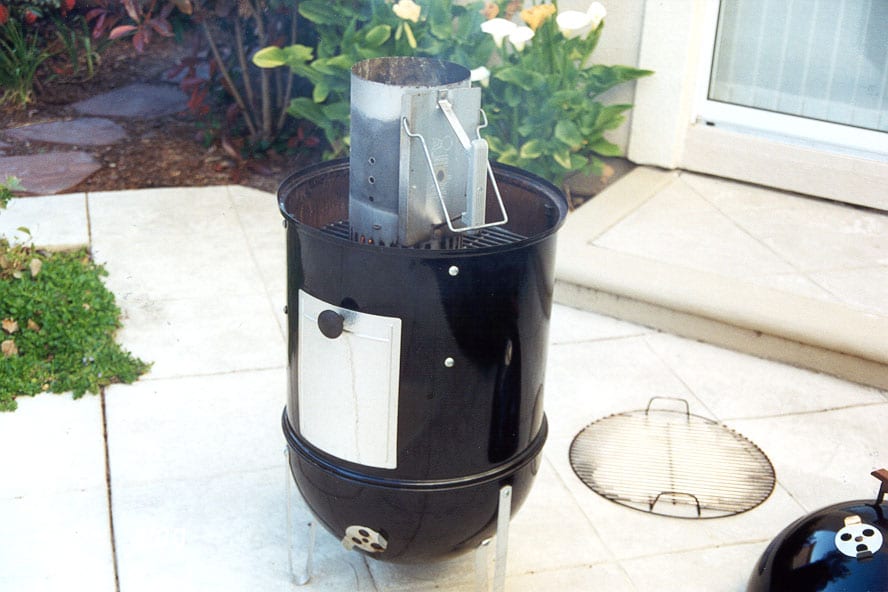
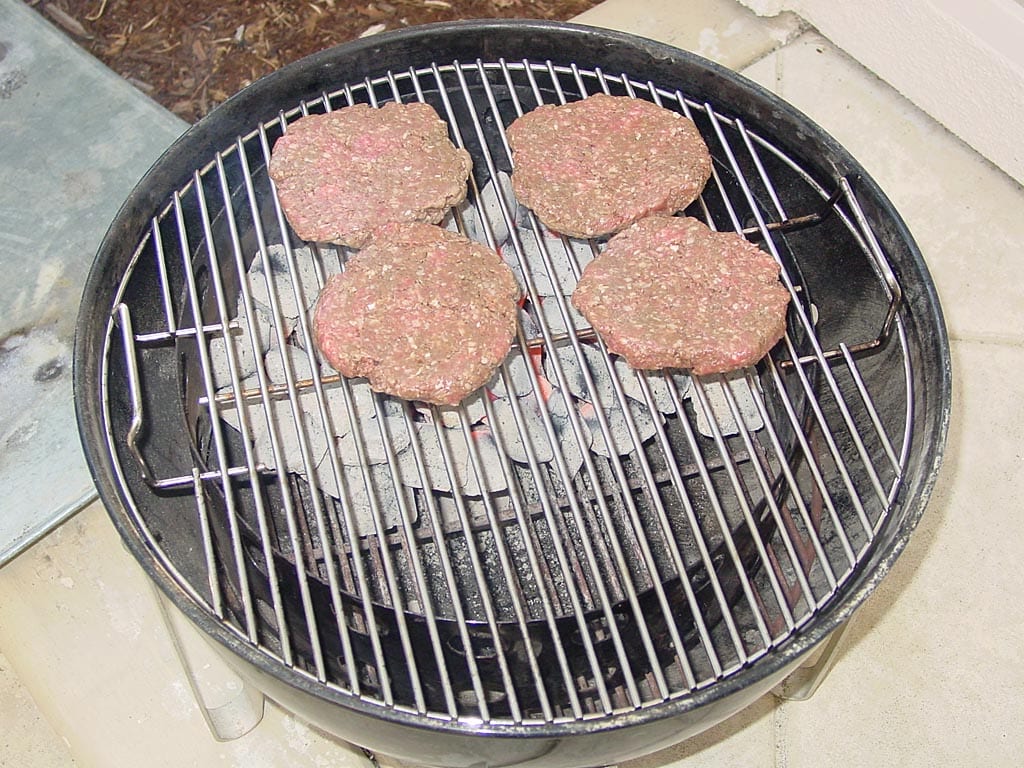
I used Sarah Scott’s approach to cook two Porterhouse steaks on my WSM. I counted out 40 briquettes and lit them in a Weber chimney starter. After 15 minutes, I arranged them in a single layer on half of the charcoal grate, creating a direct heat area and an indirect heat area.
When all the coals were covered with gray ash, I quickly rubbed a little olive oil on both sides of each steak, followed by a sprinkling of kosher salt, freshly ground black pepper, and granulated garlic powder.
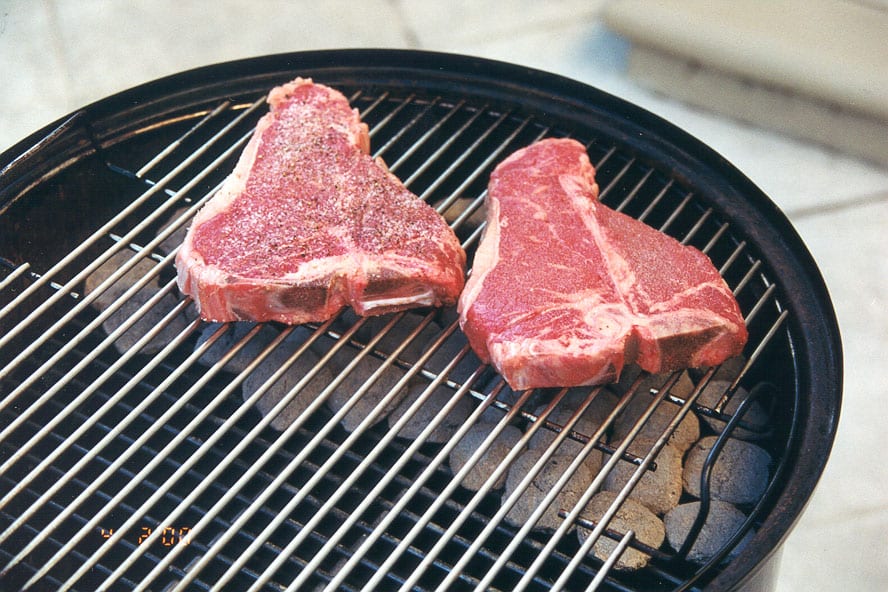
The steaks went over the direct heat and were seared on each side for a couple of minutes. I placed the lid on the cooker and continued to grill the meat over direct heat, turning several times, until both steaks achieved medium doneness.
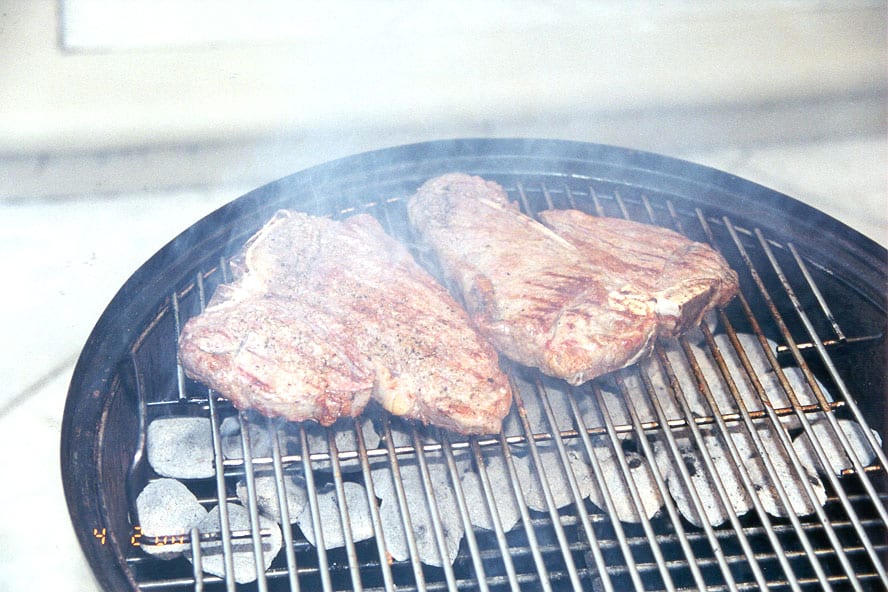
As it turned out, I didn’t need to use the indirect side, but I felt better knowing I had a cooler place on the grate if I needed it. Next time, I will use more briquettes, maybe 60 or so. I had no problem cooking the steaks, but more coals would have allowed me to get an even better sear.
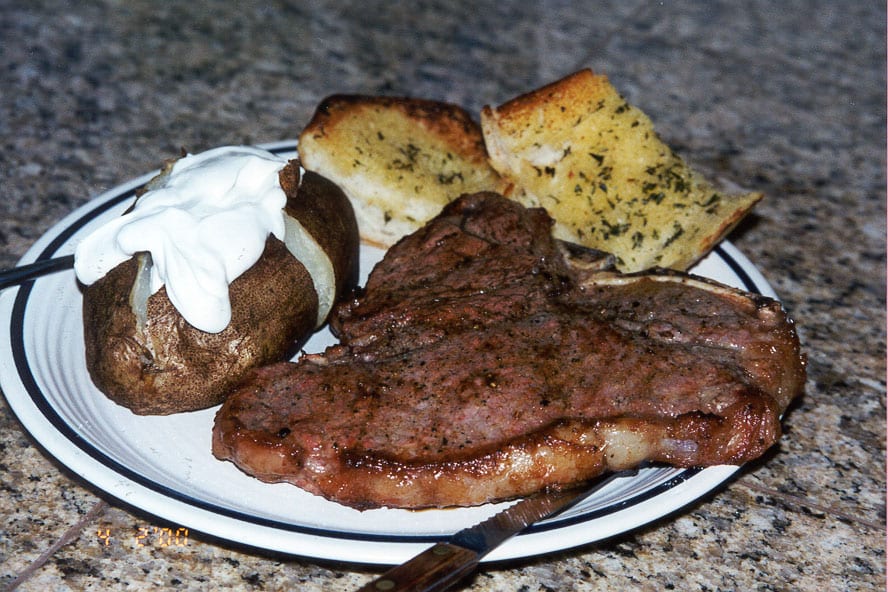
Mr. Perfect Steak For Two
About 14 months after I cooked the steaks shown above, I revisited the idea of grilling on the Weber Bullet. I used the same configuration described above with a direct and indirect cooking area, but this time I used a chimney full of hardwood lump charcoal. This allowed me to achieve a searing temperature of 700-750°F.
Another difference was the steak. I grilled a 2″ thick Porterhouse steak that weighed in at almost 3 pounds! This is the kind of steak that you’ll have to order from your butcher in advance, but he’ll certainly know you’re serious about meat when you order up one of these beauties!
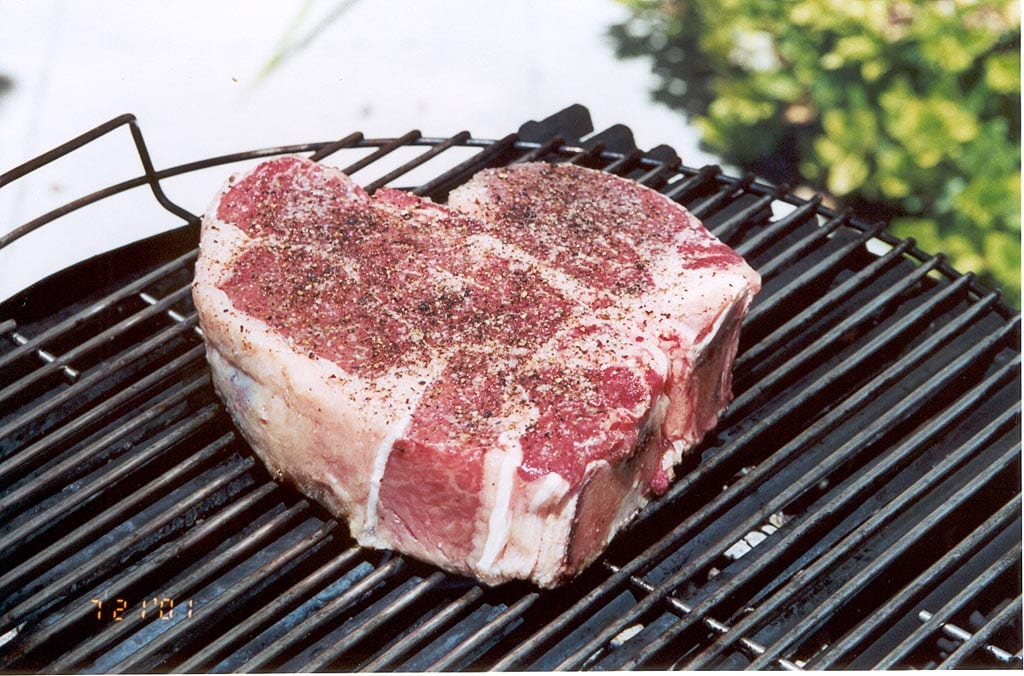
I followed the “Mr. Perfect Steak for Two” recipe from the book How To Cook Meat by Chris Schlesinger and John Willoughby. The recipe calls for a 2 to 2-1/2″ thick Porterhouse steak that is thoroughly dried with paper towels, then brushed with extra virgin olive oil and sprinkled generously with kosher salt and freshly cracked black pepper. The steak then sits at room temperature while you fire-up the coals.
Grill for 6-8 minutes on each side over direct heat to get a really strong sear going, then move to medium-high indirect heat for another 5-8 minutes per side to achieve rare doneness. Remove to a platter, cover loosely with foil and let rest 10 minutes. Cut the meat from the bone and carve into thick slices.
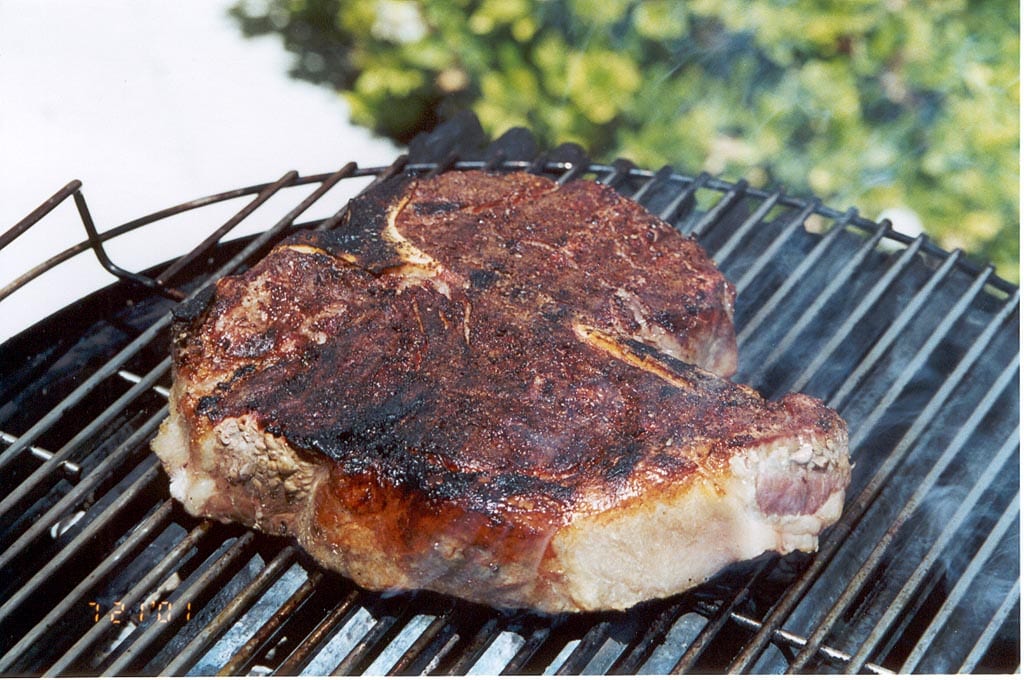
This steak had absolutely fabulous flavor and tenderness! The strong searing really made a difference in flavor, but it can only be achieved using an extra-thick steak like this one. With a thinner steak, you’ll overcook the inside before getting a strong sear on the outside.
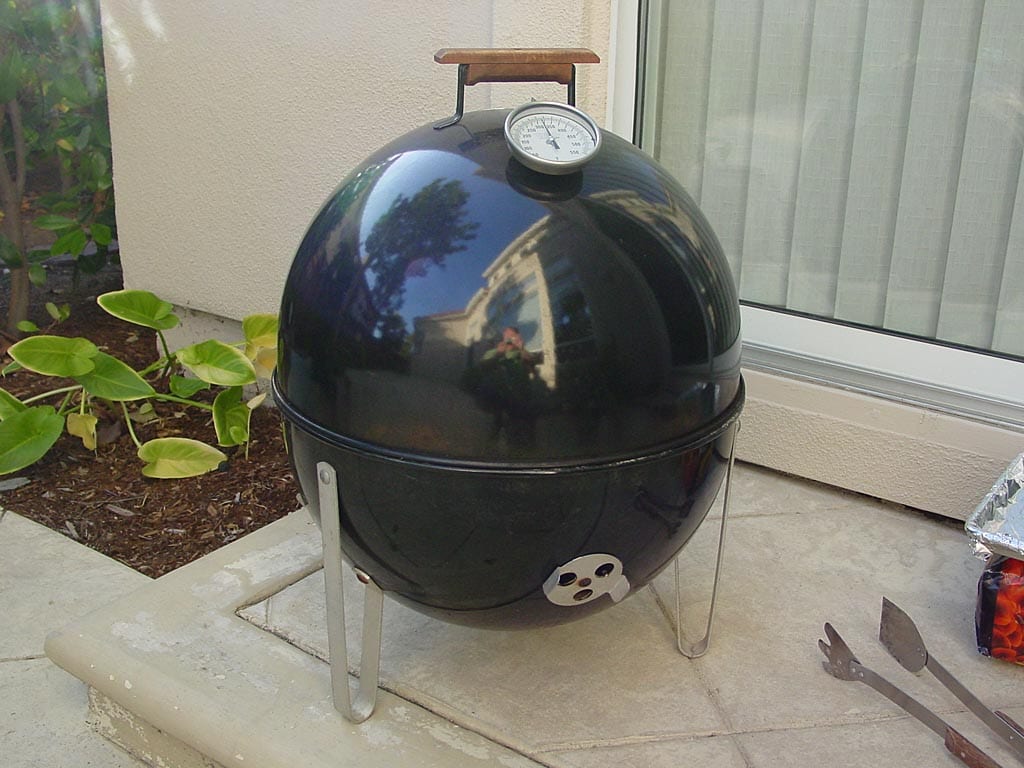
Weber Egg Configuration
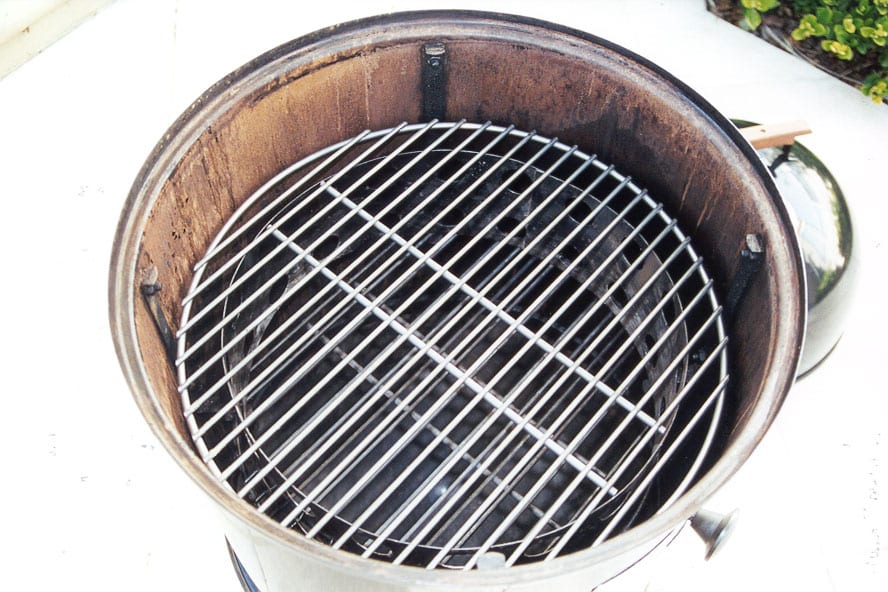
Paul Schleer offered this WSM grilling variation on The Virtual Weber Bulletin Board some time ago. He puts the charcoal grate in the bowl, then places the top cooking grate on the bolts that fasten the legs to the bowl. For extra stability, he threaded an additional nut onto each bolt. Paul says that the lid from an 18.5″ Weber kettle grill will seal over the charcoal bowl.
These two photos show a simpler variation on Paul’s setup. Put both the charcoal grate and the charcoal chamber in the bowl, then place the top cooking grate on top of the charcoal chamber. The WSM lid can be placed carefully on the charcoal bowl, as shown below. Discussion forum member Steve Petrone dubbed this configuration the “Weber Little Black Egg.”
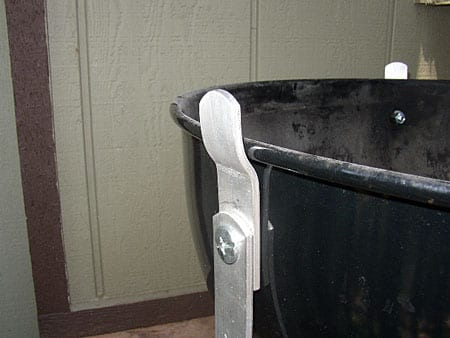
This next photo shows a neat little grilling modification by Kevin S. He fabricated three aluminum tabs that fasten between the legs and charcoal bowl to stabilize the lid during grilling. “It’s been working beautifully,” says Kevin. “The lid fits snuggly, with no slipping off and no air gaps. It looks factory fresh, and there is absolutely no impact on any other aspect of the entire assembly.”
So get out there and experiment with using your Weber Bullet as a grill…I think you’ll be pleasantly surprised by the results!
Photo of lid tabs modification: 2005 by Kevin S.


